Inspired living
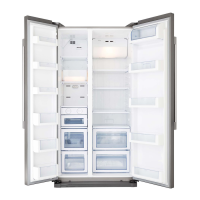
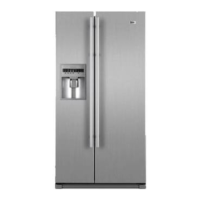
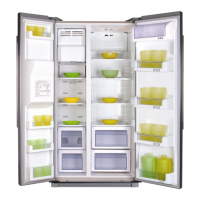
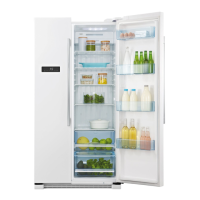
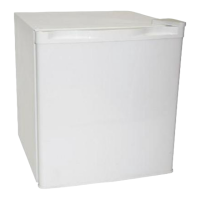
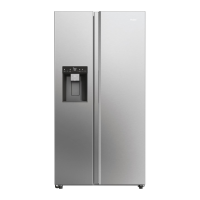
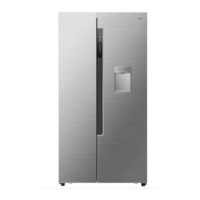
Refrigerator/Freezer Combi
User's Guide
Thank you very much for choosing to purchase a Haier-brand refrigerator.
This User's Guide will help you properly install and operate your newly acquired
appliance.
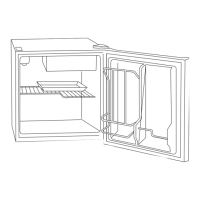
For future reference, please write down the model and serial number in the spaces
provided below.
You can retrieve that information from the product label attached to the inside of
the refrigerator.
Model number:
Serial number:
Date of purchase:
*=blank WW HS SS
HRF-660S
HSBS582AS
HRF-663DTA2*
HRF-663DTB2*
HRF-663DSA2*
HRF-663DSB2*
HRF-660SAA