710-0133 HM 46 57 Hallmark Manual Date: 06/24/16
Rev 04 Page 7 of 13
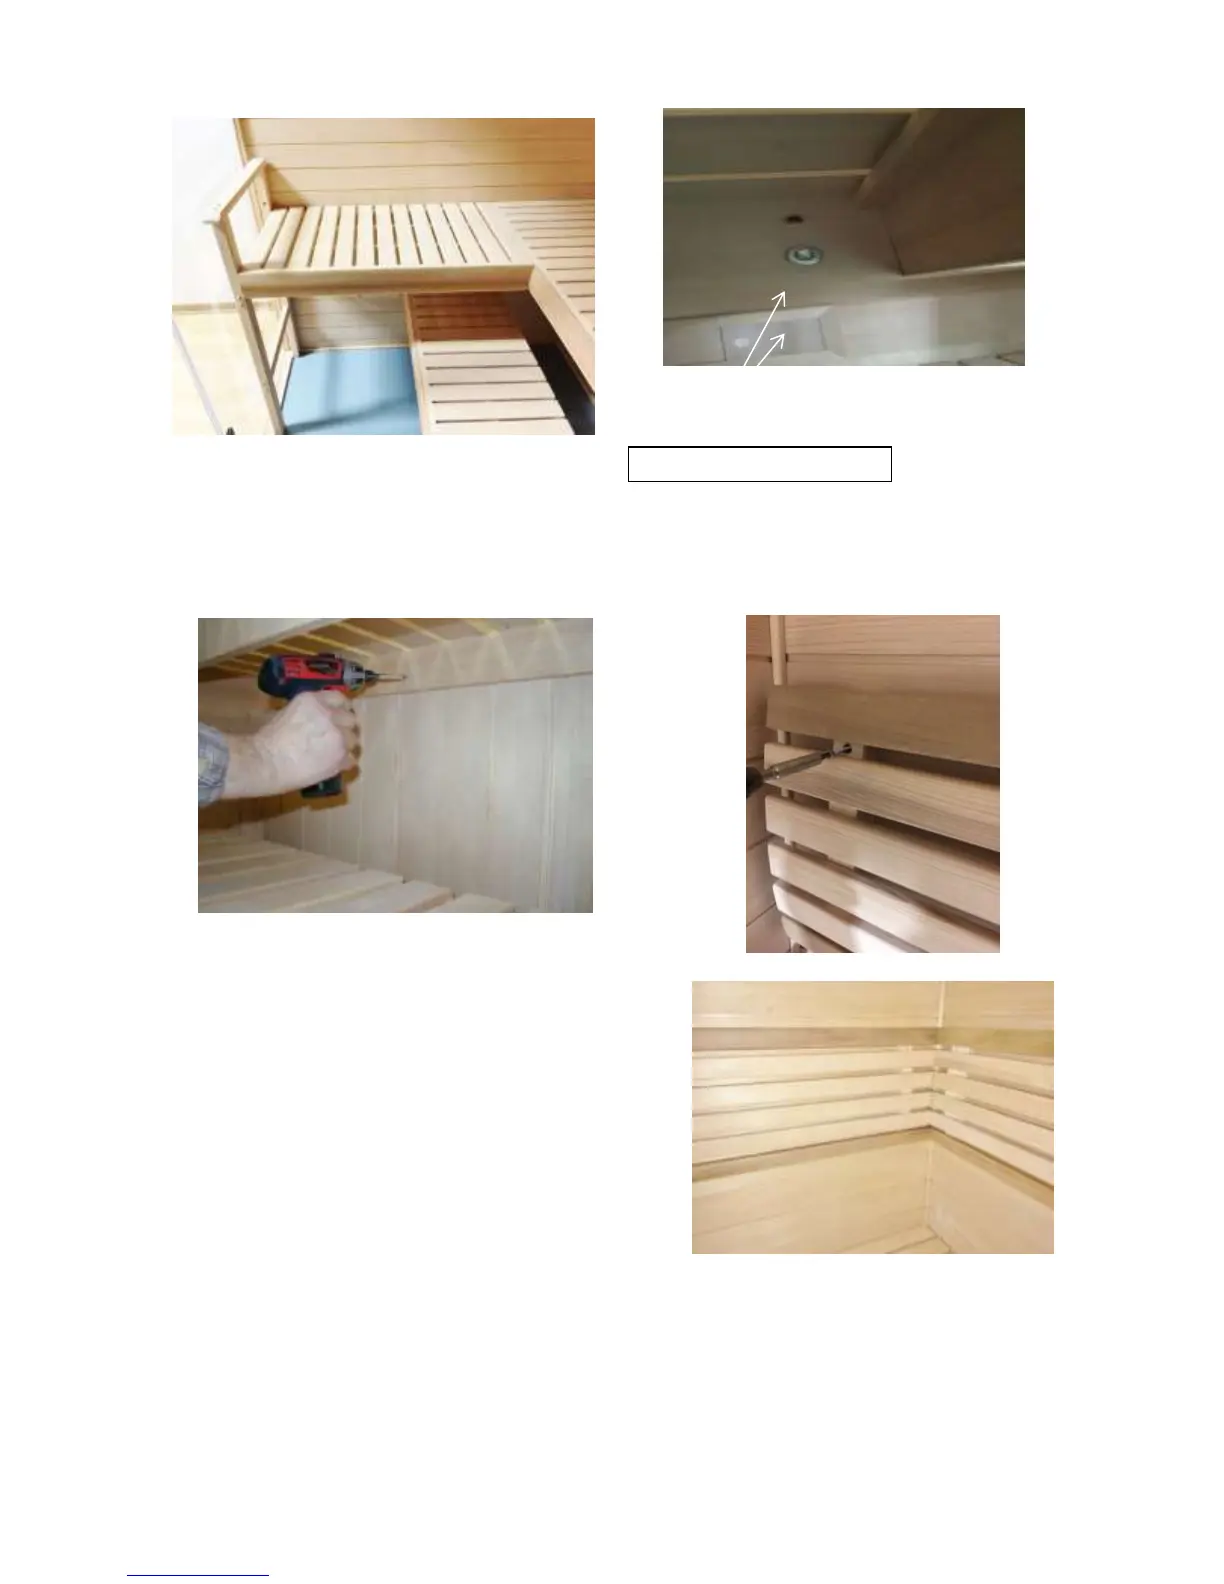
Two screws under the return
bench
Step 3: Place the return bench squarely onto
the pre-installed supports to provide a snug
fit. The bench will be supported by the Upper
bench wall support and the armrest support
by the glass wall.
Step 4: Install the screws under the bench upper
return bench through the frame to the main
upper bench and tighten the nuts.
Step 5: Be sure to fasten the upper benches to
the walls using the 1 1/8” screws provided.
Lower benches are meant to slide on the
lower bench supports for cleaning
convenience. The bench installation is
complete.
Step 6: Install the backrests above the upper
benches according to the predrilled holes, using
the 1 1/8” screws provided.
Note: Be sure to install at the same level to
ensure a well-balanced look..