36
15.9 Backlight
Brightness sensor activated
• Move the sliding switch (19) to the ON position.
• The brightness of the display is now automatically
adjusted according to the ambient brightness.
Brightness sensor deactivated
• Move the sliding switch (19) to the OFF position.
The backlight can be congured for each operating
mode (Operation Mode, Standby Mode, Slumber Mode)
separately.
• Proceed as follows:
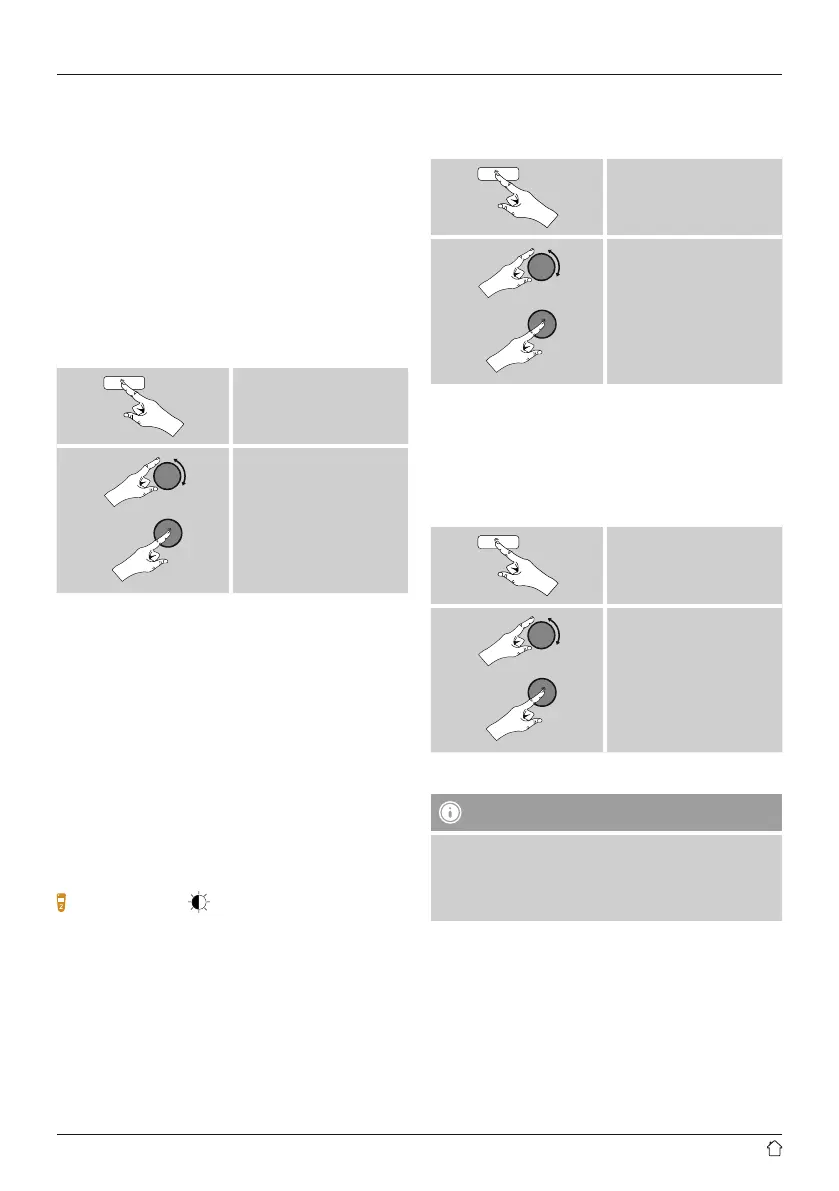
[menu]
System settings
Backlight
• Forthe operation modes Operation Mode and
Slumber mode,select between various brightness
levels.
• For Standby Mode,you may also choose abrightness
level for the backlight when the radio is in standby
(Standby Level).Alternatively,you can set the backlight
to turn off completely in standby (Standby Level
Off).
• Choose atime interval for Timeout.When the radio is in
standby,press [enter/navigate]toilluminate the display
at the brightness level set for that operating mode for the
selected interval of time.
• Alternatively,you can disable this feature(Timeout
Off).
Alternatively,press [ ]onthe remote control to directly
adjust the backlight setting for the current operating
mode.
15.10 Color theme
To change the color scheme of the display (Color of text
and background), proceed as follows:
[menu]
System settings
Color theme
15.11 AUX: Auto-Standby
In Aux in (Auxiliary Input)operating mode, the radio
switches to standby mode after 15 minutes, by default.
To disable (NO)oractivate (YES)this feature, proceed as
follows:
[menu]
System settings
AUX: Auto-Standby
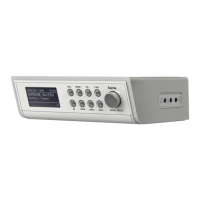
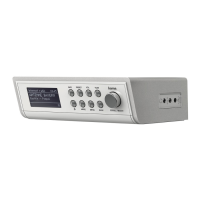
15.12 Wall mounting
Note
• Ensurethat the mount you have chosen can carry a
load of at least 2.2 kg.
• Followthe directions and safety notes in the
documentation of the mounting bracket.
• With the correct mounting bracket (such as Hama item
no. 00118031), it is possible to mount the radio to the
wall.
• Forthis purpose, use the mounting holes (20) on the rear
of the radio.

 Loading...