2
G Quick Guide
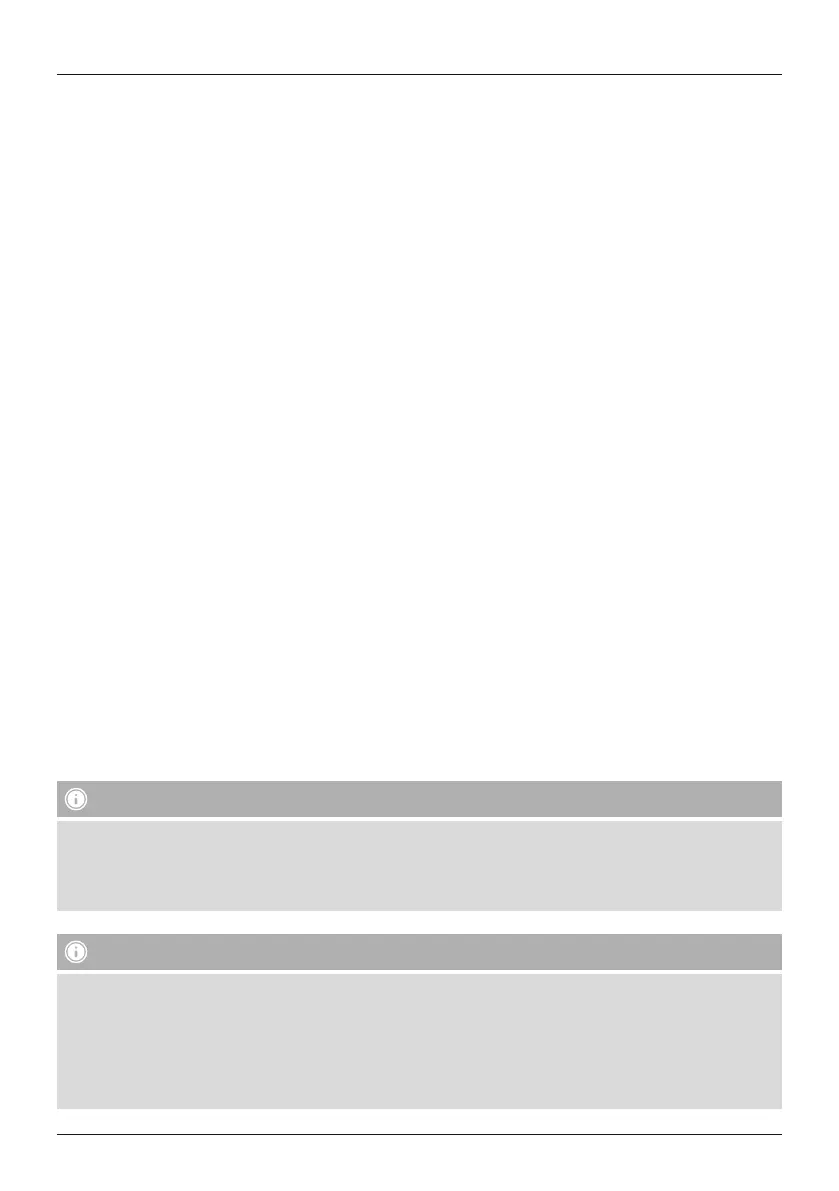
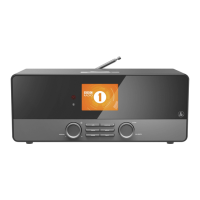
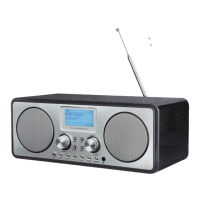
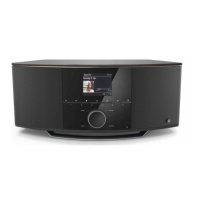
Controls and Displays
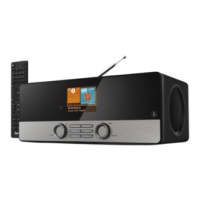
Radio
Front
1. [SETTINGS/MENU] button
2. [MEMORY] button
3. [INFO] button
4. [MODE] button
5. [POWER] button** /[VOLUME]/[ENTER] /[NAVIGATE]
6. [HOME] button
7. [BACK] button
8. LED
9. 3.2" colour display
10. Infrared receiver
11. Brightness sensor
Rear
1. Mains power supply
2. LED switch (ON/OFF)
3. LAN connection
4. AUX-In socket
5. Headphone socket
6. Line-out socket
7. Optical connection
8. USB connection
9. Antenna*
10. Auto dimmer switch
Note
*This radio has achangeable antenna. Youcan use an active or passive antenna equipped with acoaxial connection.
** Youcan adjust the volume, or navigate through the menu structurebyturning the rotary controller.You can switch
the device to standby mode by pressing the volume controller,oryou can conrm aselection by pressing the
navigation controller.
Important note –Operating instructions:
• This is aquick guide to provide you with the most important basic information, such as safety warnings and how to
get started using the product.
• Forthe sake of protecting the environment and saving resources, Hama dispenses with printed operating instructions
and provides them only in the form of PDF les /eManuals on www.hama.com.
• Use the search function with the item number of your product to easily nd the product documentation.
• Save the operating instructions to your computer’sharddrive for futurereference, or print it out if necessary.
Remote Control
1. [POWER] button
2. [MUTE] button
3. Internet Radio -Mode
4. DABRadio -Mode
5. FM Radio -Mode
6. AUX -Mode
7. Backlight Level
8. Media-Player -Mode
9. [MODE] button
10. [EQUALIZER] button
11. [ALARM] button
12. [SLEEP] button
13. [SNOOZE] button
14. [MENU] button
15. [PREVIOUS] button
16. [NEXT] button
17. Navigation buttons
▲ Up
▼ Down
◄ Back
► Forward, okay
18. [SELECT] (Enter/OK) button
19. [REWIND] button
20. [FAST-FORWARD] button
21. [VOLUME] +/- buttons
22. Presets Up/Down buttons
23. [PLAY/PAUSE] button
24. [BACK] button
25. Presets buttons (1-10)
26. [PRESETS/FAVORITES] Menu
27. [INFO] button