INSTALLATION OF THE BURNER DOOR DURING SERVICING
34000 Autry Street, Livonia, MI 48150 • 800.968.5530 • Fax 734.419.0209 • www.hamiltonengineering.com • LIT91178 REV 5/2017
Page 8 of 9
Proper precautions must be taken when installing the EVO burner door. Faulty installation or using a door
in need of replacement risks leakage of combustion products, or further, a damaged heat exchanger that
will not be covered under warranty.
Any time the burner door is removed, it should be thoroughly inspected before being put back into
service.Therearetwogasketsontheburnerdoor;therstistheinnerropegasket,whichispermanently
afxedtotheburnerdoor.Ifthisgasketiscompletelycompressed(havingnosealingability),thedoor
mustbereplaced.Thesecondgasketisontheperimeterandismadeofrubber;thisgasketiseasily
replaced and comes as a standard part of the maintenance kit (and should always be replaced during the
annualmaintenanceprocedure).Tolimitrisks,thefollowinginstructionsmustbeadheredto.
PROPER PROCEDURE
Before installing a burner door, the two gaskets and the burner door refractory must to be checked for damage or
deteriorationandproperplacement(rubbergasketandrefractory);oncethisinspectioniscompleted,theburnerdoorcan
be mounted with the six M6 nuts. Please note: Over-tightening the M6 nuts may cause the threaded rods on the
front of the heat exchanger to break! If excess resistance is encountered when installing an M6 nut, discard that nut
and use one of the spares shipped with the unit.
The maximum torque for assembling a burner door nut is 3.7 ft-lb or 44.4 in-lb
Use a torque wrench suitable for this torque range, to tighten the nuts.
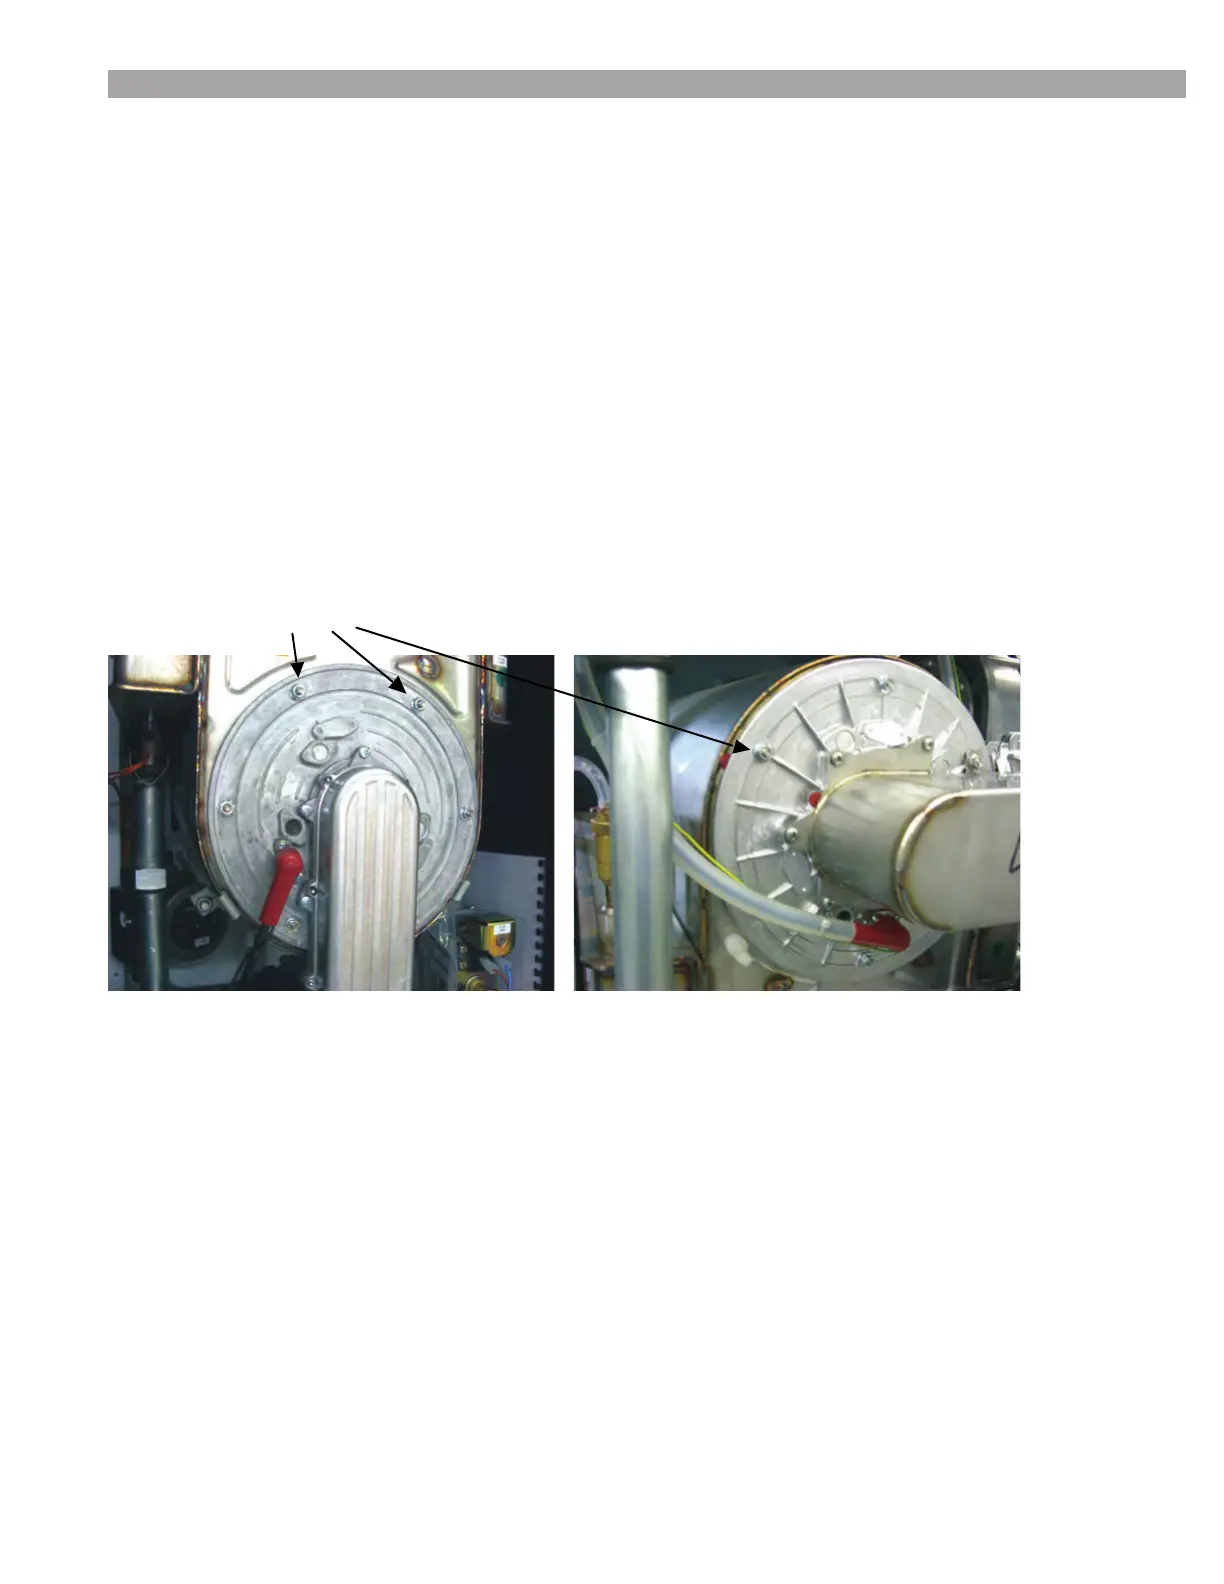
M6 nuts and thread studs
After starting up the unit:
To limit the risk of leaking combustion products, a leak test of the burner door gaskets with a hand held
combustiongasleakdetector(sniffer)mustbedone.
See next page for detailed photos of burner door and gasket conditions.
 Loading...