ENGLISH
UP
16
17
18
19
20
21
22 2324
25 26
27
28
15
14
13
1211109
8
7
6
5
4
3
2
General Table
rtc-89955 TRACK DETAILS
W
S
No.
SG
Joins
Teeth
TYPE
LENGTH
SB
No.
UF
RAIL
TOOTH
DISTANCE
LENGTH
TYPE
SETTING
HT
1
GROUND FLOOR
16 21 11 395
A
74
A
2
B-W
28
S
308 17 224 264 470
A
149
3
W-W
48
HR17
R159
N
18 44 649
B
127
4
F
W-X
37
GI R596
19 526 286 693
C
171
5
L
X-C
44
S
484 20 65 55 697
C
175
B
6
C-W
10
S
110 21 741 708
C
186
7
W-W
54
HR54
R223
N
22 916 176 649
B
127
8
F
W-X
13
GD R665
23 973 803 661
C
139
9
L
X-C
158
S
1737 24 9 129 1418 662
C
140
C
10
F
C-X
12
S
132 25 12 666 709
C
187
11
L
X-W
13
GI R596
26 12 48 528 884
D
31
12
W-W
70
S
770 27 14 15 685
C
163
13
W-W
54
HR54
R223
N
28 15 14 154 620
B
98
14
F
W-X
24
GD R665
TOTAL =
8482
15
L
X-B
15
S
165
TOTAL =
6377
DRAWING NUMBER:
CONTRACT / CUSTOMER
DRAWN:
DATE:
DO NOT SCALE
This drawing and any information or descriptive matter set out hereon are the confidential and copyright property of HANDICARE LTD.
and must not be disclosed, loaned, copied or used for manufacturing, tendering or any other purpose without their written permission.
ALL DIMENSIONS IN MM UNLESS OTHERWISE STATED
rtc-89955
mark.staniland
26/01/15
Handicare Stairlifts Ltd
REV
COMMENTS
BY
DATE
REFERENCE
R&D Position 5
PG NUMBER:
30122
BY:
Track Checked
Date:
BY:
BY:
BY:
Track Assembled
Marked + Checked M/C SHOP
MARKED FOR WELD
A
1st Issue
Hand of Rail :
Rail Colour :
DRAWING NUMBER:
Light Grey
RIGHT
rtc-89955
Track Bolts :
44
Fitting Kit
Joining plugs :
Additional Charge Points
(section/ by stanchion)
Charge Points :
Standard
End Stops :
MK2
Magnets :
6
Hand Sets :
N/A
Number needed :
0
Stanchion Feet
Standard :
7
Lower :
1
Fan :
5
Wall Brackets :
0
Heavy Duty Kit :
NO
Wire needed (m) :
8
Wood Screws for feet :
39
Stanchion bolts :
26
Located on :
16
Located on :
19,20,21
27,28
Located on :
Seat Type :
Track Only
Build parts/ track format
checked
By:
Swivel Bracket :
NO
Brace Bar :
1
UnderFloor Lower :
0
UnderFloor Standard :
0
Parts for Build
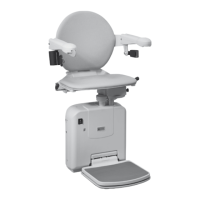
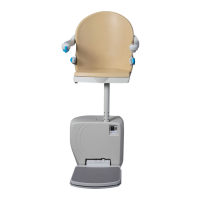
Product type:
RTC-2000
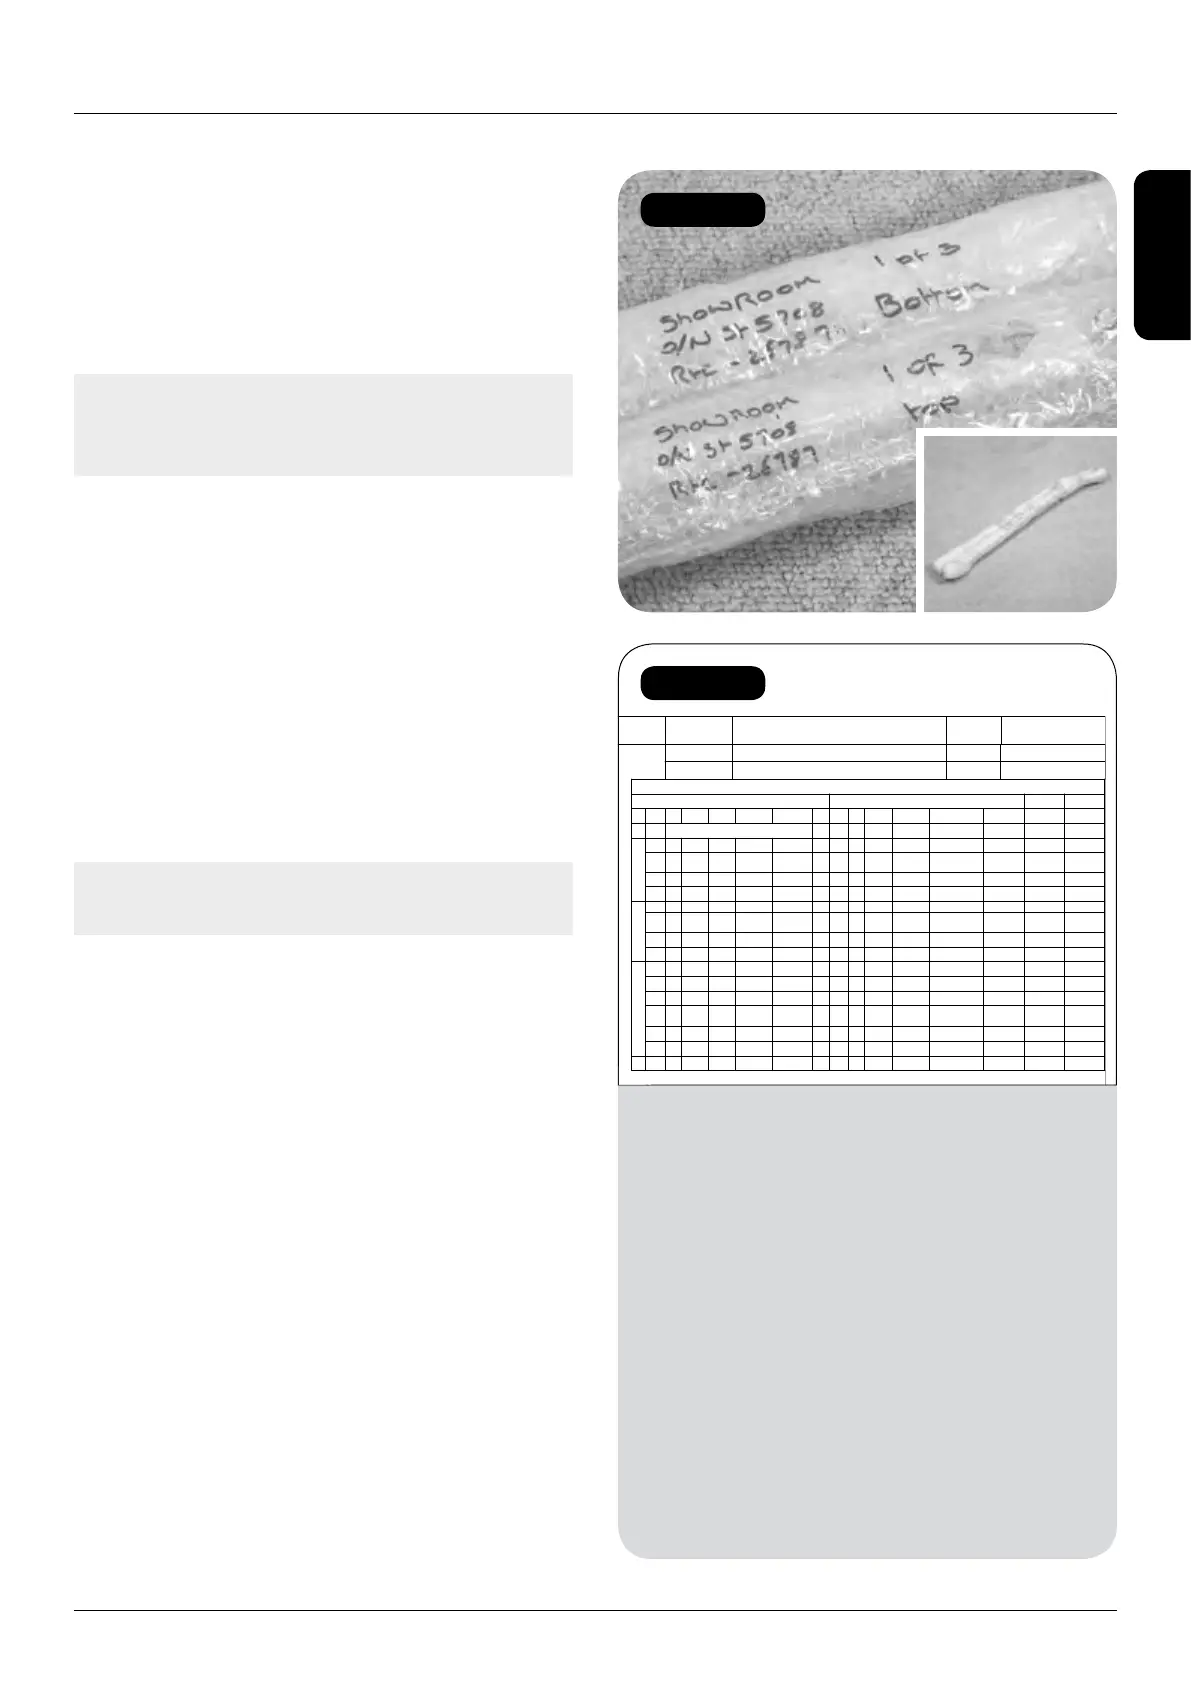
Figure 5
Figure 4
HANDICARE 2000 SIMPLICITY / STYLE INSTALLATION MANUAL 5
Track assembly
e Follow the normal track installation procedure
from step 2 to complete the installation.
f Once the track installation is complete cut
any excess threaded rod protruding from
the top of the foot to prevent it stopping
the lift early.
Note: If the top communications contacts are
not connected to the hinge section the lift will
not work.
2 In the drawing shown in Appendix 1 the first
section is actually a straight section with a
gradient decrease section manufactured as a
single piece of track. The straight section (2)
has 152 teeth (152 S) and it is 1671mm long.
The gradient decrease section (4) has 28 teeth
(28 GD R665) and it is bent on a 665mm
radius. The protective packaging that the track
is delivered in will be marked to indicate the
track section or sections that it contains and
whether or not it is a top track or bottom track
section (Figure 4).
Note: Do not remove the blue rack protection
cover at this stage.
Stanchion information
1 The drawing shown in Figure 5 has a table
which shows the length of the stanchion that
has to be inserted at each position. There are
four different types of stanchion which will
be adjusted to the correct height. To ease
identification these have been labelled with
a letter, A,B,C or D.
2 Each stanchion can be adjusted to the
required height using the ‘setting height’ guide.
3 Grease the stanchion lugs as you go.
No. – The foot number.
Rail – The section of rail that the stanchion
fixes to.
Tooth – The corresponding tooth on the
section of track that the stanchion should
be positioned.
Distance – The distance of the track joint
that the stanchion is positioned.
Length – The length of the stanchion.
Type – The type of stanchion required.
There are four versions.
Setting height – using the size guide
provided on each stanchion. This is the
size that the stanchion needs to be set too.
 Loading...