Figure 6
Figure 7
Track assembly
6 HANDICARE 2000 SIMPLICITY / STYLE INSTALLATION MANUAL
Installing the stanchions/track
Note: Hand ratchet the bolts – do not use
power tools.
Stanchion lock bolt
M10 x 50
socket cap
head screw
45Nm
Stanchion/rail bolt
M10 x 55
button head
screw
15Nm
Rail Joint bolt M8 x 55 25Nm
Rail bolts at the end
of the track – x 2
(with plastic cap)
M10 x 55
button head
screws
10Nm
First section
1 Set the furthest bottom stanchion at the
correct height. (Example:- Stanchion 16 –
Type A – Setting height = 74mm
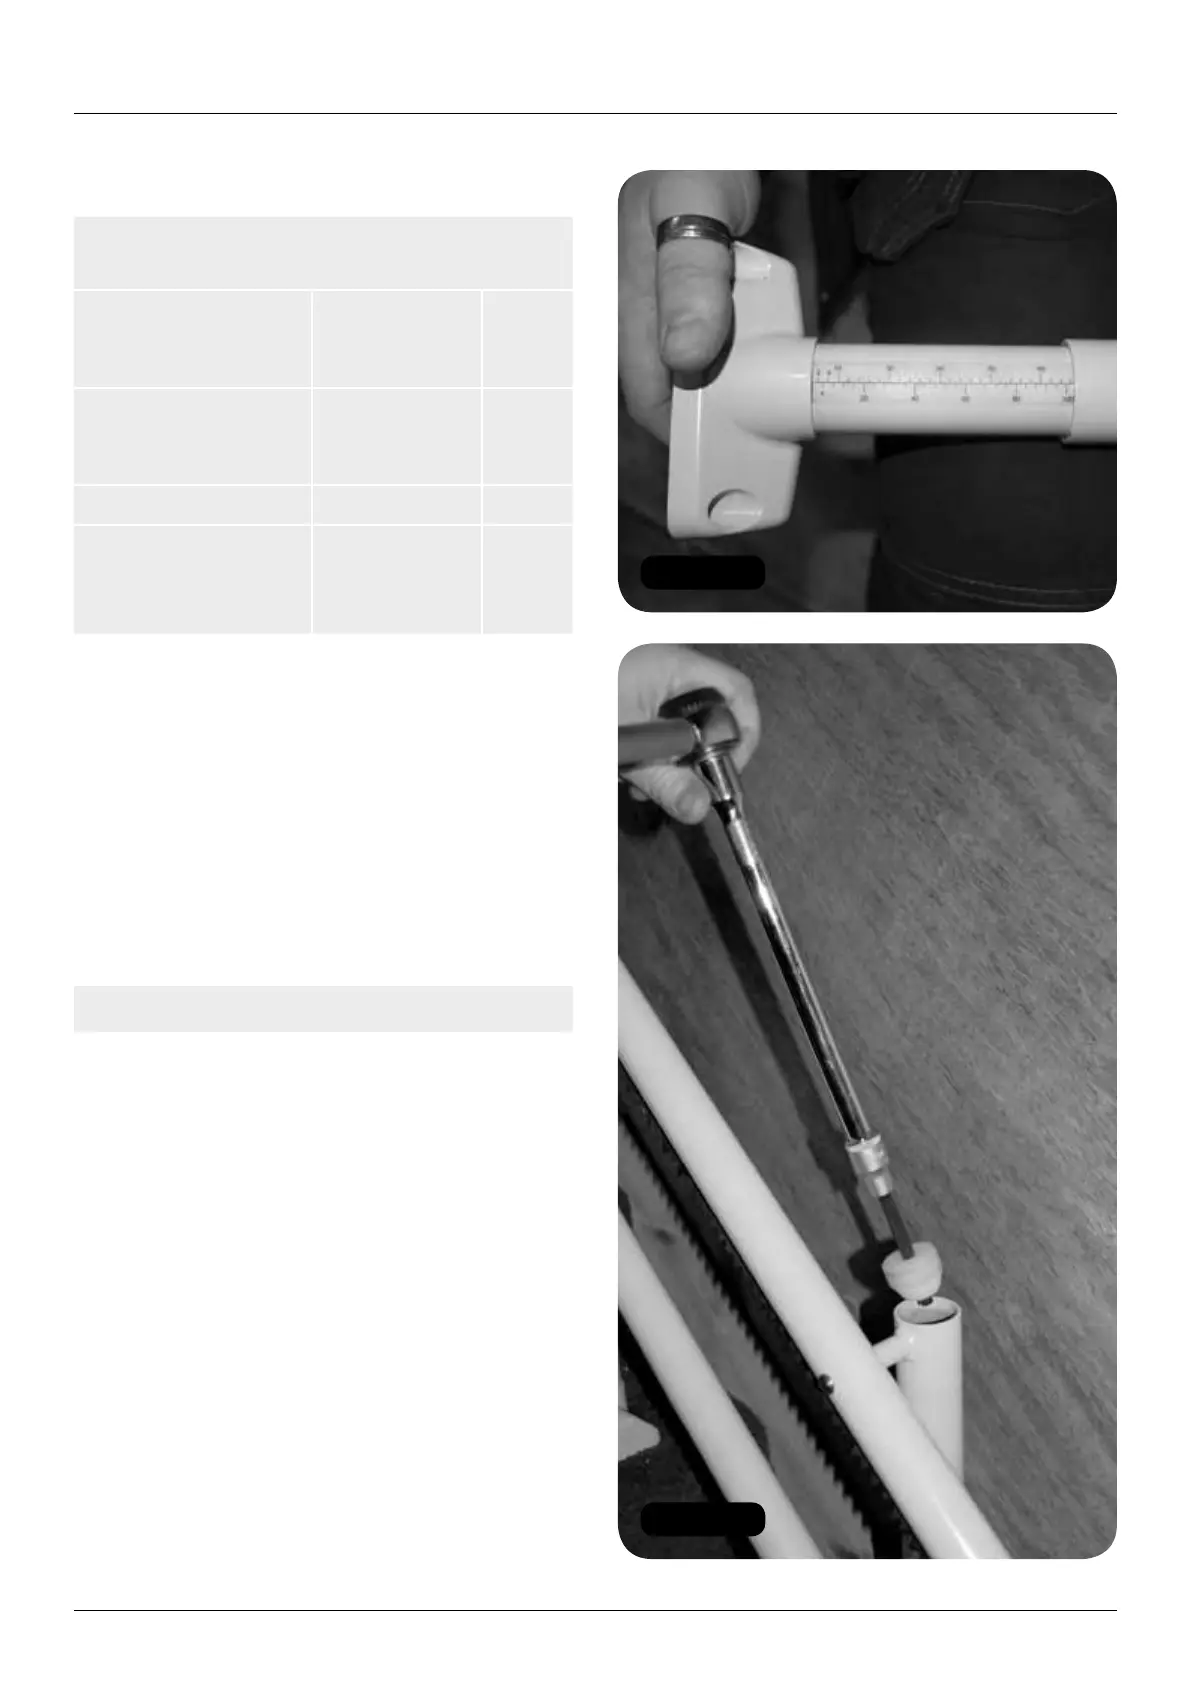
2 Set the last section before the first joint to the
correct height (Figure 6). Tighten the lock
bolt to 45Nm (Figure 7).
3 Attach the top rail on to the two stanchions.
Use stanchion/rail bolts supplied (Figure 8).
Note: See note for specified torques.
4 Attach the bottom rail.
5 Fasten the feet down to provide additional
stability for the rest of track.
Second section
1 Set the next stanchion at the correct height
ready for the second section of rail. This
needs to be placed just before the joint.
2 Add the next sections of rail. Top section
first and then the bottom section. Use a
podger spanner tool to help ease the two
sections of rail together (Figure 9).
3 Set the next stanchion at the correct
height two down from the previous one
nearest the joint.