Do you have a question about the Hans Grohe Lacuna 04749 Series and is the answer not in the manual?
| Collection | Lacuna |
|---|---|
| Number of Holes Required | 1 |
| Series | 04749 |
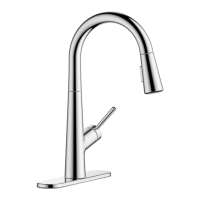
| Finish | Chrome |
| Water Flow | 1.5 GPM |
| Material | Brass |
| Certification | WaterSense |
Flush hot and cold water supplies for at least 5 minutes before proceeding with installation.
Use an additional supply line to direct water into a bucket during the flushing process.
Position sealing washer, baseplate, and faucet on mounting surface, then install washers and nut.
Tighten mounting nut by hand, then use a Phillips screwdriver to secure the faucet.
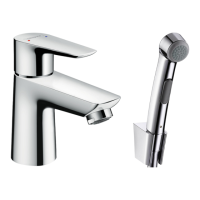
Push the handspray hose quick-connect onto the connection hose until it clicks securely.
Position the hose weight clip at the desired location on the hose for proper balance.
Hold the clip and push the hose weight down over the clip to secure it.
Connect hot and cold supply hoses to stops, ensuring hoses do not twist.
Position sealing washer and dispenser body on surface, then install mounting nut by hand.
Install the soap bottle into the assembled dispenser body.
Fill dispenser from top, leaving air space, then install the pump assembly.
Illustrates faucet on/off, hot/cold water, and spray patterns (needle, aerated).
Explains the temporary stop feature for pausing water flow from the faucet.
Details what is covered (defects) and not covered (wear, misuse, improper cleaning).
Provides contact information and required documentation for warranty claims and service.