
S
Stephanie MendozaAug 4, 2025
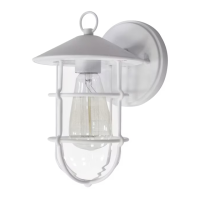
What to do if the Harbor Breeze WL136MW Lantern fuse blows or the circuit breaker trips?
- AAdam RamosAug 4, 2025
If the fuse blows or the circuit breaker trips after installing your Harbor Breeze Lantern, it could be due to crossed wires, so you should check the wiring. Another potential cause is that the power wire is grounding out, so you should check all connections.