~
lnffnit-'1
INFINITY
KAPPA four
~
HARMAN
THANK
YOU FOR YOUR
PURCHASE
...
Your product has been designed
to
provide you the performance and ease
of
operation you expect from
Infinity.
Take
time
to
read this manual before operating
or
installing your amplifier. Keep it
in
your glove compartment along with the
owner's manual for your
car.
Put your amplifier sales receipt with other important documents
in
order
to
expedite warranty
service if needed. This manual describes general installation guidelines and operation instructions. Please note that proper
installation
of
mobile audio components requires qualified experience with mechanical and electrical procedures.
If
you
do
not have the knowledge and tools
to
perform this installation,
we
strongly recommend consulting an authorized
Infinity
dealer about your installation options.
What's
in
the
box
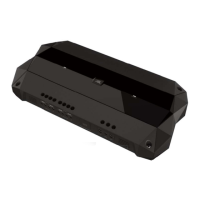
1 x amplifier
4x
speaker-level input adapter
4x
mounting screws
2x
spare fuses
INSTALLATION
AND
WIRING
1x E.A.R.L ground terminal
3x
self-tapping screws
1 x owner's manual
IMPORTANT: Disconnect the vehicle's negative (-) battery terminal before beginning the installation.
•
Wear protective eyewear when using tools.
•
Choose a safe mounting location, away from moisture. Check clearances on both sides
of
the location. Be sure that
screws will
not
puncture brake
or
fuel lines or wiring harnesses, and that wire routing will not interfere with vehicle
operation. Use caution when drilling or cutting.
•
When making electrical connections, make sure they are secure and properly insulated.
•
To
keep the amplifier cool, choose a location that provides enough air circulation, such as under a seat or
in
the trunk.
•
Do
not mount the amplifier with the heat sink facing downward, as this interferes with cooling.
•
Mount the amplifier so that it will not be damaged by the feet
of
passengers
or
shifting cargo
in
the trunk, and so that
it remains dry.
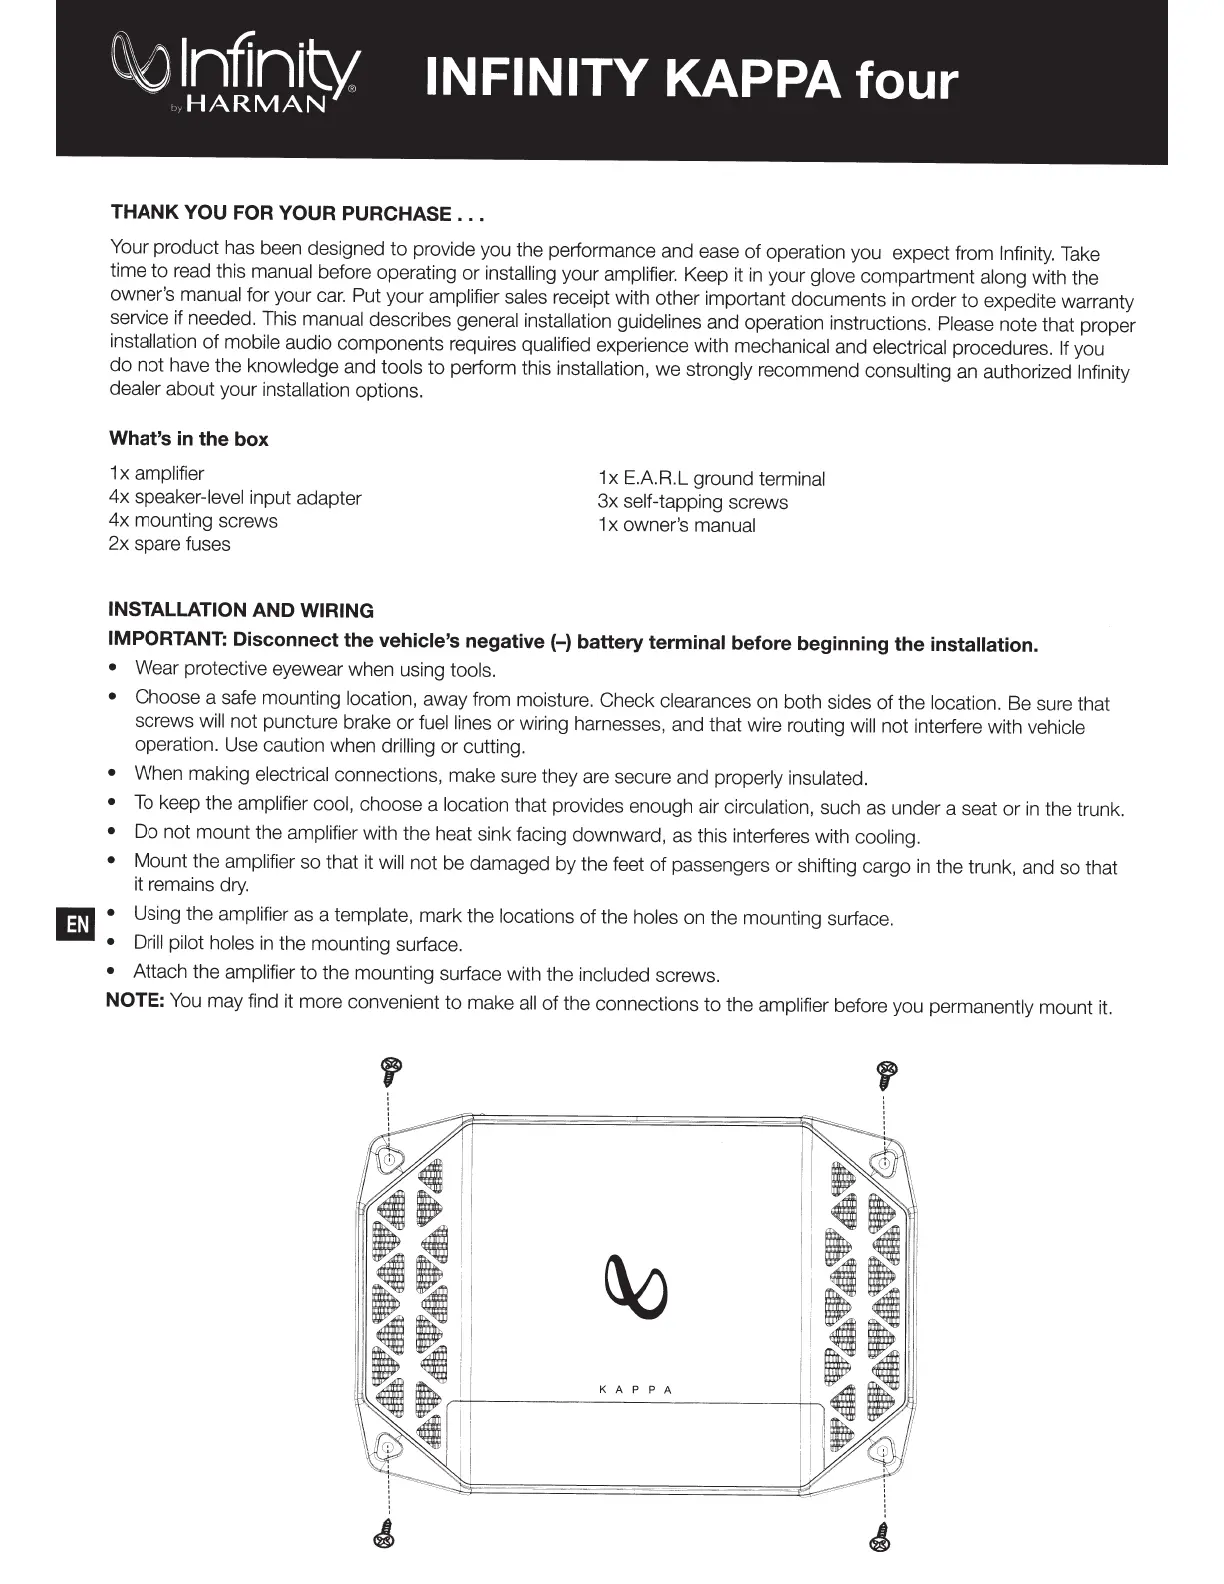
E •
Using the amplifier as a template, mark the locations of the holes on the mounting surface.
•
Drill
pilot holes
in
the mounting surface.
• Attach the amplifier
to
the mounting surface with the included screws.
NOTE:
You
may find it more convenient
to
make all
of
the connections
to
the amplifier before you permanently mount it.
K A P P A
 Loading...