99
www.jbl.com
English
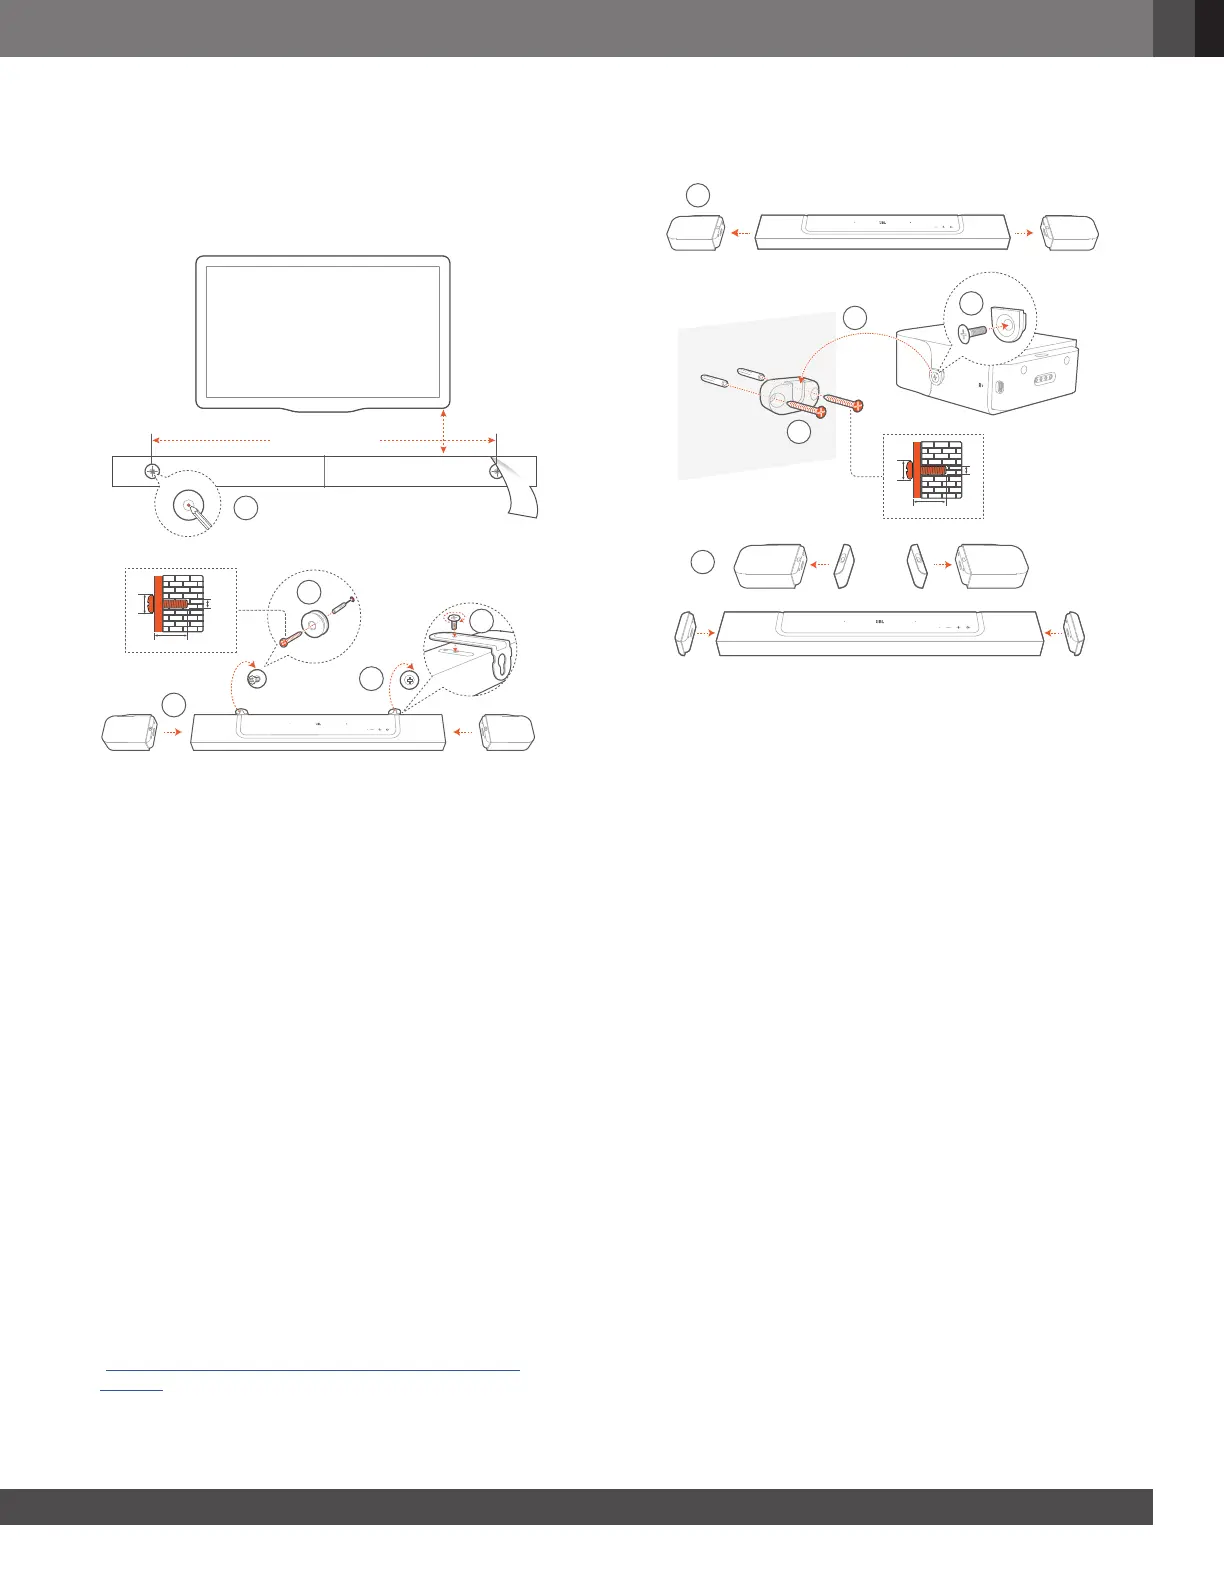
4.2 Wall-mounting
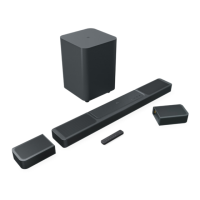
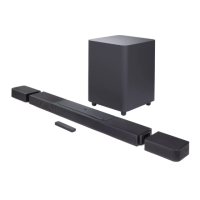
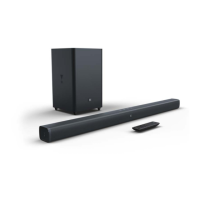
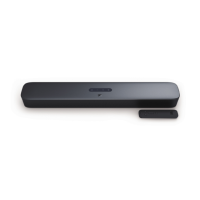
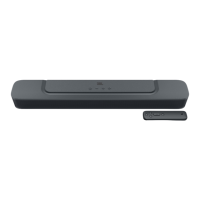
Wall-mount the soundbar and detachable rear speakers together
or separately.
4.2.1 Wall-mount the soundbar
5
1
2
≤8 mm/0.31"
4mm/0.16"
≥30 mm/1.18"
4
3
555.7 mm / 21.88”
1a)
1b)
1c)
> 50 mm/2’’
1. Preparation:
a) With the distance of about 2” (50mm) from your TV, stick
the supplied wall-mounting template to a wall by using
adhesive tapes.
b) Use your ballpen tip to mark the screw holder location.
Remove the template.
c) On the marked location, drill a 4 mm/0.16” hole.
2. Install the support for wall-mounting bracket.
3. With the screw, fasten the wall-mounting bracket onto the
bottom of the soundbar.
4. Mount the soundbar.
5. After the soundbar is securely wall-mounted, dock the two
detachable speakers onto the soundbar.
NOTES:
– Make sure that the wall can support the weight of the soundbar.
– Install on a vertical wall only.
– Avoid a location under high temperature or humidity.
– Before wall-mounting, make sure that cables can be properly
connected between the soundbar and external devices.
– Before wall-mounting, make sure that the soundbar is unplugged
from power. Otherwise, it may cause an electric shock.
– To move the soundbar, rst remove the two detachable speakers to
avoid accidental damage.
– Use the supplied side caps to cover the two ends of the soundbar
after you detach the rear surround speakers (See Step 5 under
“4.2.2 Wall-mount the detachable speakers as rear surround
speakers”).
4.2.2 Wall-mount the detachable speakers as rear
surround speakers
5
1
3
4
3
≥30 mm/1.18"
≤8 mm/0.31"
4mm/0.16"
2
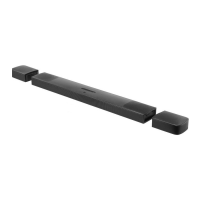
1. From the soundbar, remove the two detachable speakers.
2. Install the wall-mounting bracket.
3. Fasten the support onto the back of the speakers.
4. Mount the speakers.
5. Install the side caps as needed.

 Loading...