Do you have a question about the Hasbro Transformers Autobot Bumblebee 83807 and is the answer not in the manual?
| Product Type | Action Figure |
|---|---|
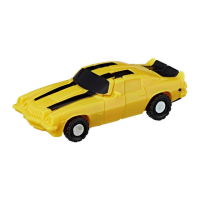
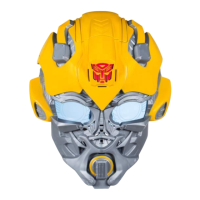
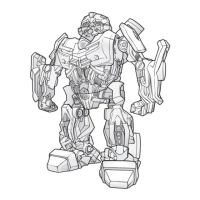
| Character | Bumblebee |
| Series | Transformers |
| Recommended Age | 5 years and up |
| Transforming Feature | Yes |
| Material | Plastic |
| Brand | Hasbro |
| Franchise | Transformers |
| Toy Type | Action Figure |
| Category | Toy |
| Type | Action Figure |
| Faction | Autobot |
| Assembly Required | No |
| Batteries Required | No |
| Product Name | Autobot Bumblebee |