20
ELECTRICAL CONNECTION
The installation of this appliance and the connection to the electrical system should be
entrusted only to a qualified electrician.
Protection against the parts under tension must be ensured after instalation
The data of connection necessary are on the stickers place on the hob casing near the
connection box.
The connection to the mains must be made using an earthed plug or via an omnipolar
circuit breaking device with a contact opening of at least 3 mm.
The electrical circuit must be separated from the network by adapted devices, for
example: circuit breakers, fuses or contactors.
If the appliance is not fitted with an accessible plug, disconnecting means must be
incorporated in the fixed installation, in accordance with the installation regulations.
The inlet hose must be positioned so that it does not touch any of the hot parts of the hob
or even.
Caution!
This appliance has only to be connected to a network 230 V~ 50/60 Hz
Always connect the earth wire.
Respect the connection diagram.
The connection box is located underneath at the back of the hob casing. To open the cover, use
a medium screwdriver. Place it in the slits and open the cover.
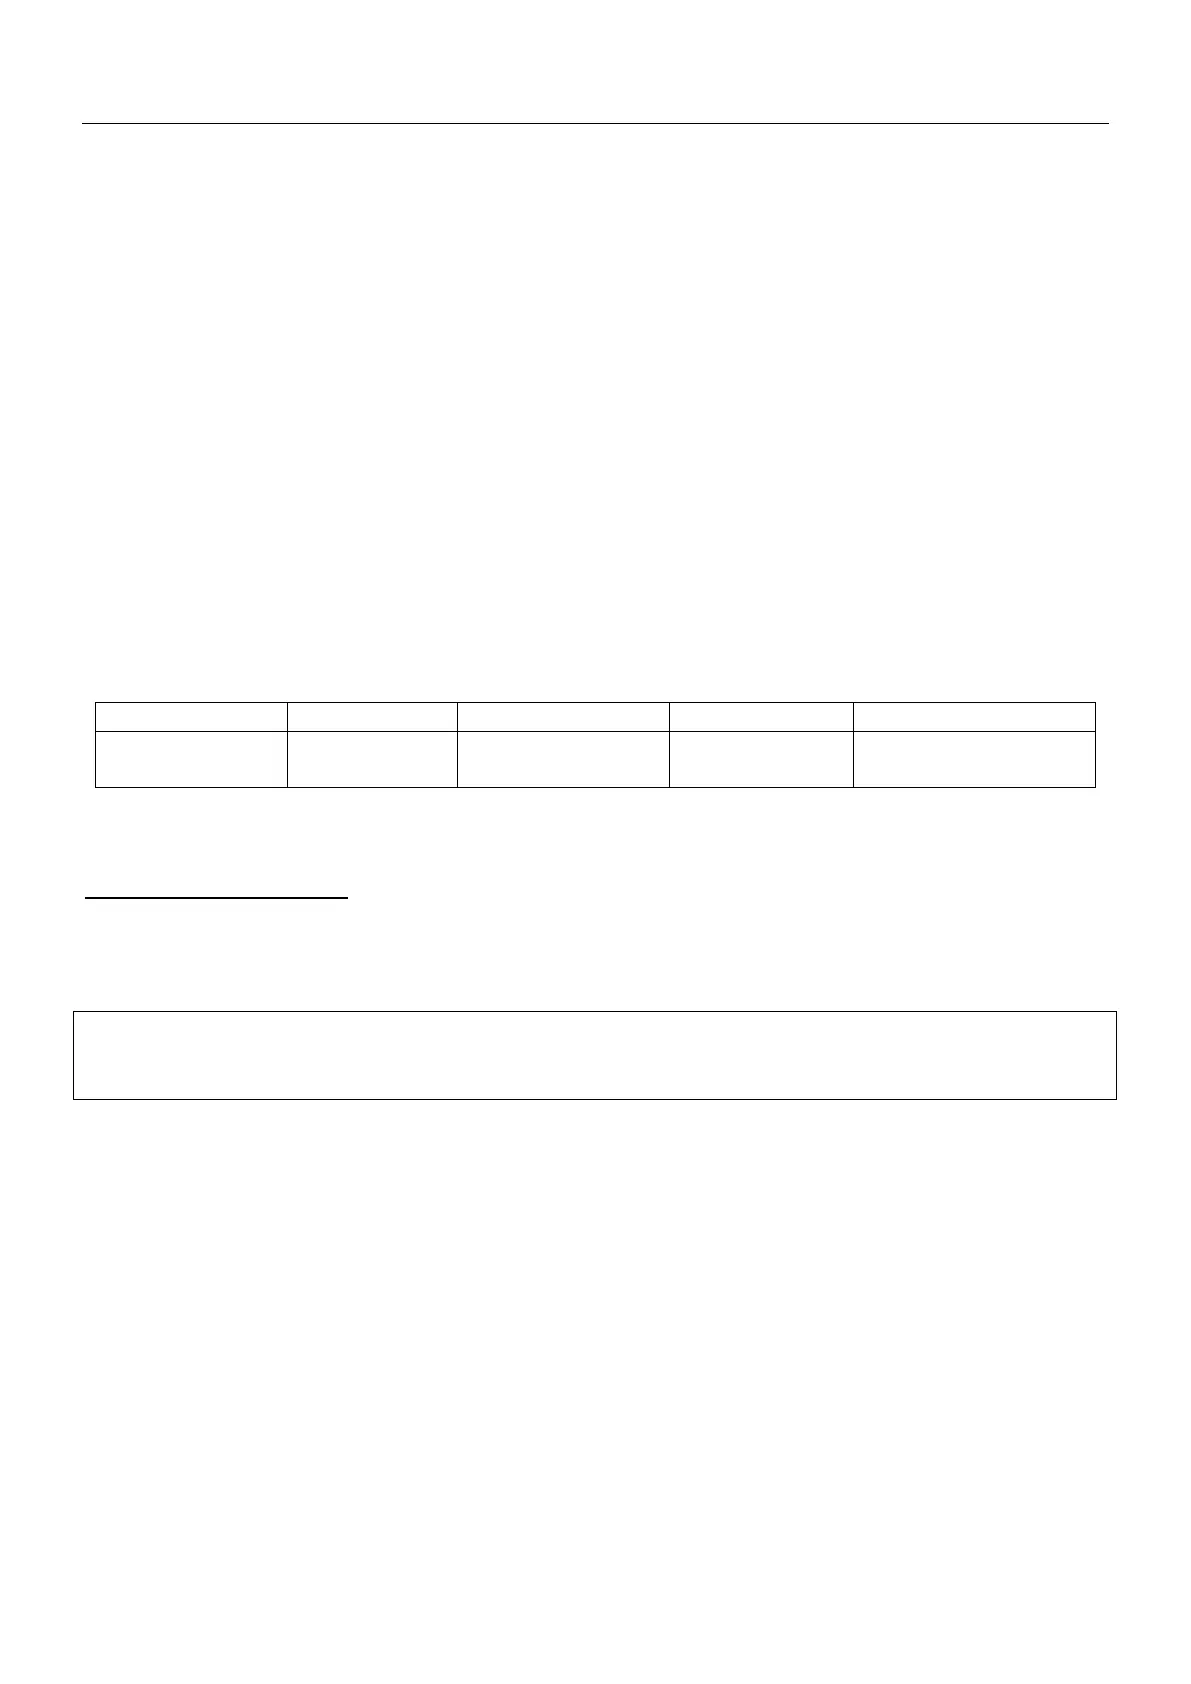
( * ) calculated with the simultaneous factor following standard EN 60 335-2-6/1990
Connection of the hob
Monophase 230V~1P+N
Attach the earth to the terminal “earth”, the neutral N to terminal N, the Phase L1 to one of the
terminals L1.
Caution! Be careful that the cables are correctly engaged and tightened.
We cannot be held responsible for any accident resulting from incorrect connection or
which could arise from the use of an appliance which has not been earthed or has been
equipped with a faulty earth connection
Mains Connection Cable diameter Cable Protection calibre
230V~ 50/60Hz
1 Phase + N
3 x 1,5 mm²
H 05 VV - F
H 05 RR - F
16 A *