EasyManua.ls Logo

HEIDENHAIN AK LIDA 48 User Manual

HEIDENHAIN AK LIDA 48
20 pages
To Next Page IconTo Next Page
Page #1 background imageLoading...
Page #1 background image
AK LIDA 47
AK LIDA 48
03/2020
Instrucciones de montaje
Cabezal captador
Para el montaje de la regla y las cintas de medida deben consultarse las instrucciones de montaje
suministradas por separado.
Istruzioni di montaggio
Testina di scansione
Per il montaggio della riga graduata e dei nastri graduati attenersi alle istruzioni separate.
Instructions de montage
Tête captrice
Pour le montage de la règle et des rubans de mesure, veuillez tenir compte des instructions distinctes.
Montageanleitung
Abtastkopf
Für Montage des Maßstabes und Maßbänder bitte separate Anleitung beachten.
Mounting Instructions
Scanning head
For mounting the linear scale and scale tapes, please refer to the separate Mounting Instructions.
Question and Answer IconNeed help?

Do you have a question about the HEIDENHAIN AK LIDA 48 and is the answer not in the manual?

HEIDENHAIN AK LIDA 48 Specifications

General IconGeneral
BrandHEIDENHAIN
ModelAK LIDA 48
CategoryMedia Converter
LanguageEnglish

Summary

General Safety Warnings

Qualified Specialist and Power Disconnection

Mounting and commissioning by qualified specialist, disconnect from power.

Scanning Head Mounting Configurations

LIDA 4x5 and LIDA 4x7 Mounting Options

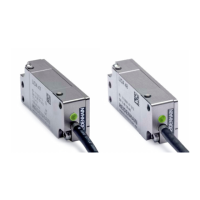
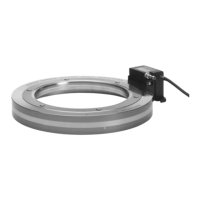
Diagrams showing mounting options for LIDA 4x5 and LIDA 4x7 scanning heads.

LIDA 4x3 and LIDA 4x9 Mounting Options

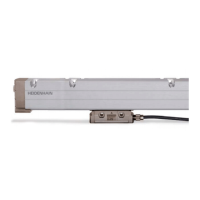
Diagrams showing mounting options for LIDA 4x3 and LIDA 4x9 scanning heads.

Specific Mounting Options and Adjustments

Mounting Option ⑪ and Blind Hole Usage

Details on using mounting option ⑪ and the blind hole for adjustment.

Scanning Head Mounting Procedure

Adjustment Procedure

Using PWT 100/PWT101 Diagnostic Set

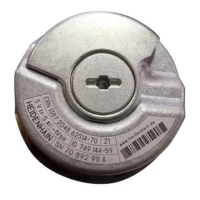
Perform adjustment using the PWT 100/PWT 101 encoder diagnostic set.

PWT 10x Diagnostic Menu Navigation

PWT Display and Signal Adjustment

Optimizing LIDA 47 Signal Amplitude

Reference Mark Adjustment

Traversing the Reference Mark

Traverse the reference mark with the scanning head.

Fine-Tuning Reference Mark Position

Adjusting Scanning Head Position

Tap to rotate scanning head, ensure incremental signals do not decrease.

Status Display and LED Indicators

Interpreting LED Status

Check LED status after adjustment: blinking green requires repeat adjustment.

Mounting Limit Switch Magnets

Setting Switching Signals with Magnets

Magnet Positioning for Switching Point

Move scanning head and magnet until diode lights up; mark and apply magnet for a 2mm tolerance.

Related product manuals