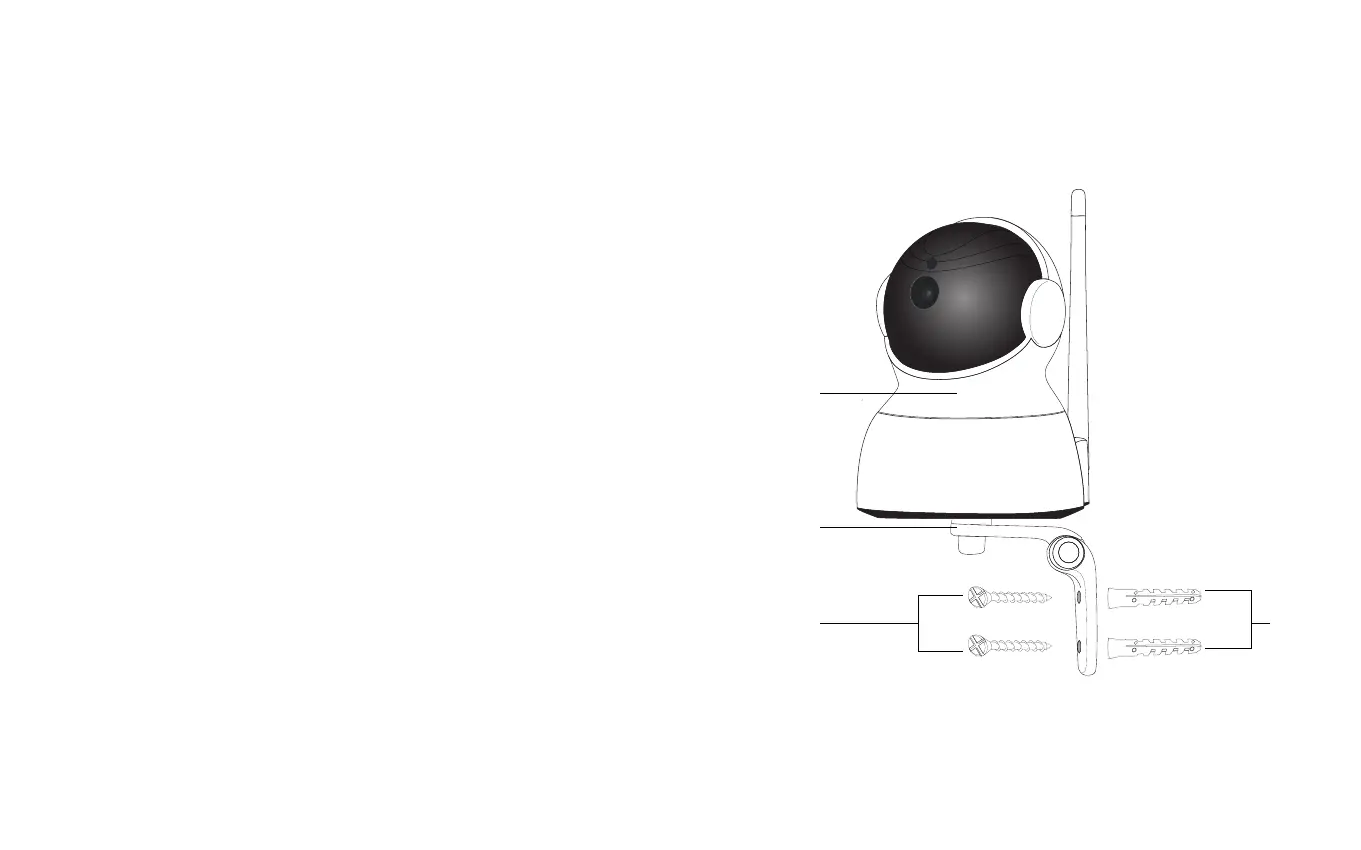
Mounting
1. Using a drill and drillbit, drill 2 holes 3 cm apart
according to the layout of the wall bracket (E).
2. Insert the wall anchors (G) into the new holes.
3. Using included screws (F) attach the wall
bracket to the wall (E).
4. Fasten the camera (A) to the wall bracket (E).
5. Connect the power supply and if not connected via
WIFI, insert the ethernet cable(D).
As wall materials vary screws for xing also vary. For
advice on suitible screw systems, contact your local
specialized dealer. You will need a screw driver, a drill
Determine where you want the camera to be placed.
Place the camera in reach of a power supply outlet.
Note: If using Wi-Fi, before mounting, ensure your
camera is in a position where Wi-Fi is accessible.
Thick and/insulated walls can greatly reduce the
signal strength of your WiFI camera. (Connections via
ethernet cable ensures the most reliable connection
to your network)
Mounting
F
E
G
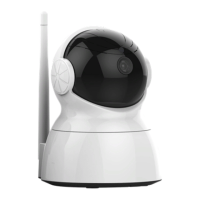
A