10
(also see
”One more tip”)
The table shows the possibilities
permitted in the various countries:
• Ruler
• Screwdriver for recessed-head screw
• Combination pliers
Tools required:
• 8, 14 mm open end or box wrench
• Drill with 3, 10 and 12 mm dia. bits
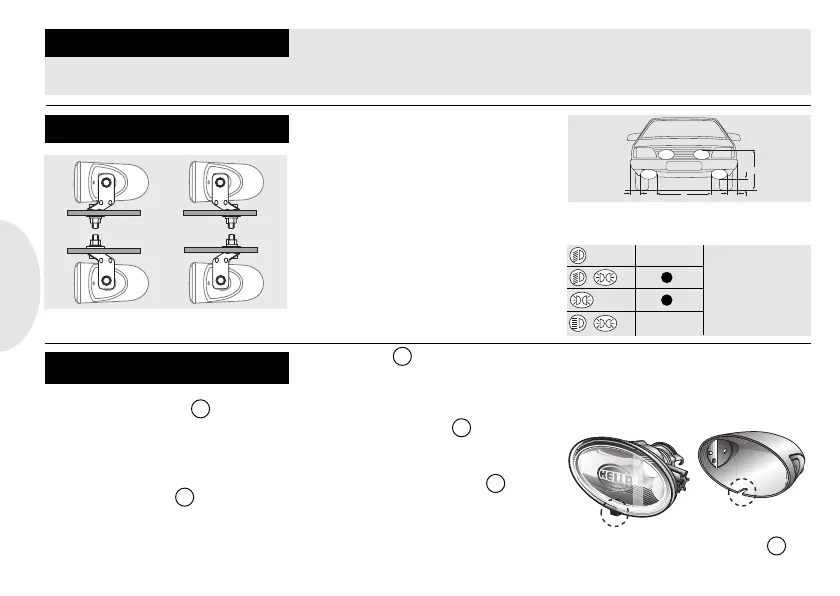
For mounting pendant/upright
above or below bumper. Lamp
should not vibrate or extend above
the bonnet and must be attached
symmetrically.
•Determine mounting position and
mark mounting points.
•Drill pilot hole with 3 mm dia. bit
and then bore out to 10 mm.
Protect drilled metal parts with rust
protection paint.
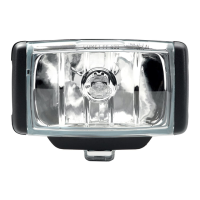
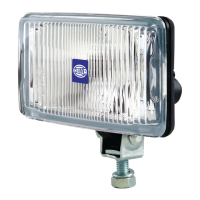
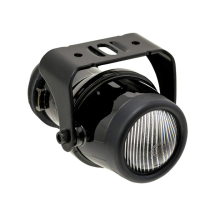
Page 4/5: Assembly
• Push rubber sheath 1 from the
outside into the headlamp housing
(soap might help to make it slip
through better) and thread cables
in through the sheath.
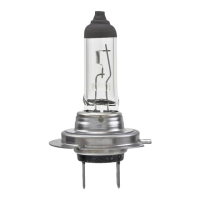
• Screw spring clip 2 for bulbs into
headlamp insert.
• Put in bulb 3 and secure with
spring clip.
Do not touch the bulb glass with
bare hands.
• Crimp cables to lug 4 and attach
to bulb. TOP mark at top, cables
going out towards the left.
• Screw bracket to vehicle 5 .
• Screw headlamp to bracket 6
and align.
• Plug headlamp insert into
headlamp housing (groove
always at bottom – Hella logo
always visible).
Preparation: