USE
The Helly Hansen inflatable lifejacket ensures maximum freedom of movement and is ideal for
use in boats. The jacket can be used in coastal waters/inshore when combined with suitable
clothing. Is not suitable if you are using heavy tools or other equipment. Full performance may not
7 8
be acchieved using waterproof clothing or in other circumstances. Refer to the leaflet.
Lifejackets reduce the risk of drowning, but do not guarantee safety in the event of an accident.
USER GUIDELINES
United Moulders Halkey Roberts
Understanding how to use the lifejacket increases safety. Read the manual and practice using the
vest. The lifejacket must be fully inflated to be fully functional. When inflated, it will turn an
unconscious person over to ensure the correct float position, keeping the mouth well clear of water.
• When evacuating at sea with an inflated jacket, keep your arms crossed over the jacket.
• Hang the jacket vertically to dry after use.
• Store jackets in a dark, well-ventilated place.
• Jackets must not be stored in plastic bags.
• Storing and drying in humidity and heat may inflate the jacket.
•
Warning: Gas cylinders are dangerous goods. They should be kept away from children and not
be misused.
• Do not use as a cushion.
• Train yourself in the use of the device.
CARE AND MAINTENANCE
The lifespan of the lifejacket will be extended if routine maintenance is carried out annually.
Maintenance intervals start from the date of purchase and are as follows:
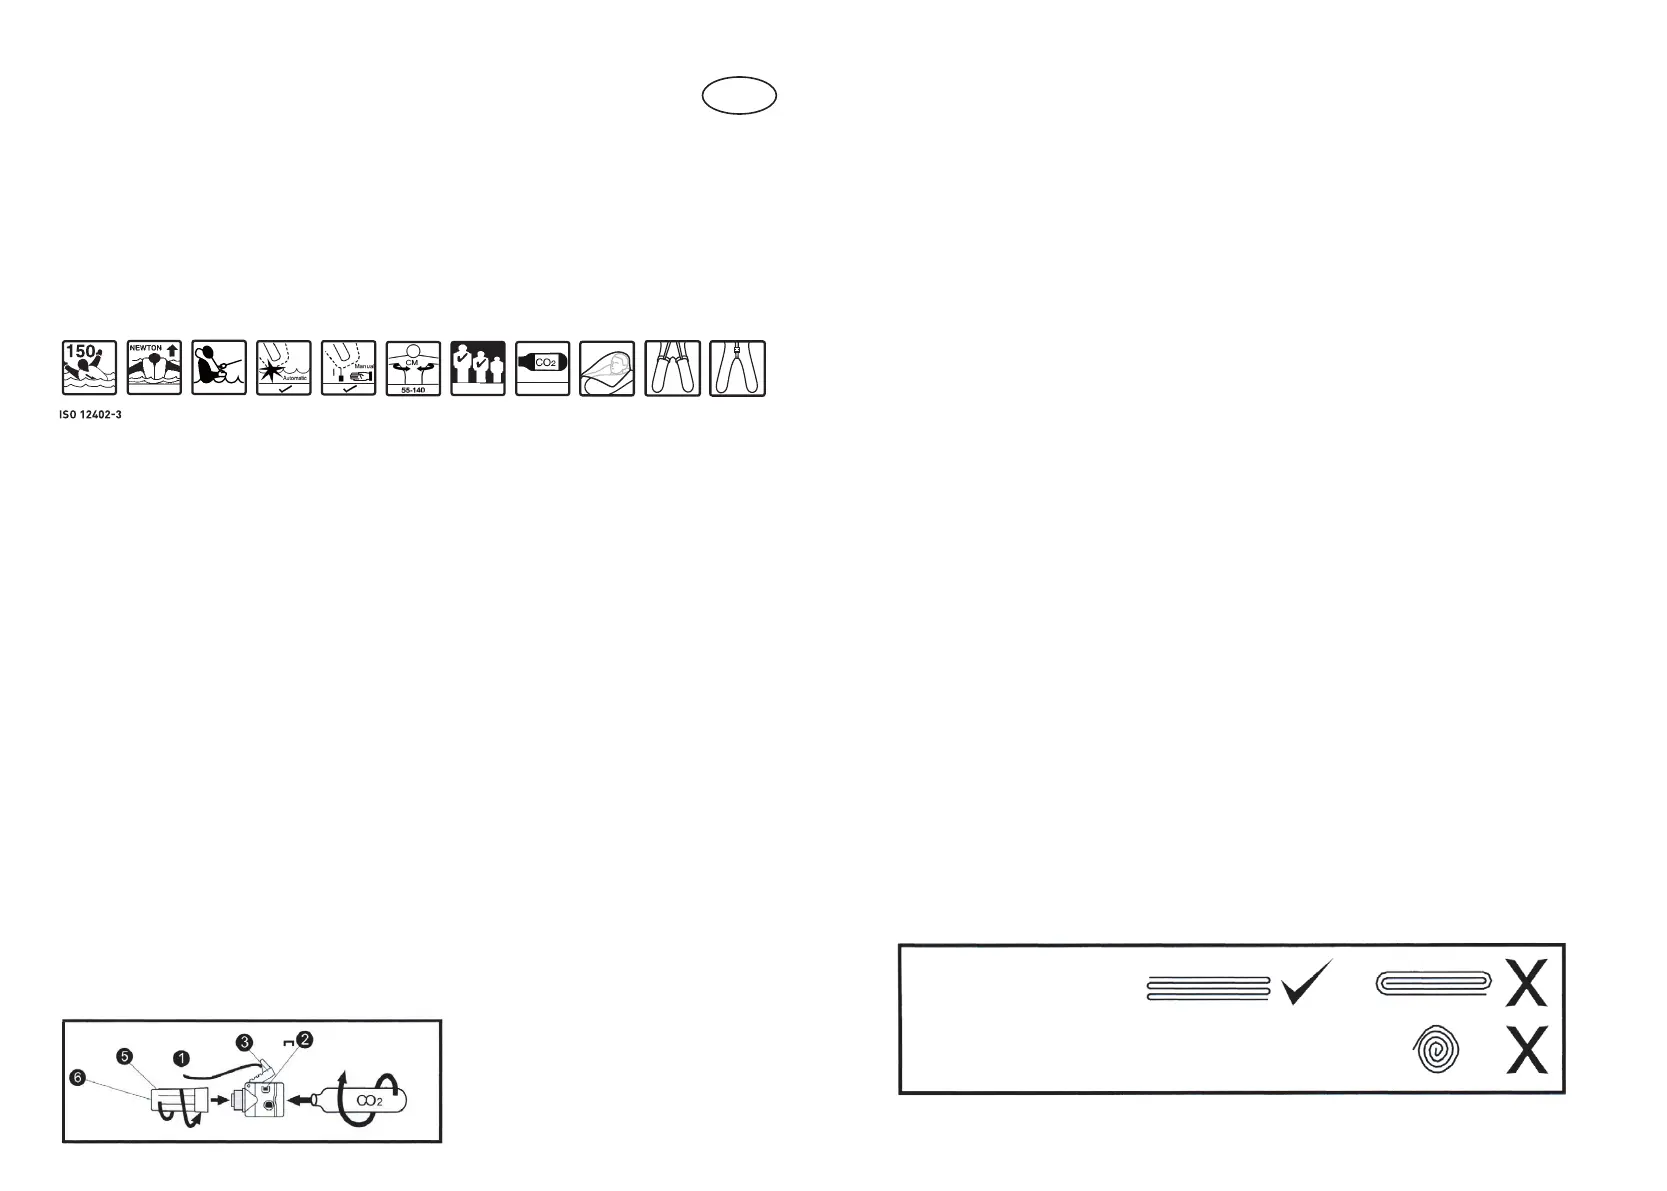
1. Rinse the lifejacket, especially after use in seawater. Soiled lifejackets can be washed with
soap and water.
Turn off the automatic inflation mechanism (5) before washing (not applicable for CM Hammar).
Jackets must not be dried at high temperatures or under direct heat.
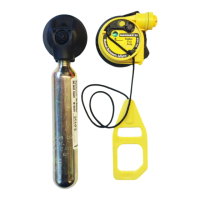
2. Inspect the CO
2
cartridge annually (not applicable for CM Hammar). Look for corrosion, check that it
has not been triggered and that the weight of the
cartridge matches the stamped weight.
3. Check the air chamber for excessive wear. Also check straps, stitching and buckles.
4. For professional use, the automatic inflating mechanism (5) must be replaced annually. For
recreational use, we recommend replacement every two years. For CM Hammar inflators
we recomend replacement after five years.
5. Check the air chamber by blowing it up using the inflation tube. Leave the jacket inflated
overnight. If the jacket has a leak, or is otherwise damaged, it must be taken to an importer-
approved service center. Never attempt to repair the jacket yourself.
NB! CO
2
cartridges must not be triggered once the jacket has been inflated with the filler tube.
FITTING THE AUTOMATIC INFLATION MECHANISM/REARMING INSTRUCTIONS
United Moulders and Halkey Roberts: (for CM Hammar inflators, see separate page)
1. Check that the trigger arm (3) is in the raised position.
2. Press the colored clip (2) into the groove so that the trigger arm is held in place.
3. Make sure that the CO
2
cartridge is not damaged.
4. Screw the CO
2
cartridge firmly in place.
Point 5 must only be carried out in dry conditions and with dry hands:
5. Screw the automatic inflation mechanism (5) firmly into place. Ensure that the colored button
(6) is clearly visible. Only use original CO
2
cartridges and triggers.
CHECK BEFORE USE:
Inspect that the jacket is not damaged, and check that the inflation mechanism is ready to use.
See the front page of this booklet which of the three alternatives applies for your lifejacket.
Follow the corresponding instructions on page 1 (United Moulders), 3 (CM Hammar) or 5 (Halkey
Roberts).
DRESS
Put the lifejacket on as you would a normal jacket. Check that the front buckle is properly
closed. Adjust the belt so that it fits tightly around the body. The back strap can be adjusted by
pulling the belt up higher. Attach the crotch straps or leg loops.
SAFETY LINE (IF APPLICABLE)
The safety line (ISO 12401) is designed for protection if you fall overboard – not as a safety line
for falls from great heights. The anchor point must withstand a force of 1000 kg. The line is
unreliabl
e when carried loosely.
HELLY HANSEN INFLATABLE LIFEJACKET
Inflatable lifejacket
MAINTENANCE OPERATION AND PACKING
1. Deflate the jacket by turning the valve cap on the inflation tube and pressing it in towards the
tube.
2. Press the air out by rolling the air chamber tightly. Do this a few times to expel all the air.
3. The jacket must be clean and dry.
4. Place the jacket on a flat surface and smooth out the air chamber so that all the creases are
removed.
5. If necessary, refit the automatic inflation mechanism and CO
2
cartridge.
6. PACKING: Fold the outer edge of the air chamber down and in towards the center.
Then fold from the inner edge and out over the first fold. Close the velcro/zipper on the
sides. Check that the lanyard (1) is visible on the outside of the cover.
Fold the top part of the jacket three times and close with the velcro/zipper.
Min. 40 kg
33 grm
150
AUTOMATICBUOYANCY MANUAL CHEST
WIDTH
WEIGHT CARTRIDGE SPRAY
HOOD
LEG
LOOPS
CROTCH
STRAP
EN
PACK AFTER USE
Fold towards the center
HU: HASZNÁLAT ELŐTT ELLENŐRIZZE A KÖVET-
KEZŐKET 1. Húzza le a cipzárt. 2. Ne használja, ha a 2
színindikátor közül az egyik piros. 3. Csavarja le a
gázpalackot. 4. Ellenőrizze, hogy nem lyukadt-e ki.
Cserélje ki, ha lyukas a vége. 5. Csavarja vissza a
gázpalackot a helyére. 6. Csavarja le az elsütő patront.
7. Cserélje ki, ha eltelt több mint 6 év a gyártás óta.
Megjegyzés: Akkor is cserélje ki, ha eltelt több mint 2
év a vásárlás óta. 8. Csavarja vissza az elsütő patront
a helyére. 9. Húzza fel a cipzárt. 10. Ellenőrizze, hogy
látható-e a manuális berántózsinór.
RO: ÎNAINTE DE UTILIZARE, VERIFICAŢI DAC
Ă
1. Deschideţi fermoarul. 2. Nu utilizaţi dacă oricare
din cele 2 indicatoare de culoare sunt roşii. 3.
Deşurubaţi cilindrul cu gaz. 4. Verificaţi dacă acesta a
fost perforat. Înlocuiţi dacă există vreo perforaţie în
vârf. 5. Înşurubaţi şi fixaţi cilindrul cu gaz la locul său .
6. Deşurubaţi cartuşul de tragere. 7. Înlocuiţi-l dacă au
trecut mai mult de 6 ani de la data fabricării. NB: De
asemenea, înlocuiţi-l dacă au trecut mai mult de 2 ani
de la data achiziţiei. 8. Înşurubaţi şi fixaţi cartuşul de
tragere la locul său . 9. Închideţi fermoarul. 10.
Verificaţi dacă este vizibil cablul de umflare manual.
SK: PRED POUŽITÍM SKONTROLUJTE
1. Rozopnite zips. 2. Nepoužívajte, ak je ktorýkoľvek z 2
farebných indikátorov červený. 3. Vyskrutkujte plynovú
bombičku. 4. Skontrolujte, či nie je prepichnutá. Ak je na
špičke diera, vymeňte ju. 5. Pevne zaskrutkujte plynovú
bombičku späť na svoje miesto. 6. Vyskrutkujte
bombičku. 7. Vymeňte ju, ak od dátumu výroby prešlo
viac ako 6 rokov. NB: Vymeňte ju aj v prípade, ak od
dátumu kúpy prešli viac ako 2 roky. 8. Pevne zaskrutku-
jte bombičku späť na svoje miesto. 9. Zapnite zips. 10.
Uistite sa, že šnúra na manuálne nafúknutie je viditeľná.
PT: VERIFICAÇÃO ANTES DA UTILIZAÇÃO
1. Abra o fecho. 2. Não utilize se algum dos dois
indicadores de cor estiver vermelho. 3. Desaperte a
botija de gás. 4. Verifique a existência de perfurações.
Proceda à substituição se existir um furo na ponta. 5.
Volte a apertar a botija de gás no lugar com firmeza.
6. Desaperte o cartucho de disparo. 7. Proceda à sub-
stituição se já tiverem passado mais de 6 anos desde
a data de fabrico. Nota: proceda também à sua substi-
tuição se já tiverem decorrido mais de 2 anos desde a
data de compra. 8. Volte a apertar o cartucho de dis-
paro no lugar com firmeza. 9. Feche o fecho. 10. Veri-
fique se o cordão de enchimento manual está visível.
.
ISO 12401
DECK
HARNESS
For more information, see HELLYHANSEN.COM/LIFEJACKETS
 Loading...