BX616 Portable Multi-gas Detector Using Manual
4
6. Data upload
Connect the detector to computer through the data cable (Min USB terminal connects to the
interface on the bottom of the detector, and DB9 terminal connects to COM port of computer).
Turn on the tester and run the software. Then you can choose to upload the testing record to the
computer. Please refer to the using manual of the software for more details.
7. Charging
Please charge the detector when it shows low battery or the detector can’t be turned on due
to low battery. Before charging, please turn off the detector. After you connect the charger correctly
between the detector and AC power source, the detector will be turned on automatically. On the
screen, battery indication will show you how much the battery is charged. When the battery mark
on the screen is full and doesn’t change any more, it means the charging is completed. Please pull
off the charger.
Warning: During charging status, the detector can’t detect the gas leakage. Please do not try
to charge it at testing places to avoid fire or explosion. Please do not charge it when the detector is
working to avoid potential damage.
8. Using and replacement of the gas sensor
The detector adopts gas sensor module. Please pay attention to the life of the gas sensor and
replace it in time. In order to assure the accuracy of the gas sensor, please calibrate it every half
year.
For replacement, we only send out separate gas sensor and calibration file. You can replace
the old gas sensor, and then write the calibration program into the detector’s MCU through our
software. After that, replacement is completed.
9. Possible fault and corresponding solution
Possible fault Possible reason Corresponding solution
Too low battery Please charge it in time.
The detector dies Please contact the manufacturer of dealer
The detector can’t be turned on
Fault of electric circuit Please contact the manufacturer of dealer
Warm up is not finished Wait till warm up is finished No response to the gas
Fault of electric circuit Please contact the manufacturer of dealer
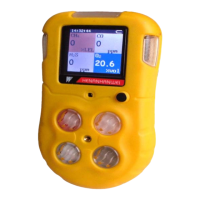
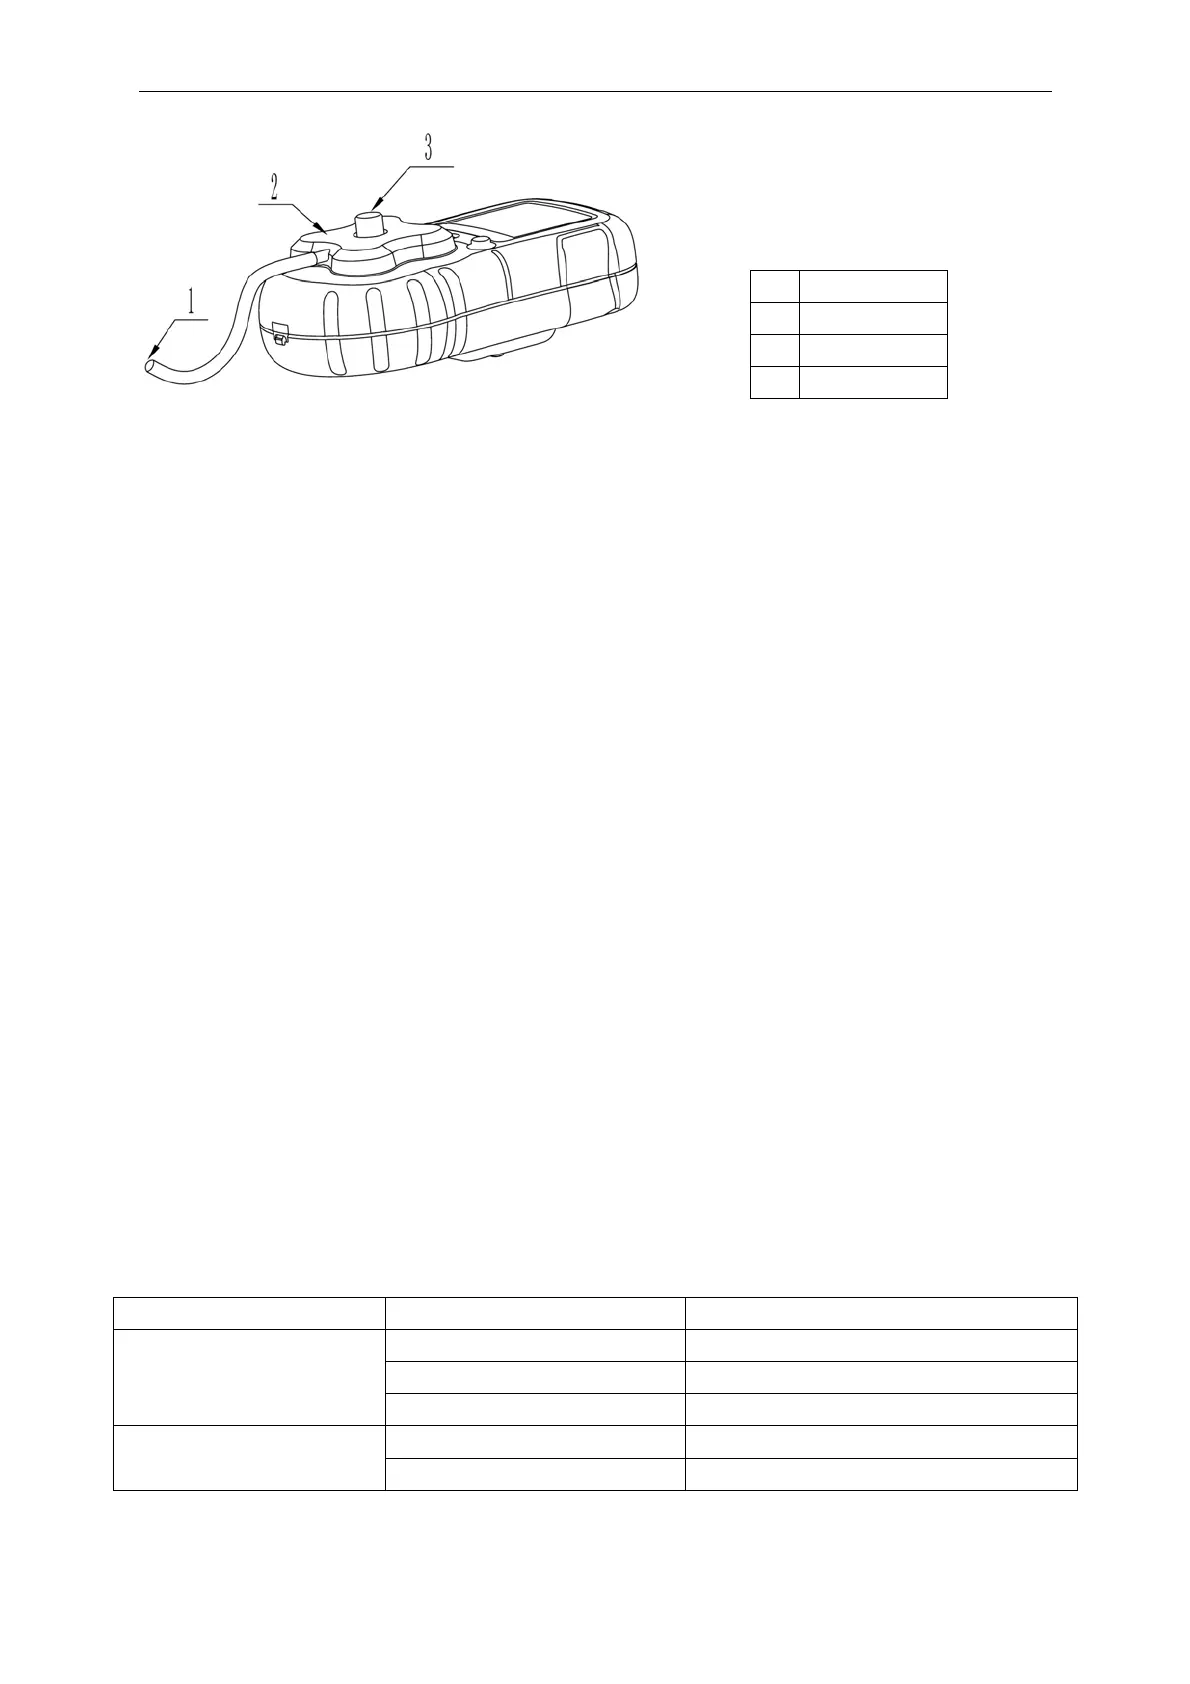
No. Name
1 Gas input hole
2 Calibration map
3 Screwing nut
 Loading...