For optimum pickup pe
For op t imum p i ckup p e
rf
ormance and ease of installation, please take a
ormance and e a se of install ation, please take a
moment to read through this Installation Guide before beginning. Thank You.
moment to read through this Installation Guide before beginning. Thank You.
iP-2 INSTALLATION
THIS INSTALLATION SHOULD ONLY BE UNDERTAKEN BY AN EXPERIENCED LUTHIER
THI S I NS TA LL AT ION S HOU LD ON LY BE UN DER TAKEN B Y A N EXP ER I EN CED LUTH IER
OR A GOOD WOODWORKER WITH EXPERIENCE WORKING ON ACOUSTIC STRINGED INSTRUMENTS.
OR A G OO D WOOD WO RK ER WIT H EXP ER IEN CE WO RKI NG ON ACOUS TI C S TRI NG ED IN STR UME NTS .
Using the wrong techniques or tools could result in permanent damage to your guitar.
Highlander is not responsible for any damage resulting from the installation of this pickup system.
Parts Included:
Qty. Description
1 Pre-wired iP-2 Pickup/Preamp Assembly with an Access Jack
For connecting a 2nd source
2 Battery Holder Clips for 9 Volt Battery
3 Pieces of Self Adhesive Velcro® for cable strain relief
1 Stereo Mini-Plug for connecting a second transducer to the iP-2
Tools Required:
1) HAND DRILL or ELECTRIC DRILL (cordless preferred)
2) MILLING MACHINE or ROUTER AND SADDLE SLOTTING JIG
Used for routing the groove
3)* 17/32" (13.5mm) DRILL BIT, RELIEVED ON RAKE EDGES
Used for drilling guitar end block for the strap jack
4)* 9/16"-12 TPI NC TAP & MACHINIST'S TAP HANDLE
Used for threading end block to accept the strap jack
5)* 1/16" (1.6mm) DIAMETER BALL ENDED END MILL
Used for routing the groove in the bottom of the saddle slot
6) 3/32" (2.5mm) TWIST DRILL BIT
Used for drilling both holes in the saddle slot for the pickup
7) MILLING MACHINE or DISC / BELT SANDER or
MACHINIST'S VISE AND FILE. STRAIGHT EDGE
Used for reducing saddle height to
compensate for the pickup thickness
* The following installation tools are available from Highlander:
17/32" drill bit
9/16"-12TPI tap bit
1/16" router bit
These tools are available individually or as the 'iP-installation kit'
The information and graphics contained in this document are the property of Highlander Musical Audio Products. Copying of any kind is prohibited, except for personal use only.
©
Highlander Musical Audio Products 1991-2009
The 2nd source is hard wired
from the Tip of the Access Jack
to the Ring on the Output Jack.
The iP-2 does not include a 2nd
preamplifier for the 2nd source.
Output Jack
Tip: Pickup and Preamp Out
Ring: 2nd Source Out
Shield: Ground
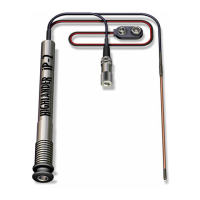
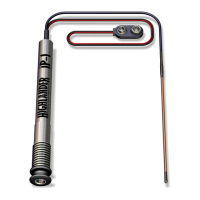
This innovative screw thread is designed
to stay in place regardless of variations in
the end block as it expands and contracts
due to humidity and temperature changes.
By eliminating the typical machine thread
and nut, our preamp will never come loose
and require the awkward task of tightening
a nut at the end pin block inside the guitar.
The elegant strap button holds the strap
securely and will never untwist or loosen.
The iP-2 is turned on when a guitar cord is plugged in
and turned off when it is unplugged, saving the battery.
For more information check out our web site:
highlanderpickups.com
Tip Shield
Shield
Ring must be left open
(unconnected)
Hot
Magnetic
Pickup
Tip Ring
Tip Shield
Shield
Sleeve
Ring must be left open
(unconnected)
Electret
Condenser
Mic
Hot
Wiring for a Phantom Powered, Electret Microphone.
Wiring for a Phantom Powered, Electret Microphone.
Wiring for a Passive Magnetic, Sound Hole Pickup.
Wiring for a Passive Magnetic, Sound Hole Pickup.
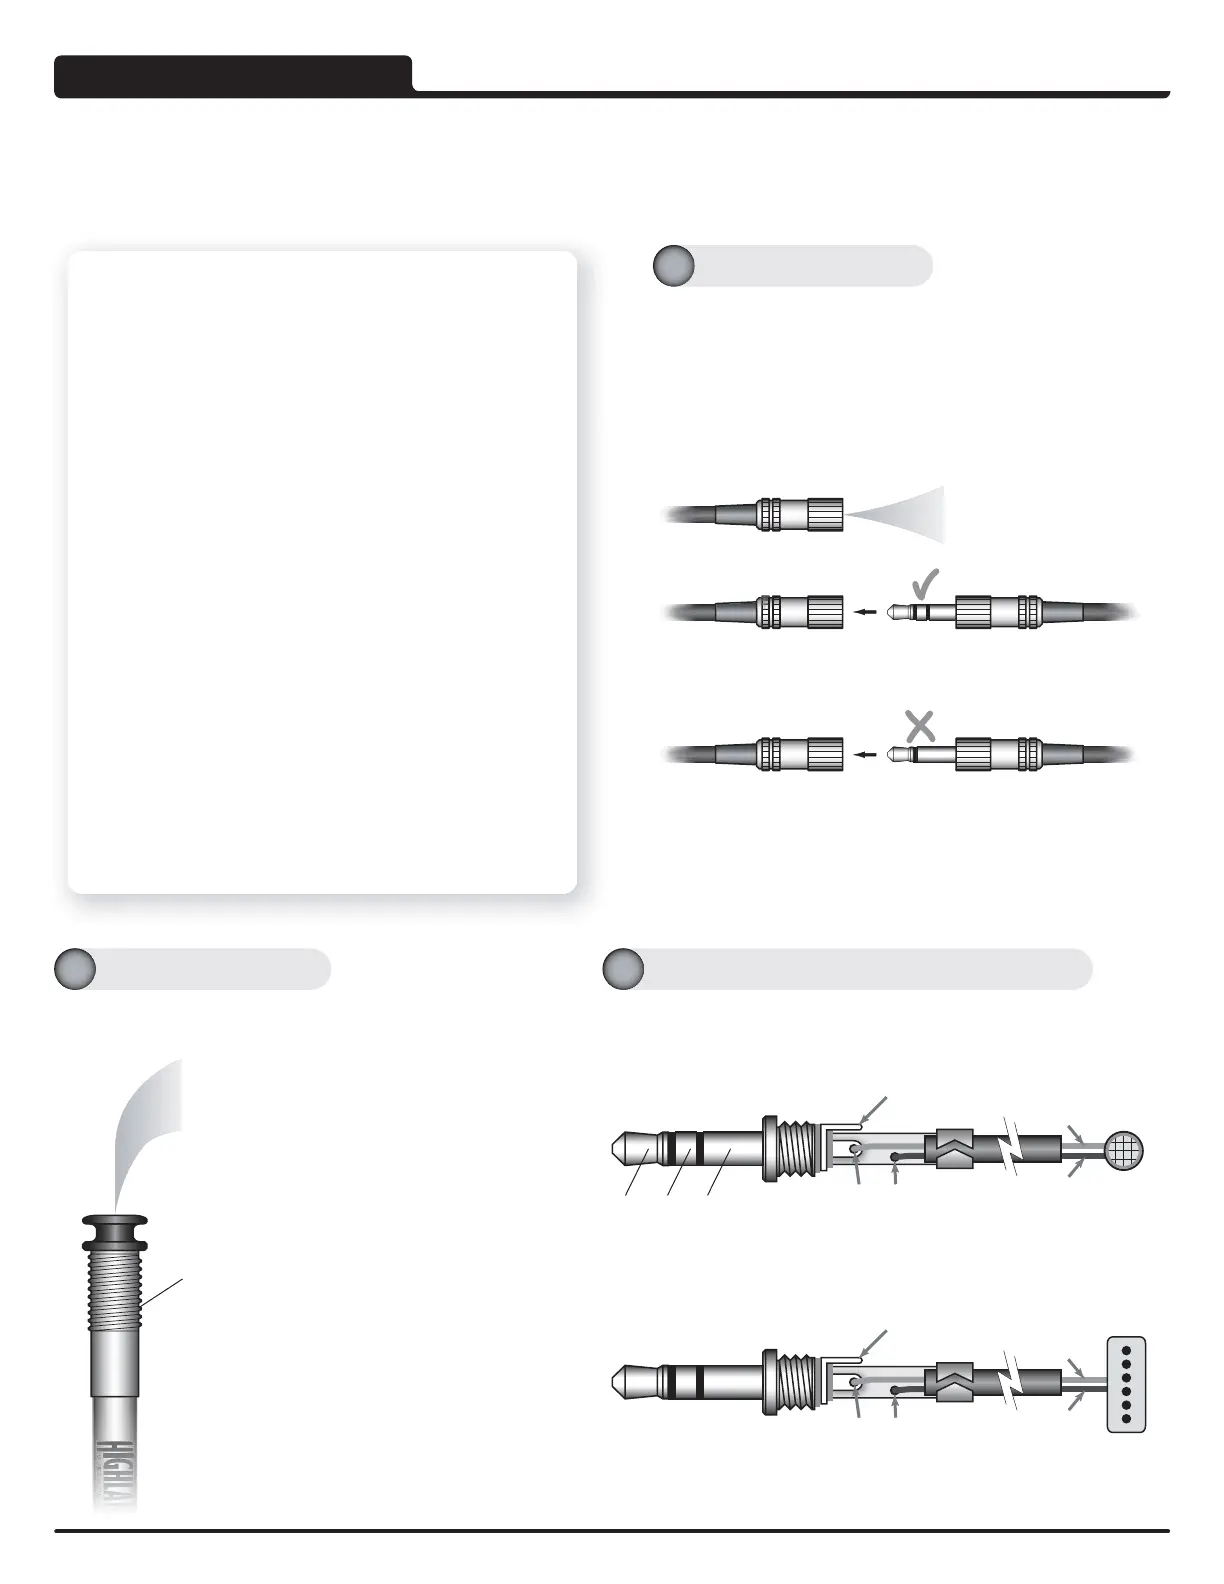
Never use a Mono Male to connect to the Access Jack.
Never use a Mono Male to connect to the Access Jack.
+9 Volt power on the ring will be shorted out causing the battery
+9 Volt power on the ring will be shorted out causing the battery
to seriously overheat.
If this inadvertenlty happens during installation, the battery has been
compromised and must be changed.
A High Quality 3.5mm Stereo Male is provided with every iP-2.
Always Use a Stereo Male to connect to the Access Jack.
Always Use a Stereo Male to connect to the Access Jack.
When connecting a mono source, the stereo plug must still be used
with the ring left unconnected.
Tip: 2nd Source Audio
Ring: +9 Volt for 2nd Source
Shield: Ground
The Access Jack (AJ) is a 3.5mm Stereo Female Jack that enables a
2nd Source to be used with the iP-2 including a magnetic sound hole
pickup or an electret microphone such as our 'Internal Mic' . Power for
active pickups or electret microphones is provided on the ring of the AJ.
The power at the AJ is 'on' only when the guitar is plugged in.
Both signals are available separately at the output Jack, enabling both
sources to be connected to separate sound systems or amplifiers.
Both signals can be combined using a good quality mixer such as our
'Pro Acoustic Mix DI'.
About the Output Jack Typical wiring for the 3.5mm Stereo Mini Jack
About the Access Jack
 Loading...