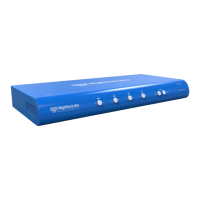
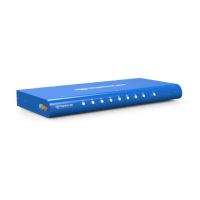
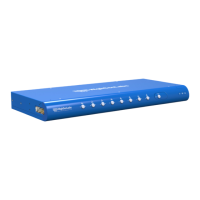
SM20N-N • SM40NU-N • SM80NU-N
| QUICK INSTALLATION GUIDE
©2017 All rights reserved. HSL logo and product names are trademarks or service trademarks of HighSecLabs Ltd (HSL).
All other marks are the property of their respective owners. Images for demonstration purposes only.
HDC15320 Rev. 1.0
SM40NU-N Model is shown
Quick Installation Guide
2/4/8 Ports KM Switches
3.0
1
2
4
3
Objectives
• ThisguideincludesinstructionsforinstallingHSLSM20N-N, SM40NU-N, SM80NU-N KMdevices.
• AKMallowssharingkeyboard,mouse,audioandUSBperipheralsbetweenmultiplecomputers.
• ForfurtherassistancepleaserefertoHSLwebsite:http://www.highseclabs.com
General
• Verifythatallperipheralsandcomputersareturnedoffpriorto
connectingthemtotheproduct.
• TheKM’sbackpanelisdividedintoConsolePortsandComputer
Portssections.
– ConnectperipheralswhichareduetobesharedbytheKMto
theConsoleports.
– Connecteachcomputerthatrequiresaccesstotheshared
peripheralstoaComputerportgroup.
– Makesurethateverycomputerisconnectedtoaseparate
Computerportgroup.
– Computerportgroupnumbersarerepresentedbypush
buttonsontheproduct’sfrontpanel.
– Switchperipheralsbetweencomputersbypressingthepush
buttonsontheproduct’sfrontpanel.
Connect peripherals to the KM
Console ports:
• Keyboard:ConnectaUSBkeyboard
tothecorrespondingKMconsole
keyboardport.
• Mouse:ConnectaUSBmouseto
thecorrespondingKMconsole
mouseport.
• Audio out peripherals: Connect
headphones/speakerstothe
KMconsoleaudio-outports
(coloredgreen).
• USB peripherals:ConnectUSB
peripheralstotheKMconsoleUSBports.
• Audio in peripherals: Connecta
microphonetotheKMconsoleaudio-in
ports(coloredpink).
Note:InSM80NU-NmodeltheUSBconsole
portsaresituatedontheproduct'sfront
facingpanel.SM20N-Nmodeldonothave
USBconsoleports.
Connect computers to the KM
Computer ports:
• Computer keyboard & mouse
connection: Connecteachcomputer
totheKMkeyboard&mousecomputer
portusingaUSBAtoUSBBcable.
ConnecttheUSBAendtothecomputer
andtheUSBBendtoKM.
• Computer audio connection:
ConnecteachcomputertotheKM
audio-inandaudio-outportsusingan
audiocable.
Connectoneendofthecabletothe
computer’saudioportusingthe1/8"
(3.5mm)stereoplug.Connecttheother
endoftheaudiocabletotheKMaudio-
in/audio-outcomputerport.
• Computer USB peripherals:Connect
eachcomputertotheKMUSBcomputer
portusingaUSBAtoUSBBcable.
ConnecttheUSBAendtothecomputer
andtheUSBBendtoKM.
• Computer video connection:
Directlyconnectamonitortoeach
comp
uter.Multi
-monitorcomputers
requiredriverinstallation,currently
availableonlyforWindows(http://
highseclabs.com/dl.php?fid=446).
Power ON your system:
• Power ON the monitor:Makesure
thatthemonitoristurnedONpriorto
poweringONtheKM.
• Power ON the system:Connectall
peripheralsandcomputerstotheKM
priortopoweringitup.PowerONthe
KMbypluggingittotheACwalloutlet.
Bydefault,afterproductpower-up,
theactivechannelwillbecomputer#1,
indicatedbytheapplicablefrontpanel
pushbuttonLEDlit.
Note:PowerONself-test:Astheproduct
powers-upitperformsaself-testprocedure.
Incaseofself-testfailureforanyreason,
includingjammedbuttons,theproductwillbe
Inoperable.Self-testfailurewillbeindicatedby
abnormalLEDbehavior–forfurtherinformation
pleaserefertotheKMsetupguide.
Switching between computers:
• Switchbetweencomputersbypressing
thecorrespondingfrontpanelbutton
ontheKM.Thefrontpanelbuttonof
theselectedcomputerwillilluminate.