EasyManuals Logo

HIKVISION DS-2DE2A404IW-DE3 User Manual

HIKVISION DS-2DE2A404IW-DE3
117 pages
To Next Page IconTo Next Page
To Previous Page IconTo Previous Page
Page #86 background imageLoading...
Page #86 background image
User Manual of Network PTZ Camera
© Hikvision
78
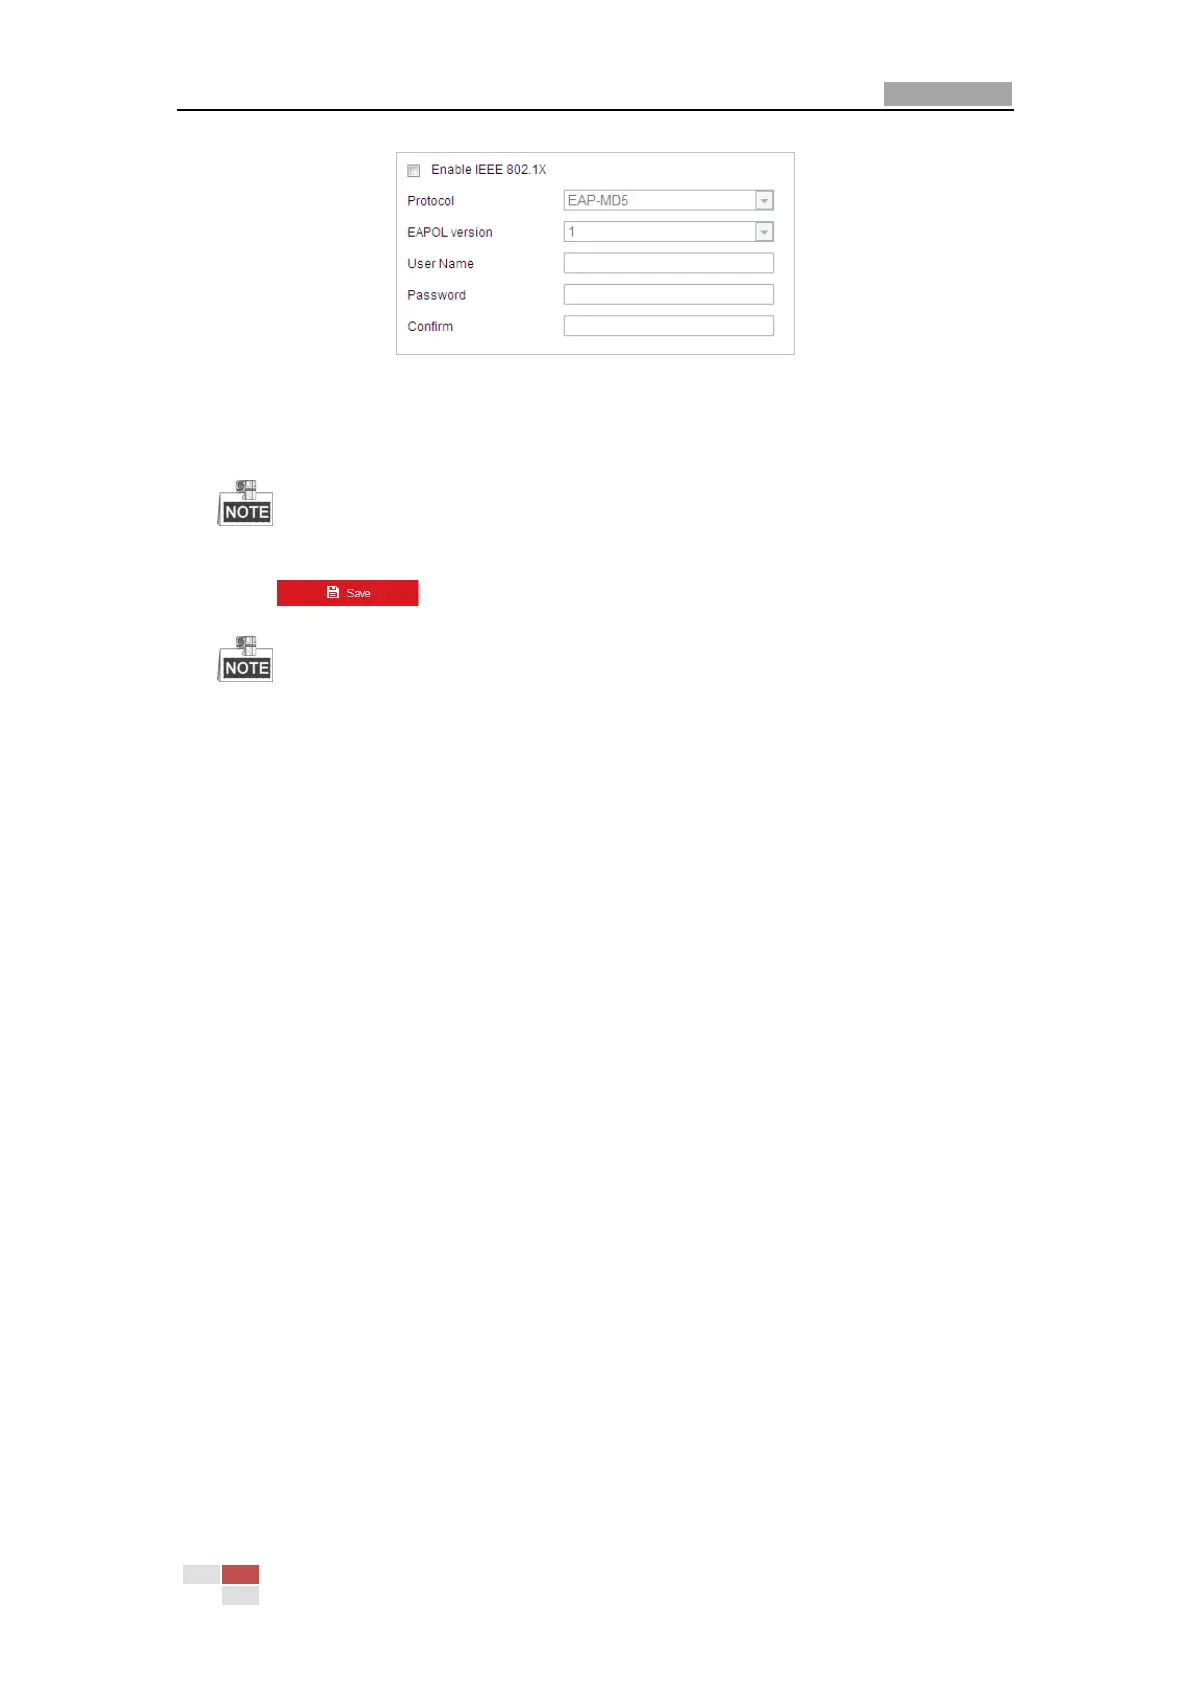
Figure 6-18 802.1X Settings
3. Check the Enable IEEE 802.1X checkbox to enable it.
4. Configure the 802.1X settings, including user name and password.
The EAP-MD5 version must be identical with that of the router or the switch.
5. Click to finish the settings.
The camera reboots when you save the settings.
6. After the configuration, connect the camera to the protected network.
Integration Protocol
Purpose:
If you need to access to the camera through the third party platform, you can enable
Hikvision-CGI function. And if you need to access to the device through ONVIF protocol, you can
configure ONVIF user in this interface. Refer to ONVIF standard for detailed configuration rules.
Steps:
1. Enter the Integration Protocol configuration interface.
Configuration > Network > Advanced Settings > Integration Protocol

Table of Contents

Questions and Answers:

Question and Answer IconNeed help?

Do you have a question about the HIKVISION DS-2DE2A404IW-DE3 and is the answer not in the manual?

HIKVISION DS-2DE2A404IW-DE3 Specifications

General IconGeneral
Card reader integratedYes
Compatible memory cardsMicroSD (TransFlash), SDHC, SDXC
Maximum memory card size256 GB
Maximum resolution2560 x 1440 pixels
Video compression formatsH.264, H.264+, H.265, H.265+
TypeIP security camera
Placement supportedOutdoor
Sensor typeCMOS
Optical sensor size1/3 \
Housing materialAluminum
Voice codecsG.711, G.722.1, G.726, MP2L2, PCM
Number of users32 user(s)
Supported network protocolsIPv4/IPv6, HTTP, HTTPS, Qos, FTP, SMTP, UPnP, SNMP, DNS, DDNS, NTP, RTSP, RTCP, RTP, TCP/IP, DHCP, PPPoE, Bonjour
Minimum illumination0 lx

Related product manuals