Operation
Frequent testing of the system is advised to ensure its continued
and safe operation. Guidelines and best practices for testing are as
follows:
1. After the system is installed.
2. Once weekly thereafter.
3. After prolonged absence from the dwelling (e.g. after holiday
period).
4. After repair or servicing of any of the system devices or
household electrical works.
5. After any electrical power cut.
Testing the alarm system
1. Hold the “TEST / SILENCE” button on the Control Unit for half a
second. The red LED’s will light up for 2 minutes 30 seconds to
indicate it is in test mode. In this period, the controller will constantly
send a signal to all Home Grouped alarms.
2. All of the Home Grouped alarms linked to the Control Unit will
sound.
3. To manually exit the test mode, press the “TEST / SILENCE”
button once. The red LED will turn off and all sounders will stop
after a few seconds.
Note: The test mode will automatically turn off after 2 minutes 30
seconds. If the test fails go to the “Troubleshooting” section.
Locating the source alarm(s)
Low Battery Warning Signal
The Control Unit uses a sealed lithium battery to operate, which
will last for approximately 10 years under normal use.
When the battery gets low, the yellow LED light flashes every 10
seconds. The Control Switch must be replaced for a new one.
Yellow LED flashes
every
10 seconds
Reset the Home Group
Sometimes, e.g. to resolve a communication issue, it may be
necessary to reset and “Home Group” all of the devices in the
system again.
To reset the Control Switch, use a thin screwdriver to press the
H.Code button 5 times. The red LED’s on the front will flash 10
times to indicate the memory has been reset. To reset the other
Home Grouped alarms in the system consult the appropriate
instruction manuals.
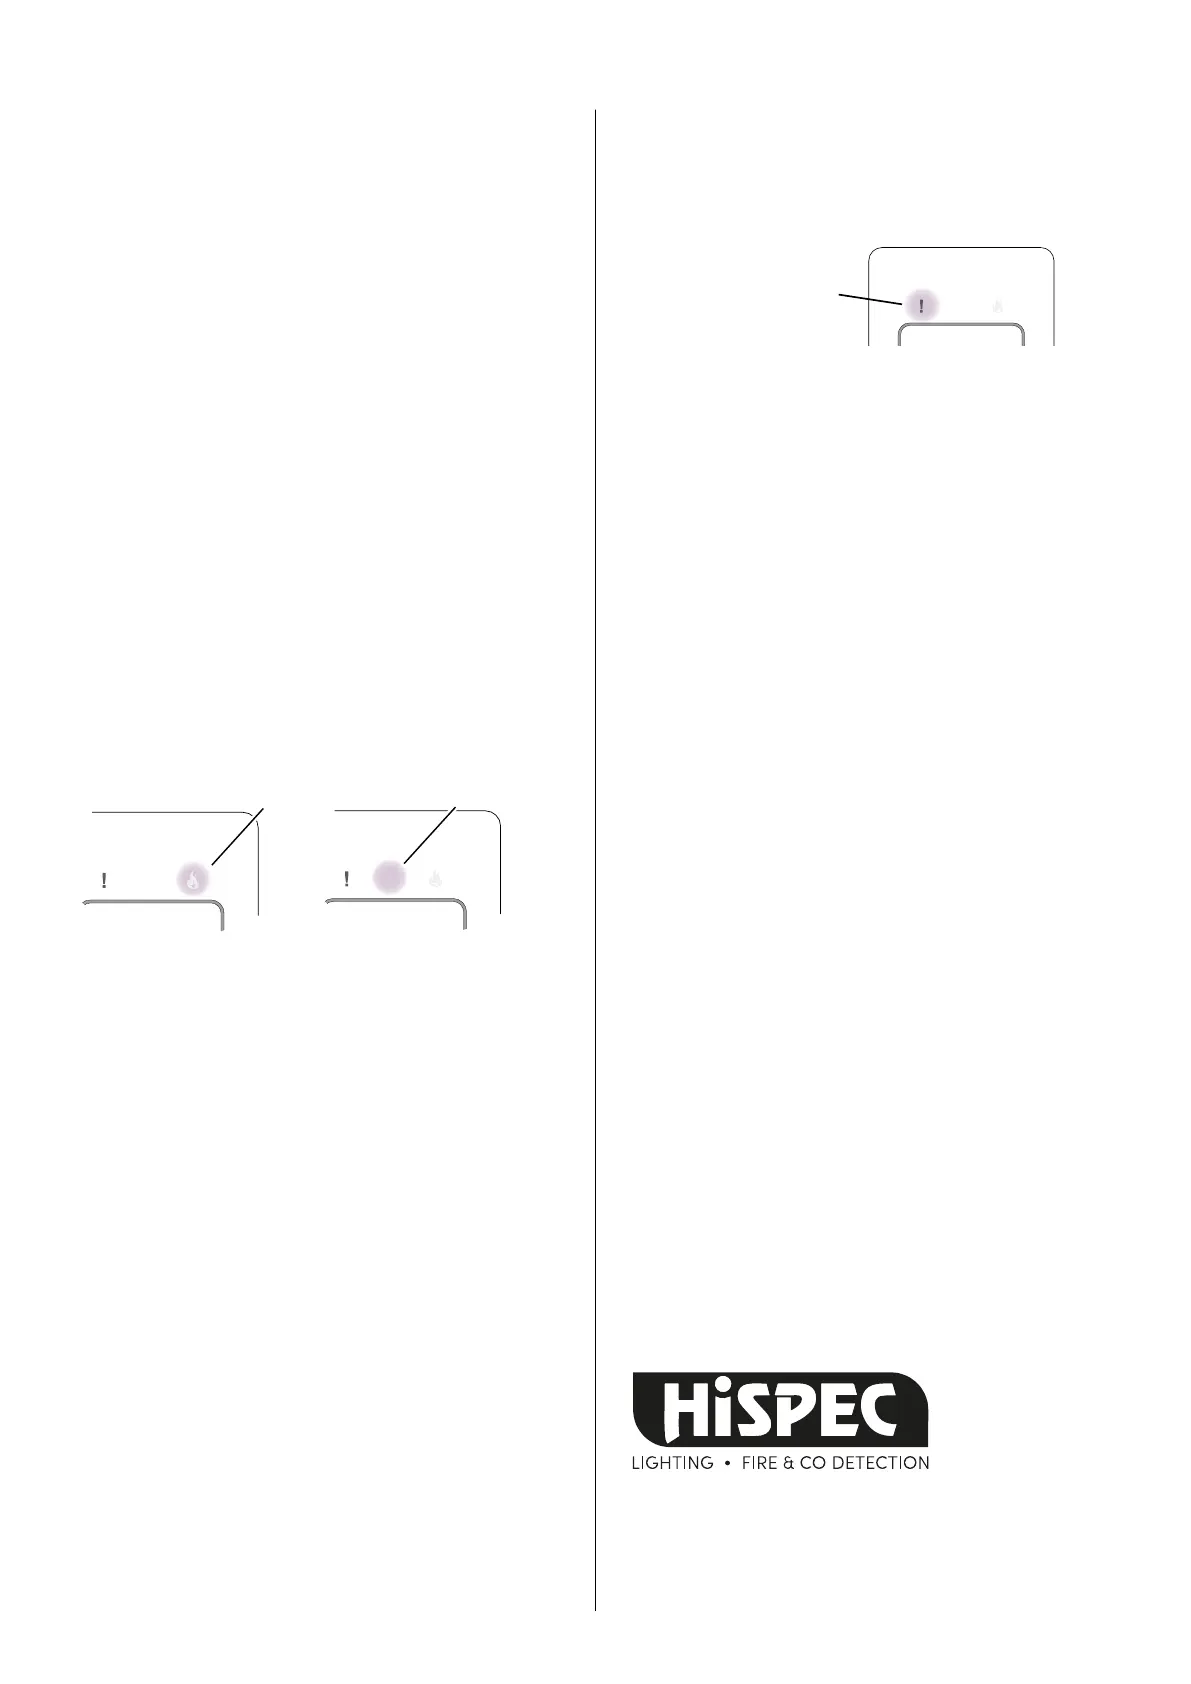
Fire Alert
Red LED flashes
CO Alert
Red LED flashes
If the FIRE indicator is flashing and there is no obvious fire, you can
trace the source alarm to check.
1. Hold the ‘LOCATE’ button for half a second. The red LED on the
controller will change from flashing to a steady glow.
2. Aft
er a few seconds, all the other Home Grouped alarms will
stop sounding except the source alarm.
Note: The Control Unit will automatically turn off the Locate Mode
after 2 minutes. If the source alarm is still activating after 2
minutes, the Home Grouped alarms will resume sounding. If you
have not yet traced the source alarm, repeat Step 1.
Silencing the source alarm(s)
If you are satisfied there is no fire, but a fire alarm is still continuing
to sound, you may now silence the system.
1. Hold the “TEST / SILENCE” button for half a second. The red Fire
Alert LED on the Control Unit will change from flashing to a steady
glow.
2. After 5 seconds, the source alarm will enter silence mode. All
other Home Grouped alarms will stop sounding. The silence
function is active.
When the alarm system sounds
If there is a fire, immediately evacuate the premises and telephone
the fire service. If a CO alarm has sounded immediately open doors
Troubleshooting
If some of the Home Grouped alarms do not respond to the Control
Unit remote control test, then:
(i) Ensure the Control Unit has been powered on correctly.
(ii) Check that unresponsive alarms have been powered on
correctly and work with their individual Test buttons.
(iii) With the unresponsive alarms, repeat the steps in the “Home
Grouping” section from Step 3.
(iv) Relocate the Control Unit and/or rotate/relocate the
alarms. There are a number of reasons why the RF signals may not
reach all of the alarms in your system. Therefore try rotating or
relocating the a
larms (e.g. move them away from metal surfaces or
wiring) as this can significantly improve signal reception.
(v) Return all of the devices to factory settings by following the
“Reset the Home Group” procedures. Then, while in their installed
positions, follow all the steps in the “Home Grouping” section.
Guarantee
Hispec Electrical Products Ltd guarantee this Control Unit for 5
years from date of purchase, against any defects that are due
to faulty materials or workmanship.
This guarantee only applies to normal conditions of use and service
and does not include damage resulting from accident, neglect,
misuse, unauthorised dismantling, or contamination howsoever
caused. This guarantee excludes incidental and consequential
damage.
This
guarantee does not cover costs associated with the removal
and/or installation of units.
If the product should become defective within the guarantee period,
it may be returned with proof of purchase, carefully packaged, and
with the problem clearly stated, to the place of purchase.
We shall at our discretion repair or replace the faulty unit.
CO
TEST / SILENCE
CO
TEST / SILENCE
CO
TEST / SILENCE
Hispec Electrical Products Ltd
Unit 21 Chorley North Business Park
Chorley, Lancashire
PR6 7BX
T: 01257 262197
customerservices@hispec.co.uk
www.hispec.co.uk
HSSA/CU/RF10-PRO
and windows to ventilate.
VER: Nov 2020

 Loading...