ORP-200 01/08
TAKING MEASUREMENTS
The ORP-200 can take measurements of ORP levels (mV) and temperature.
ORP Measurements
IMPORTANT: For best measurements, use a glass or ceramic vessel (not paper, plastic or metal).
1. Remove the cap.
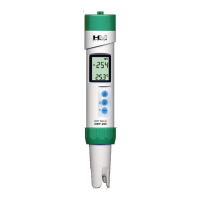
2. Press the ‘ON/OFF’ button. The display will become active.
3. Dip the meter into the water sample, liquid or solution to be tested.
4. Lightly swirl
the meter to ensure the removal of trapped air bubbles or
electric charges. Do not tap it against the glass.
5. The meter will display a reading almost immediately. Keep the meter in
the liquid until the reading stabilizes (approx. 30 seconds) for an
accurate reading. NOTE – It is a normal function of ORP for the
reading to fluctuate slightly and not fully stabilize in certain
situations (up to 1-3 minutes).
6. To view the reading out of the liquid, quickly press the ‘HOLD/MODE’
button while the meter is in the liquid. This will hold the reading on the
screen. Quickly pressing the ‘HOLD/MODE’ button again will release it.
7. Press the ‘ON/OFF’ button to turn the meter off.
8. Shake any excess water off the meter and rinse with distilled or de-
ionized water. Put the cap back on.
NOTE – The ORP-200 is extremely sensitive in low conductivity water (below 50 µS). It is not
recommended to use this meter in water below 10 µS. If you do use the meter in such water, it is better
to test in flowing water, or swirling the meter continuously while obtaining the reading. The reading
should stabilize in 10-15 seconds.
Temperature Measurements
The temperature reading is always displayed on the LCD panel during measurement mode, and is
shown simultaneously for ORP readings. It is not shown when the meter is in calibration mode. The
default temperature reading for the meter is in Celsius.
1. Remove the cap.
2. Press the ‘ON/OFF’ button. The display will become active.
3. The temperature reading is always displayed on the LCD panel (except in calibration mode),
and is shown simultaneously for ORP readings.
4. The default mode for temperature is Celsius. To change the temp mode, quickly press the
‘TEMP/CAL’ button to switch from Celsius to Fahrenheit or vice-versa.
5. Dip the meter into the water sample or solution to be measured.
6. The temperature reading will change immediately (unless the solution is at room temp). For
very hot or cold liquids, the reading may take slightly longer to stabilize.
7. Press the ‘ON/OFF’ button to turn the meter off.
8. Shake any excess water off the meter and rinse with distilled or de-ionized water. Put the
cap back on.
NOTE – Because of the sensitivity of the ORP sensor and reference tube, it is not recommended to use
your meter as a thermometer in very hot or very cold liquids.
Switching Temperature Modes:
The default temperature reading for the meter is in Celsius. To change the temperature mode, quickly
press the ‘TEMP/CAL’ button to switch from Celsius to Fahrenheit or from Fahrenheit to Celsius.
CALIBRATION
Your ORP-200 meter has been factory-calibrated to a 200 mV buffer solution. While this is suitable for
most applications, it may be necessary to recalibrate the meter for more accurate results. Additionally,
it should be noted that ORP buffer solutions may vary amongst manufacturers. For best results, the
ORP-200 should be recalibrated to an ORP buffer solution that suits your specific needs.
The ORP-200 features auto-ranging calibration with digital fine tuning. The meter can be calibrated to a
maximum of 100 mV off the auto-range (up to 100 mV above or below what the meter reads in
calibration mode).
1. Turn the meter on by pressing the ‘ON/OFF’ button. Note that the reading will fluctuate
when the meter is not submersed in a liquid. It will begin to stabilize once it is in a liquid.
2. Dip the meter into a ORP buffer solution with a value of 80 mV to 600 mV (or a liquid that is
known or certified to have a mV level in this range). Lightly stir the meter for approximately
30 seconds. The reading will change during this time and may continue to change slightly
after 30 seconds. This is normal. Let the meter sit for approximately 1-3 minutes to ensure
stabilization.
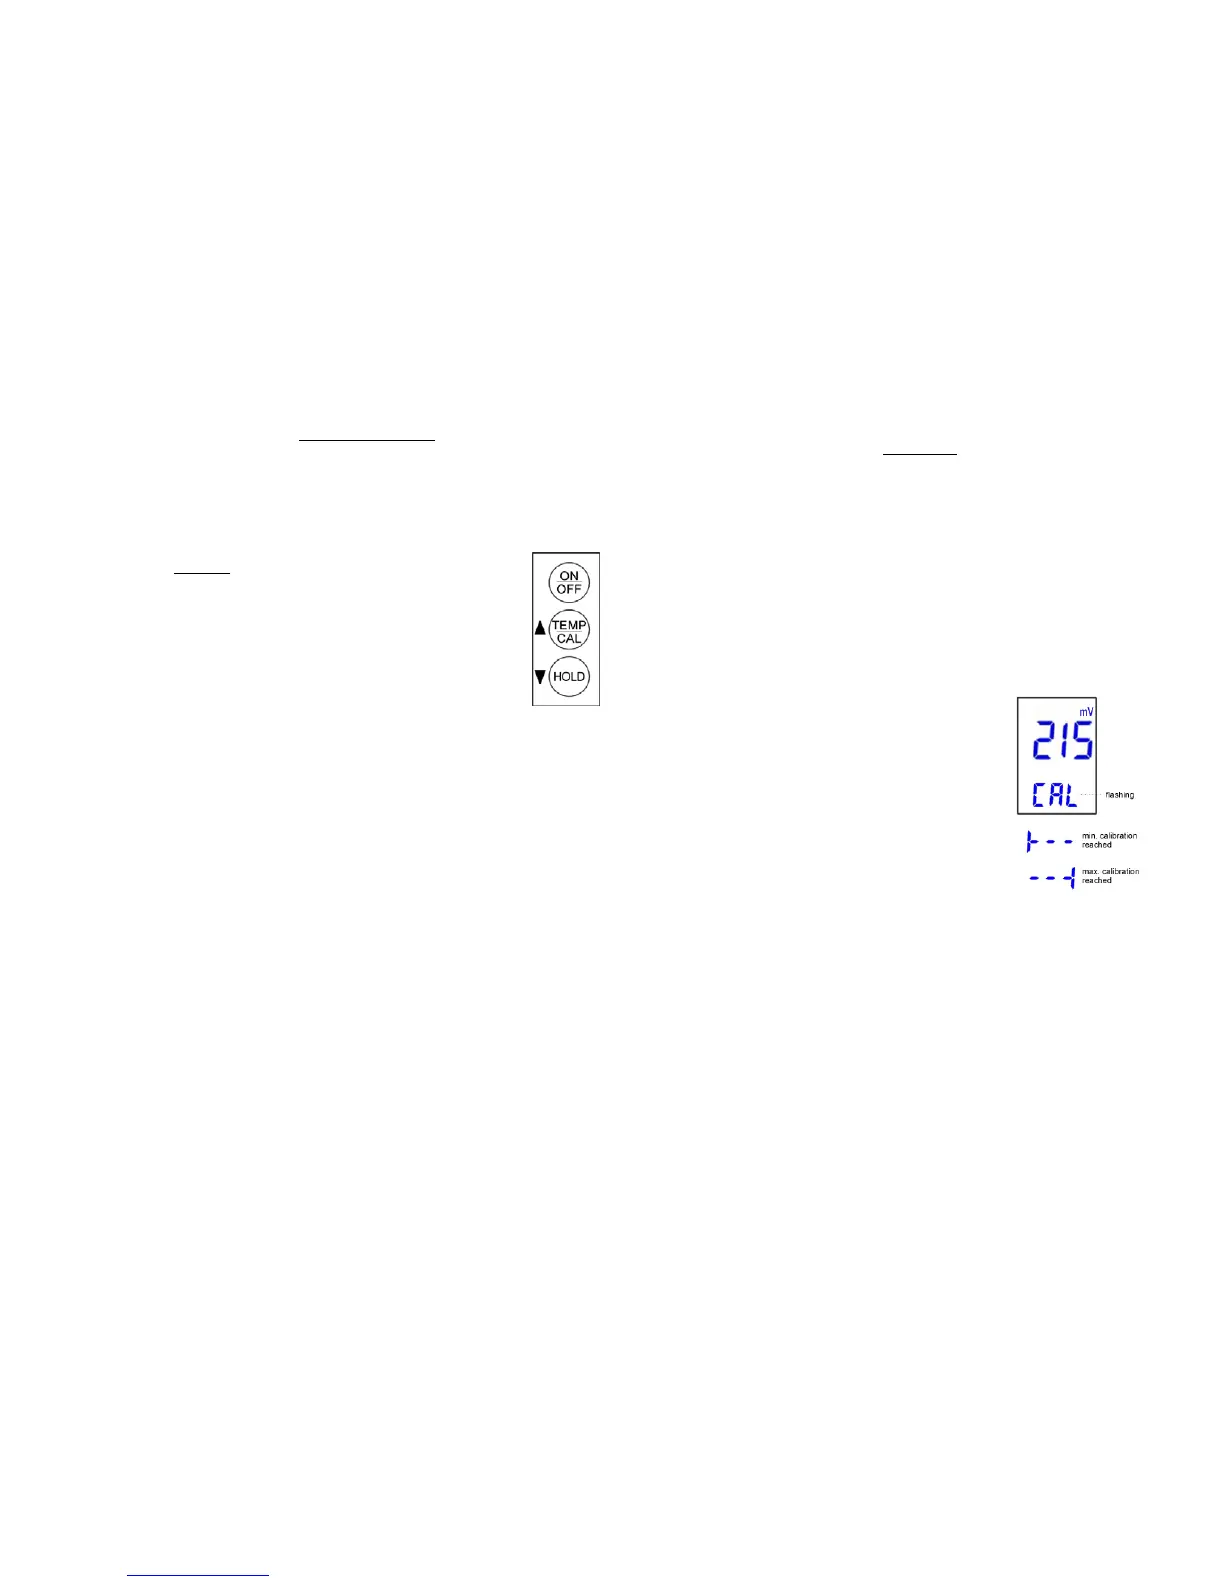
3. Press and hold the ‘TEMP/CAL’ button. The temperature display will change to a ‘CAL’
image.
4. The meter will automatically adjust to a reading within a
range of the solution the meter is in.
5. Change the reading so that it matches the buffer solution.
For example, if your calibration solution is 200 mV,
decrease or increase the reading until it reads ‘200’. To
increase the reading, press the ‘UP’ button (TEMP/CAL).
To decrease the reading, press the ‘DOWN’ button
(HOLD).
- If the calibration reading reaches the minimum or
maximum level within the range (+/- 100 mV), the
screen will display the ‘minimum calibration
reached’ icon or ‘maximum calibration reached’
icon, respectively. Note that this occurs only within
the range of the sample the meter is currently in.
When ‘CAL’ does not flash, it means calibration is
in the middle of the range.
6. To set the calibration, press and hold the ‘TEMP/CAL’
button until the screen reverts back to the measurement mode.
7. Your meter is now re-calibrated.
NOTE – The sensor is very sensitive. It is normal for the reading to change by 1 or 2.
4
3
 Loading...