PH-200 1/06
CARE, MAINTENANCE & TECHNIQUES
As with all pH meters, the PH-200 requires proper maintenance to ensure a healthy lifespan for
the meter.
General techniques:
1. Do not store the unit in high temperature or direct sunlight.
2. Never touch the sensor! Skin oils may adversely affect the reading. If you do touch the
sensor, clean immediately with distilled water or a pH 7 buffer solution (see cleaning
instructions).
3. Always immediately replace the cap when the meter is not in use. The PH-200 cap contains a
small wetted sponge to ensure that the gel within the glass sensor does not dry up. NOTE – A
tightened cap will ensure a longer lifespan for your sensor!
4. Using the PH-200 in high temperature liquid, such as hot coffee, will shorten the lifespan of
the sensor. If testing in hot liquid is essential, be sure to not
keep the meter in the hot liquid very
long. (Room temperature coffee will not adversely affect the sensor.)
5. After repeated usage in high TDS liquids, it is advised to clean the sensor to prevent residue
build-up.
6. If testing two samples over a wide range (e.g., pH 3 and pH 10), make sure to rinse the
sensor in distilled water or a pH 7 buffer solution between and after tests.
7. For optimum performance, it is best to use the meter at least once per month.
For best measurement accuracy:
1. Though it is not necessary, the PH-200 will be more accurate if calibrated before each use.
This is the case with all digital pH meters.
2. Clean with distilled water or a pH 7 buffer solution after each use, even if checking the same
sample.
3. If an air bubble is lodged in the sensor, dip the meter in distilled water and stir. Remove the
meter and shake excess water off.
4. If the sensor is scratched, it must be replaced.
5. If the readings seem to slow down and continue to get slower, or the meter seems to have
become unresponsive or sluggish, you may need to change the batteries or replace the sensor.
Lifespans of sensors are limited. Lifespans vary depending upon usage. It is normal for a
sensor to wear out.
FOR ADVANCED USERS ONLY: If the meter is continuously used to check widely varying pH
levels and is also continuously recalibrated at different levels, performance may be affected. If
you find your meter is not be working at optimum performance, press and hold the ‘TEMP/CAL’
button. Once ‘CAL’ is flashing on the screen, press and hold both the ‘TEMP/CAL’ and ‘HOLD’
buttons at the same time for two seconds. This will reset the calibration. It is then necessary to
recalibrate the meter (see the Calibration chapter for more information).
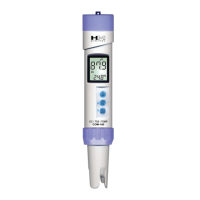
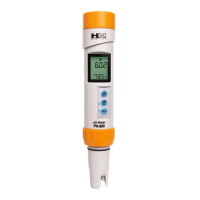
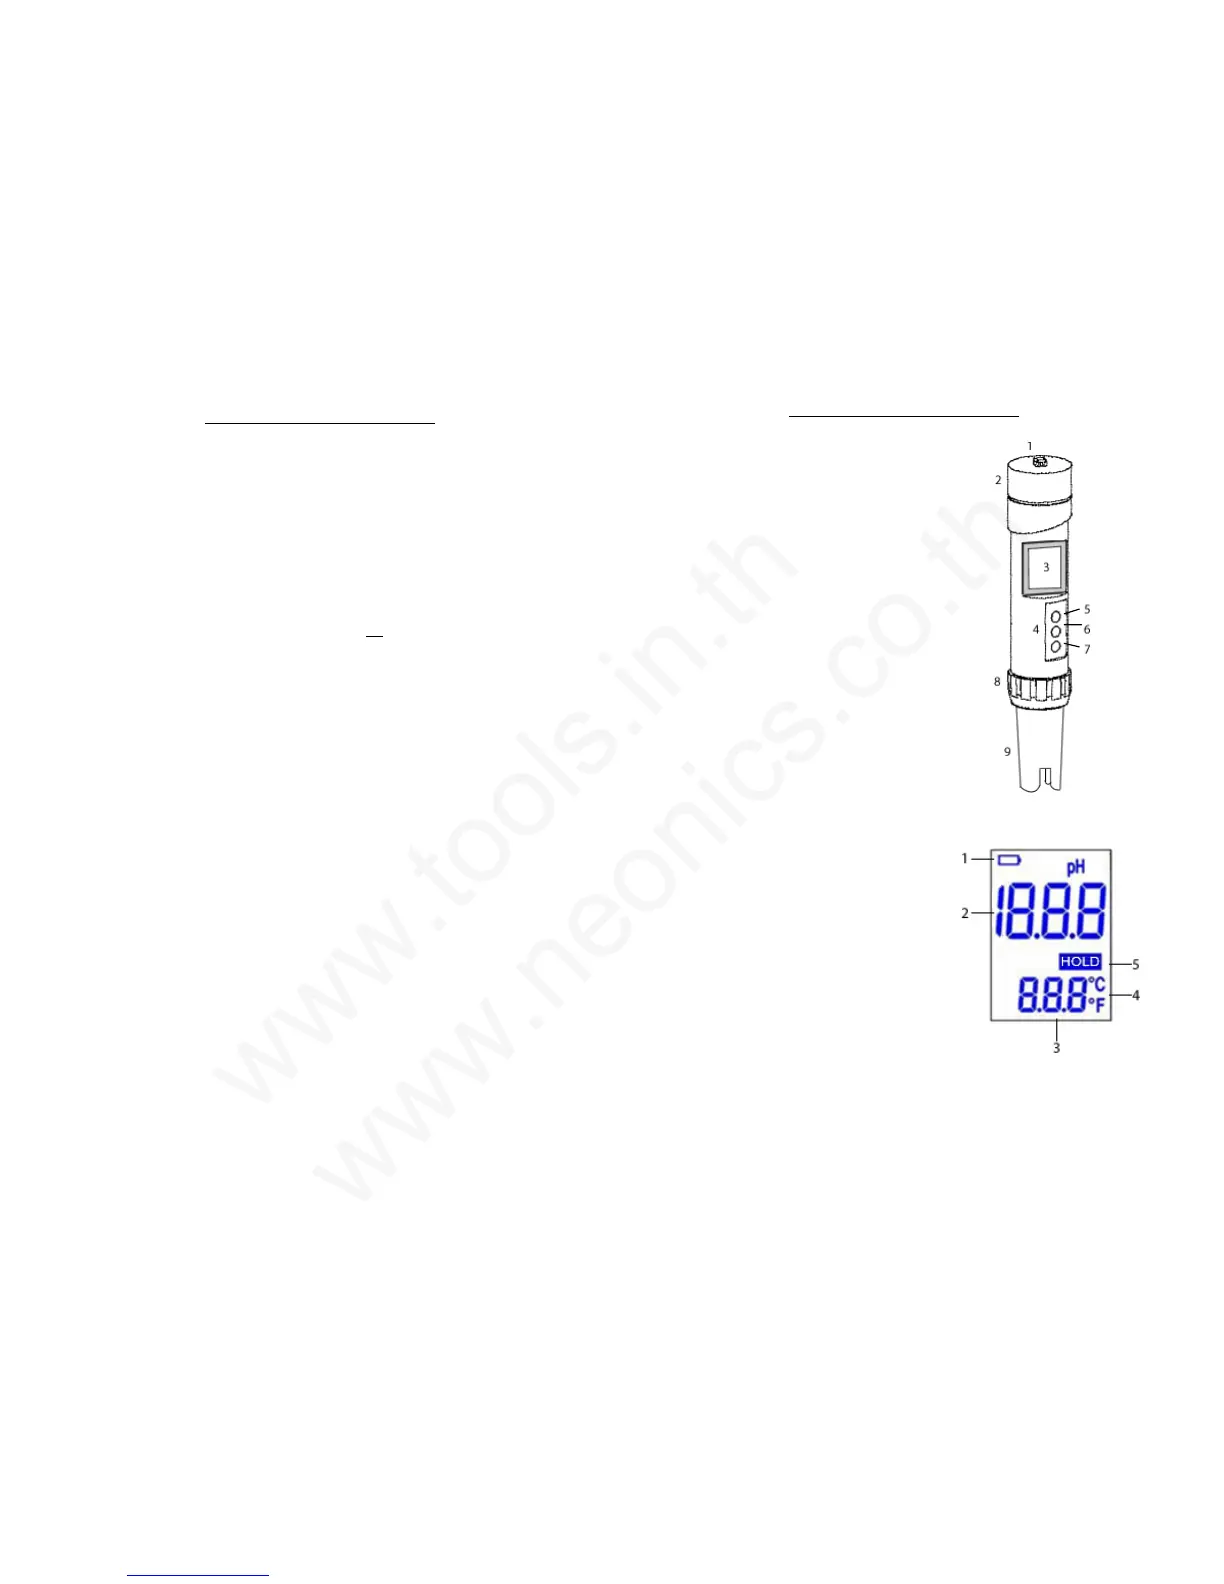
HOUSING AND SCREEN DESCRIPTION
Housing
1. Lanyard hook
2. Battery compartment
3. LCD display
4. Button panel
5. Power button
6. Calibration mode, temperature
mode, calibration-up button
7. Hold, calibration-down button
8. Sensor gasket ring
9. Detachable sensor (electrode)
LCD Display
1. Low battery indicator
2. pH measurement
3. Temperature measurement
4. Celsius/Fahrenheit mode
5. Hold mode
5
2
 Loading...