 Loading...
Do you have a question about the Hobie Adventure Island and is the answer not in the manual?
| Hull Construction | Rotomolded Polyethylene |
|---|---|
| Width (with amas in) | 9' 6" / 2.9 m |
| Hull Weight | 75 lbs / 34 kg |
| Capacity | 400 lbs |
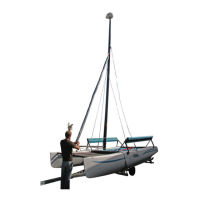
| Mast Length | 15' 2" / 4.62 m |
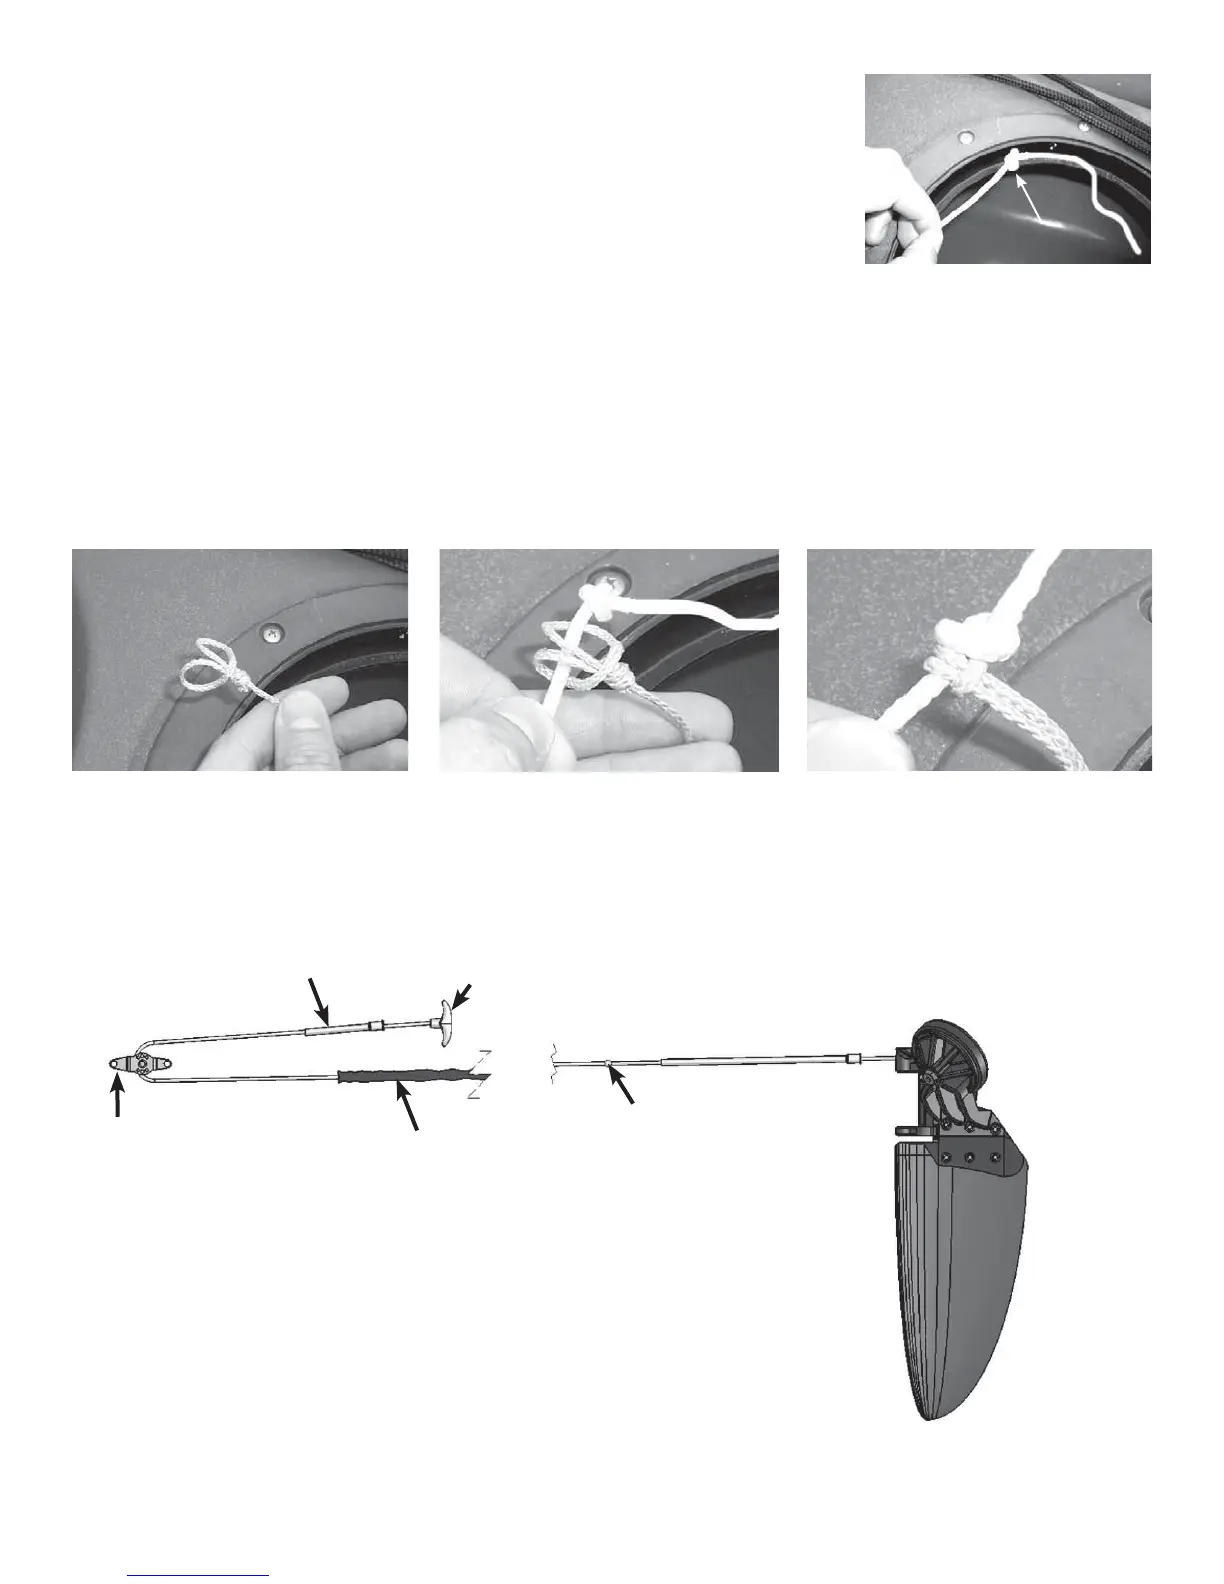
| Rudder System | Kick-Up |
| Seat | Vantage CT |
| Storage | Two 8" Twist and Seal Hatches |
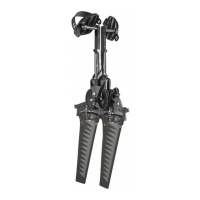
| Mirage Drive | MirageDrive 180 |
| Fully Rigged Weight | 120 lbs |