Warranty Information:
Hogtunes speakers are warranted for a period of 20 years to the original
purchaser. Proof of purchase is required for all warranty claims. Please contact
Hogtunes for all warranty claims. Products found to be defective during the
warranty period will be repaired or replaced (with a product deemed to be
equivalent) at Hogtunes sole discretion. Hogtunes complete warranty policy is
available on our website at www.hogtunes.com/warranty.html
What Is Not Covered:
1) Any expense related to the removal or re-installation of these speakers.
2) Repairs to these speakers performed by anyone other than Hogtunes Inc.
3) Subsequent damage to any other components.
4) Any product purchased from a non-authorized Hogtunes dealer.
5) Damage to speakers from an accident or collision.
6) Damage from incorrect installation, improper use, abuse or modifications.
7) Damage to inbound product due to improper packing.
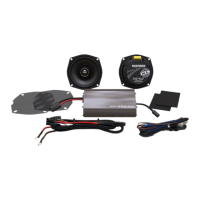
Technical Stuff
Power Handling: 125 RMS-200 Peak
Frequency Response: 55hz-25Khz
Sensitivity: 92 db 1watt/1meter
Nom. Impedance : 2 Ohms
IMPORTANT: In the event of a warranty claim, please fill out the form in the Warranty
section of our website, or contact us by email or by phone. Valid claims will have an
Return Authorization Number (RA#) generated which MUST appear on the
outside of the box when it arrives to our offices.
Goods Arriving Without an RA# Will Be Refused!
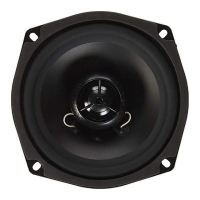
Road Glide Specific Front Speaker Instructions:
Make sure your ignition stays in the off position! Each factory speaker grill can
pry off from the front using your fingers or a tool can be used to pry the grill
out, but be careful not to damage your inner fairing when doing so! With the
grill off, remove the 4 screws that hold the speaker to the bike. Carefully pull
speaker away from the fairing and undo the factory wires from the speaker.
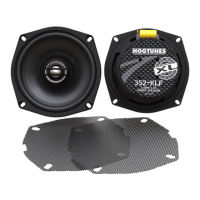
Take a new speaker and attach the wires noting they will only go on one way.
You will have to work the speaker around tabs etc. to get it properly positioned.
With the wires in the 12 o’clock position, secure the new speaker into place
using the factory screws. When both sides are complete, verify both speakers
are working and re-install the grills. Your new speakers can now be enjoyed!
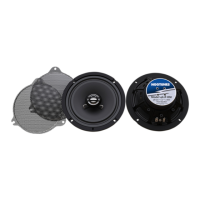
NOTE: The speaker must be oriented so the speaker wires are in the 12 o’clock
(top) position. Damage will occur if the wires are in the 6 o’clock position!
 Loading...