UNLOADING
1. After shooting the last frame (15 frames in 6x4.5 format, 12 frames
in 6x6 format), turn the take-up knob until the film and paper have
completely wound onto the spool.
2. Open the back in subdued light and remove the film.
Moisten the tape and wrap it around the film.
3. Switch the empty spool to the right side of the camera.
TAPING UP A HOLGA
Many Holga owners look forward to the light leak feature of the camera. The
streaks of light or color can change, even reinterpret the photograph. The most
notorious light leak on the camera comes from the film counter window. The
ortho-safe red color is not suited to today’s modern panchromatic films. Some
people don’t mind, but for the rest of us, a piece of opaque tape used as a flap
solves this problem easily.
There are those of us who prefer to expel the light leaks altogether by taping
up the entire camera. However, the judicious application of tape at key posi-
tions can nearly eliminate unwanted exposure and make film loading much
easier. (Note: there is no guarantee that even the total mummification of a
Holga will eliminate every light leak. There are reports of leaking Holgas that
were taped everywhere but on the lens.)
LEAK REMEDIATION
Camera Back
Run pieces of tape along the seam where the back fits onto the body.
Metal Clips
Cover the metal clips that secure the camera back. This will prevent them from
falling off the camera – especially when you use the strap.
645 Mask Removal
Removing the mask reveals two holes above the lens. A single piece of tape will
cover them.
Film Counter Window
Cover the window with piece of tape. Fold the tape a little to create a pull flap.
Bag the Camera
In order to take advantage of the unique light leak properties of your Holga, you
should use a camera bag to transport your Holga if you will be out in bright sun-
light for an extended period of time.
6
FLASHES AND STUDIO STROBES
A Holga has a hot shoe. So any modern camera flash will work, but an
adjustable automatic flash is best. Simply set your flash to f/8 and shoot.
To shoot studio strobes, use a hot shoe to pc adapter. This handy device fits
onto the hot shoe. Alternatively, use an on-camera flash and equip your strobes
with photo slaves.
A Holga always triggers a flash twice. Once when you depress the shutter and
once when you release the shutter. It is important to pause before releasing
the shutter. This prevents damage to the flash or strobe pack.
MULTIPLE EXPOSURES
The shutter works indepen-
dently from the film
advance. This lets you
press the shutter as many
times as you like on the
same frame. Besides the creative door this opens, a key technical benefit is
that you can build up exposures in low light situations.
MODIFYING & PERSONALIZING YOUR HOLGA
There are many things you can do to modify a Holga. I've seen a “Holgaroid”
(Holga attached to a Polaroid two-and-a-quarter back) and have heard rumor
of a “Holgablad” (a Holga with a Hasselblad Planar lens affixed to the front)
that exists somewhere in Los Angeles. Here are a few, more practical changes
you can make:
Tripod-Compatible Holga
Some super glue and a “1/4-20” (pronounced “quarter-twenty”) threaded nut
found in any hardware store will instantly convert your Holga so that it will
accept a standard tripod screw mount.
Holga Obscura (Time/Bulb Exposures)
This is a permanent change to your Holga. But that's why many people own
two! By removing the shutter spring, clearly visible when the back is off, and
securing the shutter open with glue or tape, your Holga can mimic a camera
obscura. This is great for long exposures at night. Use the Holga’s lens cap as
as a shutter. This change benefits from the tripod-compatible modification.
7
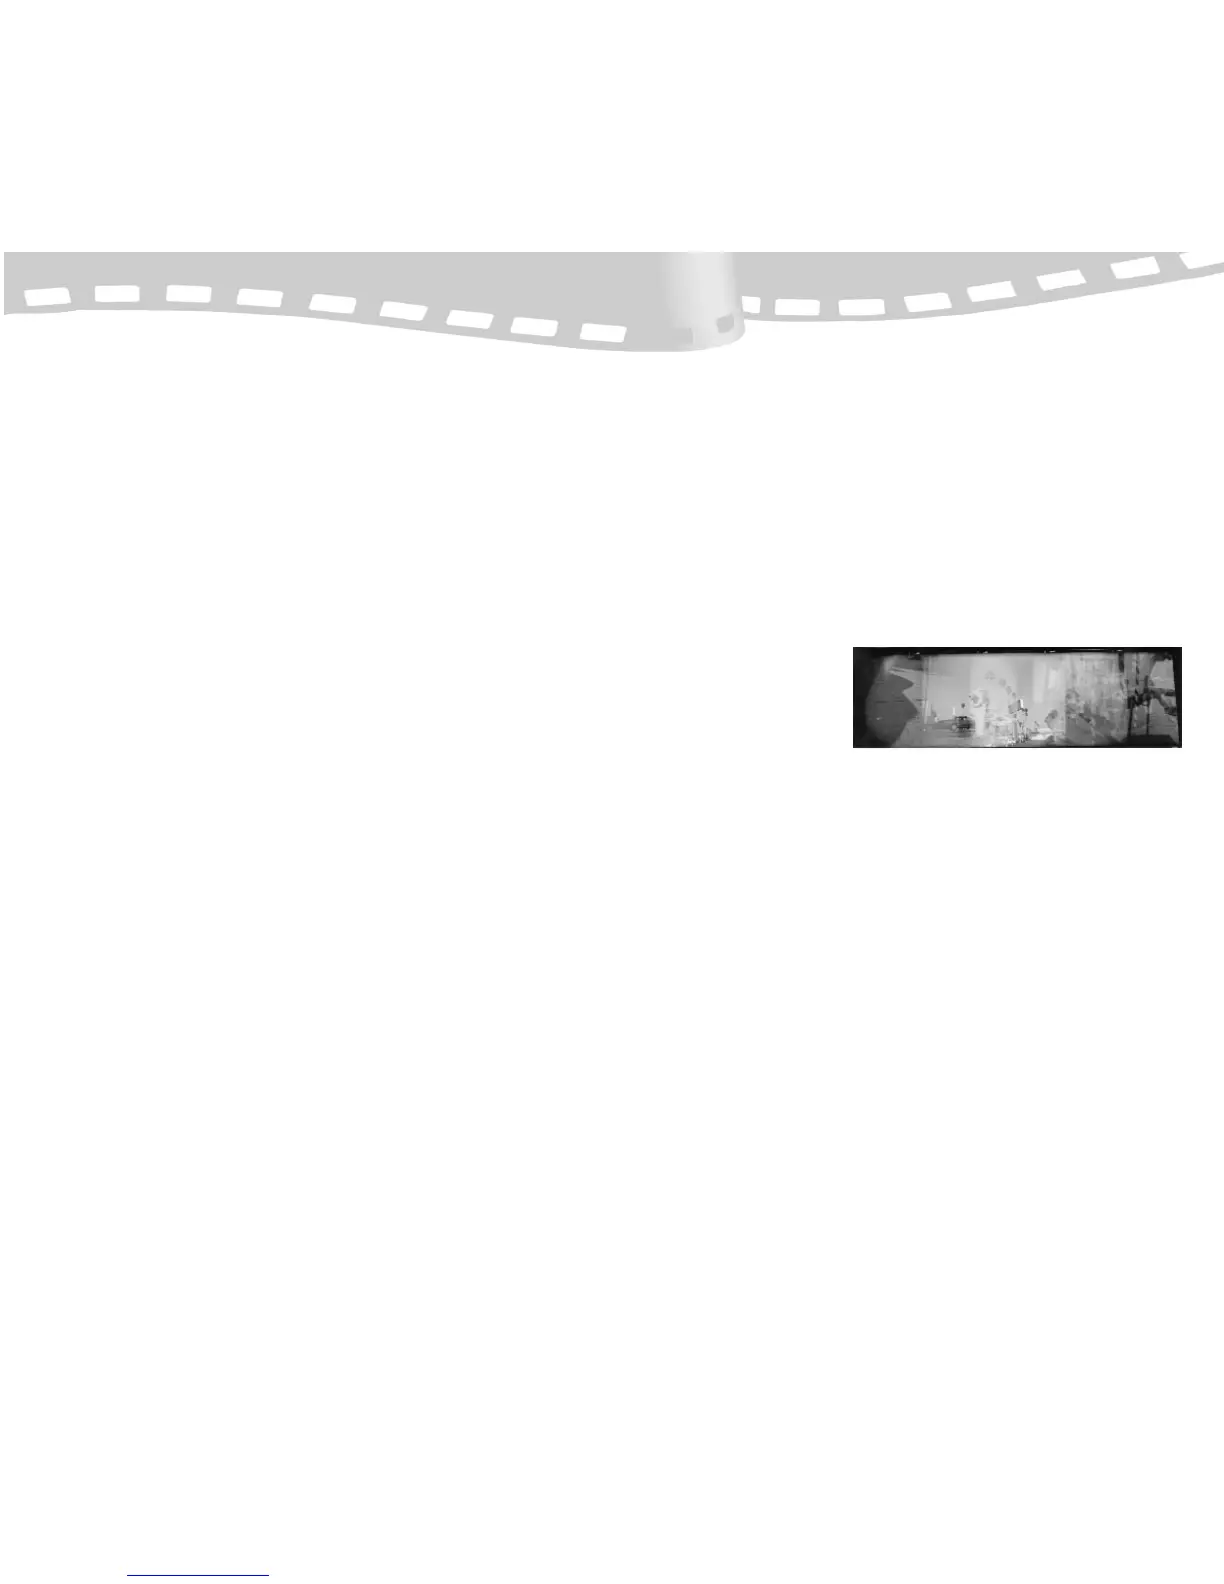
“Street Scene” by Jose Rivera
 Loading...