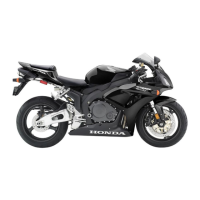
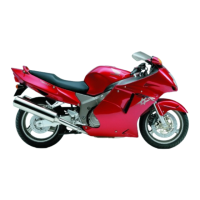
Do you have a question about the Honda CBR1100XX EFI and is the answer not in the manual?
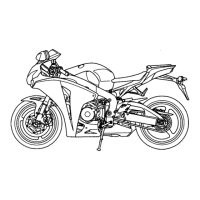
Steps to remove the seat and disconnect the negative battery cable.
Procedure for removing instrument and fuel tank surround panels.
Steps to disconnect fuel air vent tube and fuel pump wires from the tank.
Method for safely releasing fuel pressure before hose disconnection.
Steps to remove the air filter housing and disconnect the throttle cable.
Guidance on mounting the vacuum actuator unit on the motorcycle.
Instructions for assembling and installing the Cable Interface Unit (CIU).
Connecting and adjusting the carburettor cable for proper throttle control.
Setting the correct free play for the throttle grip assembly.
Mounting the cruise control switch on the handlebar.
Instructions for mounting the switch on higher handlebars.
Connecting the vacuum hose from the actuator to the designated port.
Securing the cruise control computer unit in the rear compartment.
Routing and connecting the main wiring loom for the cruise control system.
Modifying computer plug wires for proper length and connection.
Connecting the cruise control to the motorcycle's brake light switch.
Finalizing connections for the actuator and control switch.
Connecting the tachometer and clutch sensors to the system.
Linking the speed sensor and ground wires for system operation.
Steps for installing an optional rear wheel speed sensor.
Completing the installation, reassembling parts, and final checks.
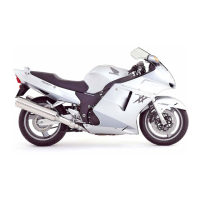
| Bore x Stroke | 79.0mm x 58.0mm |
|---|---|
| Compression Ratio | 11.0:1 |
| Ignition | Computer-controlled digital transistorized with electronic advance |
| Transmission | 6-speed |
| Final Drive | O-ring-sealed chain |
| Wheelbase | 1, 490 mm (58.7 in) |
| Dry Weight | 223 kg (492 lbs) |
| Fuel System | PGM-FI |
| Front Suspension | 43 mm |
| Rear Suspension | Pro-Link |
| Front Brakes | Dual 310mm discs with three-piston calipers |
| Rear Brakes | Single 256 mm disc with 2-piston caliper |
| Front Tire | 120/70 ZR17 |
| Rear Tire | 180/55 ZR17 |
| Seat Height | 810 mm |
| Power | 10, 000 rpm |
| Torque | 124 Nm |