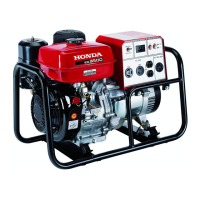
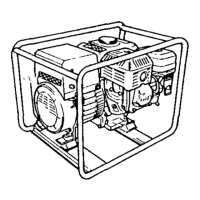
FUEL SYSTEM
5-7
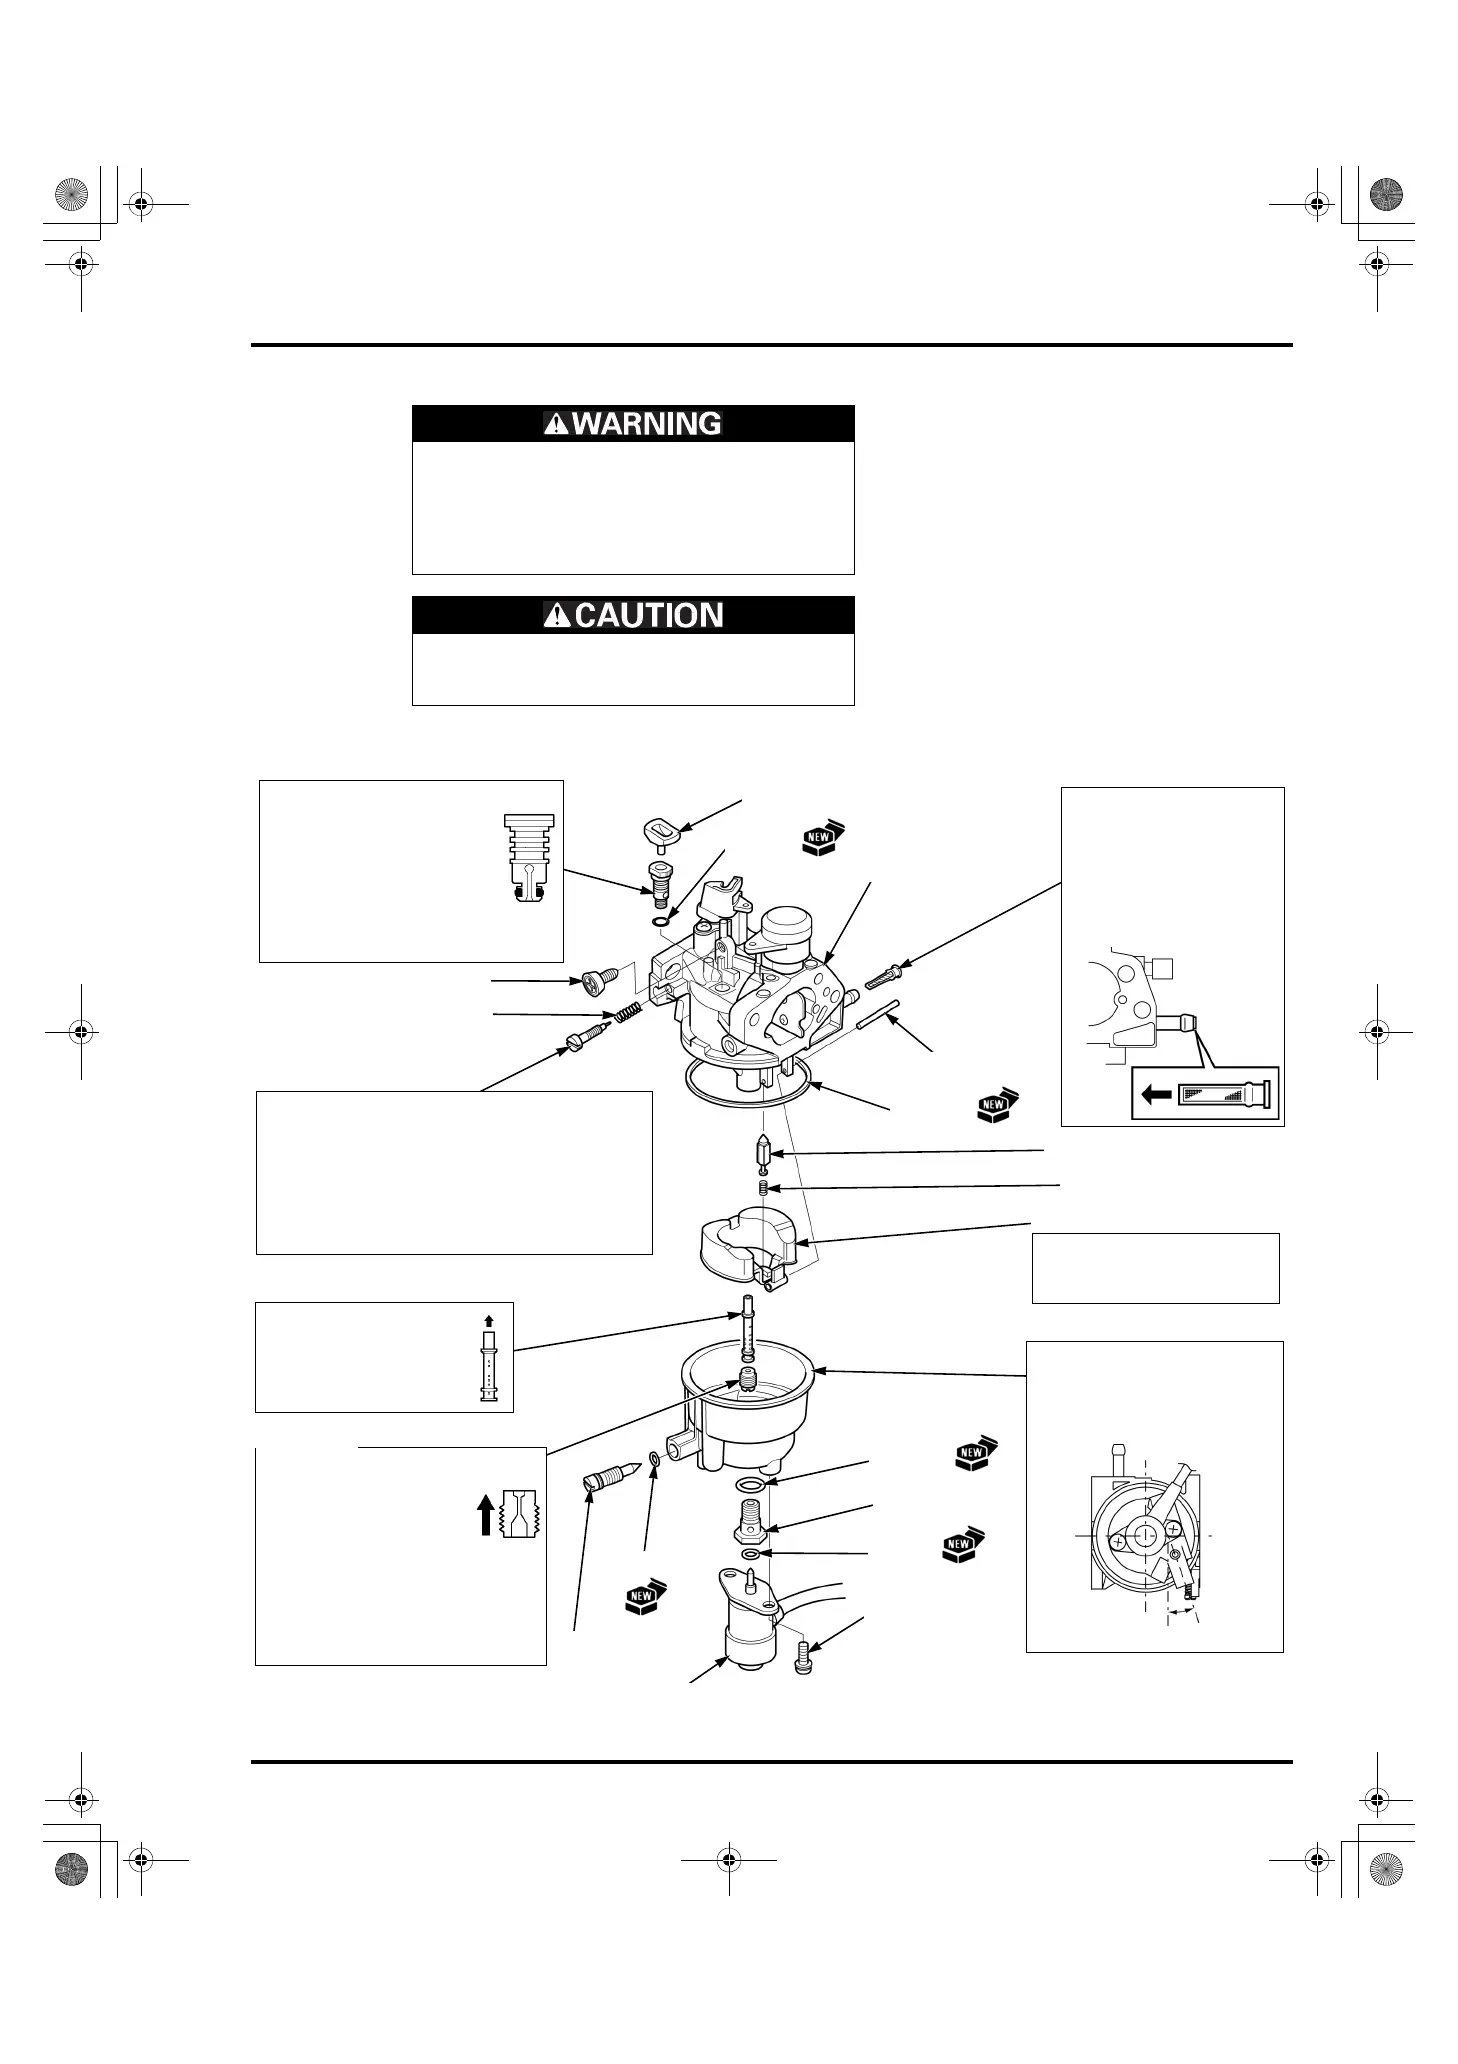
CARBURETOR DISASSEMBLY/ASSEMBLY
Remove the carburetor (page 5-6).
Gasoline is highly flammable and explosive. You
can be burned or seriously injured when handling
fuel.
• Keep heat, sparks and flame away.
• Handle fuel only outdoors.
• Wipe up spills immediately.
To prevent serious eye injury, always wear safety
goggles or other eye protection when using
compressed air.
O-RING
O-RING
FLOAT VALVE
DRAIN SCREW
FLOAT
ASSEMBLY:
Install the float chamber to the
carburetor body at an angle as
shown.
FLOAT CHAMBER
SET BOLT
ASSEMBLY:
Before installing, clean
thoroughly with low
pressure compressed air.
MAIN JET
ASSEMBLY:
Before installing, clean
thoroughly with low
pressure compressed air.
MAIN NOZZLE
ASSEMBLY:
Before installing, clean
thoroughly with low pressure
compressed air.
Lightly lubricate the O-ring to
ensure easy installation into
the carburetor body.
PILOT JET
FLOAT PIN
PILOT SCREW
O-RING
THROTTLE STOP SCREW
FUEL STRAINER SCREEN
MAIN JET NUMBER:
EG3600CX/EG4000CX: #90
EG4500CX/EG5000CX: #100
EG5500CX/EG6500CX
/EG5500CXS/EG6500CXS: #102
FLOAT VALVE SPRING
ASSEMBLY:
Check for smooth movement
after installation.
ADJUSTMENT:
Turn the pilot screw in until it is lightly seated, then
turn the screw out the required number of turns.
EG3600CX/EG4000CX: 1 - 1/4 turns out
/EG4500CX/EG5000CX: 1 - 3/4 turns out
EG5500CX/EG6500CX
/EG5500CXS/EG6500CXS: 2 - 1/4 turns out
18°
ASSEMBLY:
Before installing, clean
the screen and check for
damage.
Install the screen as far
as it goes.
SET COLLAR
SCREW
(5 x 12 mm) (2)
CARBURETOR
BODY
O-RING
O-RING
SPRING
FUEL CUT SOLENOID
82Z30000.book 7 ページ 2010年6月25日 金曜日 午後5時50分
 Loading...