1
INTRODUCTION
Congratulations on your selection of a Honda lawn mower! We are
certain you will be pleased with your purchase of one of the finest
lawn mowers on the market.
We want to help you get the best results from your new mower and to
operate it safely. This manual contains the information on how to do
that; please read it carefully.
We suggest you read the DISTRIBUTOR’S LIMITED WARRANTY
(page 20) and EMISSION CONTROL SYSTEM WARRANTY
(page 21) to fully understand coverage and your responsibilities of
ownership.
When your mower needs scheduled maintenance, keep in mind that
an authorized Honda servicing dealer is specially trained in servicing
Honda mowers and is supported by the parts and service divisions of
American Honda. Your Honda dealer is dedicated to your satisfaction
and will be pleased to answer your questions and concerns.
Keep this owner’s manual handy, so you can refer to it at any time.
This owner’s manual is considered a permanent part of the lawn
mower and should remain with the lawn mower if resold.
The information and specifications included in this publication were in
effect at the time of approval for printing. American Honda Motor Co.,
Inc. reserves the right, however, to discontinue or change
specifications or design at any time without notice and without
incurring any obligation whatever. No part of this publication may be
reproduced without written permission.
SAFETY MESSAGES
Your safety and the safety of others are very important. We have
provided important safety messages in this manual and on the
mower. This information alerts you to potential hazards that could hurt
you or others. Please read these messages carefully.
Of course, it is not practical or possible to warn you about all the
hazards associated with operating or maintaining a lawn mower. You
must use your own good judgment.
You will find important safety information in a variety of forms:
• Safety Labels – on the lawn mower.
• Instructions – how to use this mower correctly and safely.
• Safety Messages – preceded by a safety alert symbol and one
of three signal words: DANGER, WARNING, or CAUTION. These
signal words mean:
Each message tells you what the hazard is, what can happen, and
what you can do to avoid or reduce injury.
• Damage Prevention Messages – You will also see other
important messages that are preceded by the word NOTICE. This
word means:
CONTENTS*
DANGER
You WILL be KILLED or SERIOUSLY
HURT if you don't follow instructions.
WARNING
You CAN be KILLED or SERIOUSLY
HURT if you don't follow instructions.
CAUTION
You CAN be HURT if you don't follow
instructions.
Your engine or other property can be
damaged if you don’t follow instructions.
INTRODUCTION ...............................1
SAFETY MESSAGES........................1
LAWN MOWER SAFETY ..................2
IMPORTANT MESSAGE TO
PARENTS.....................................2
SAFETY LABEL LOCATIONS......2
SETTING UP YOUR NEW MOWER .3
CONTROL LOCATIONS ...................4
BEFORE OPERATION......................4
IS YOUR LAWN MOWER
READY TO GO?...........................4
GET THE MOWER READY..........5
OPERATION......................................7
SAFE OPERATING
PRECAUTIONS ..........................7
STARTING THE ENGINE.............7
OPERATING THE CONTROLS
FOR MOWING..............................7
STOPPING THE ENGINE ............8
SAFE MOWING PRACTICES ......8
SERVICING YOUR LAWN MOWER.9
MAINTENANCE SAFETY.............9
MAINTENANCE SCHEDULE.......9
BLADES......................................10
GRASS BAG CLEANING AND
REPLACEMENT.........................11
ENGINE MAINTENANCE...........11
SMART DRIVE CABLE
CHECK/ADJUSTMENT ............13
REFUELING...............................13
TRANSPORTING............................14
STORAGE.......................................14
TAKING CARE OF UNEXPECTED
PROBLEMS.....................................16
TECHNICAL INFORMATION..........17
SERIAL NUMBER LOCATIONS.17
CARBURETOR
MODIFICATION FOR HIGH
ALTITUDE OPERATION............17
EMISSION CONTROL SYSTEM 17
AIR INDEX..................................18
SPECIFICATIONS......................18
CONSUMER INFORMATION .........19
REPLACEMENT PARTS,
OPTIONAL EQUIPMENT, AND
SERVICE ITEMS........................19
DEALER LOCATOR
INFORMATION...........................19
CUSTOMER SERVICE
INFORMATION...........................19
DISTRIBUTOR'S LIMITED
WARRANTY...............................20
EMISSION CONTROL
SYSTEM WARRANTY ...............21
PRODUCT REGISTRATION
CARD .................................Last page
*For information regarding how to mow your lawn, see FAQs at www.HondaPow-
erEquipment.com
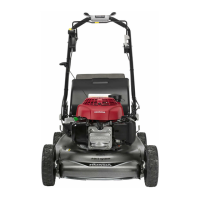
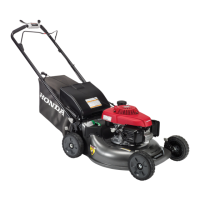
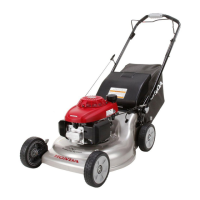
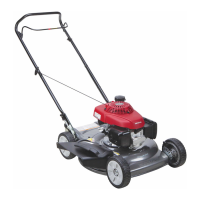
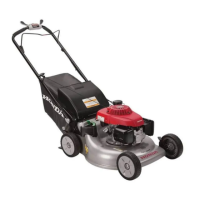
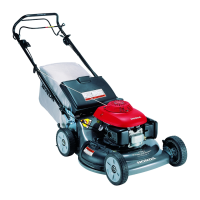
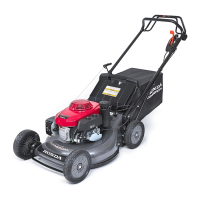
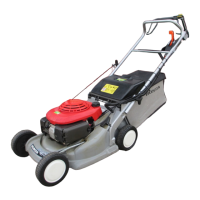
OWNER’S MANUAL
HRR216VYA
WARNING:
The engine exhaust from this product contains
chemicals known to the State of California to cause
cancer, birth defects, or other reproductive harm.
© 2005–2012 American Honda Motor Co., Inc.—All Rights Reserved
31VL0B410
00X31-VL0-B410
POM31VL0B410
HPE.2012.04
PRINTED IN U.S.A.
EM5
K8
Click here to save
this manual to your
computer.