Do you have a question about the Honeywell 10288 and is the answer not in the manual?
Turn off circuit breakers and wall switch before installation.
Loosen and remove mounting bracket screws from canopy.
Attach mounting bracket to outlet box using provided hardware.
Loosen the set screws in the yoke at the top of the motor assembly.
Remove the downrod clip and downrod pin from the downrod.
Feed motor wires through yoke cover, canopy, and downrod.
Slide downrod into yoke, align holes, re-install pin and clip, tighten set screws.
Measure and cut lead wires to 8 inches if needed for easier wiring.
Strip 1/2 inch of insulation from the ends of cut lead wires.
Align downrod ball slot with mounting bracket tab to secure.
Remove the canopy cover for closemount installation.
Align canopy holes with motor assembly and secure with screws.
Lift fan and hook canopy onto mounting bracket during wiring.
Connect green, black, and white wires according to diagram.
Connect second hot wire to blue wire for independent light control.
Lift canopy to engage mounting bracket screws in J-slots.
Rotate canopy clockwise and tighten all mounting bracket screws.
Remove motor blocks and washers, keep motor screws for blade arms.
Insert blade screws with washers through blade and into blade arm.
Use motor screws to securely attach each blade arm to the motor assembly.
Connect 9-pin connectors from motor assembly and light kit.
Align fitter plate holes with switch housing and secure with screws.
Remove rubber washer, hex nut, finial cap, and finial from light kit.
Install candelabra-base A15 bulbs into the light kit.
Feed fan and light pull chains through the glass bowl and hex nut.
Lift glass bowl, screw hex nut to secure, feed chains, and attach finial cap.
Remove light kit wiring by unscrewing hex nut and washer.
Align switch housing with fitter plate and secure; plug hole with button.
Connect pull chain extensions to fan and light pull chains.
Optimize fan performance for seasonal comfort using the reverse switch.
Push reverse switch left for downward airflow and wind chill effect.
Push reverse switch right for upward airflow to circulate warm air.
Check power, connections, and re-start the motor.
Tighten blade screws and check for cracked blades.
Tighten screws, balance blades, or verify mounting bracket security.
Re-install bulbs, check connectors, or ensure bulb wattage is within limit.
| Brand | Honeywell |
|---|---|
| Model | 10288 |
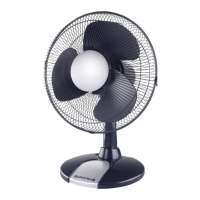
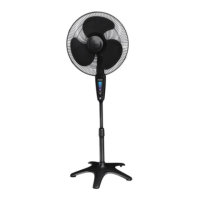
| Type | Table Fan |
| Number of Speeds | 3 |
| Voltage | 120V |
| Color | Black |
| Material | Plastic |
| Oscillation | Yes |
| Tilt Adjustment | Yes |
| Power Source | Electric |