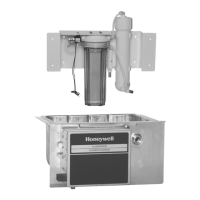
4. Use 1/4-in. (6mm) OD tubing and connect the saddle valve to the inlet side of the solenoid valve on the humidifier (See Fig. 9).
5. Repeat step 2, a – d for saddle valve fitting.
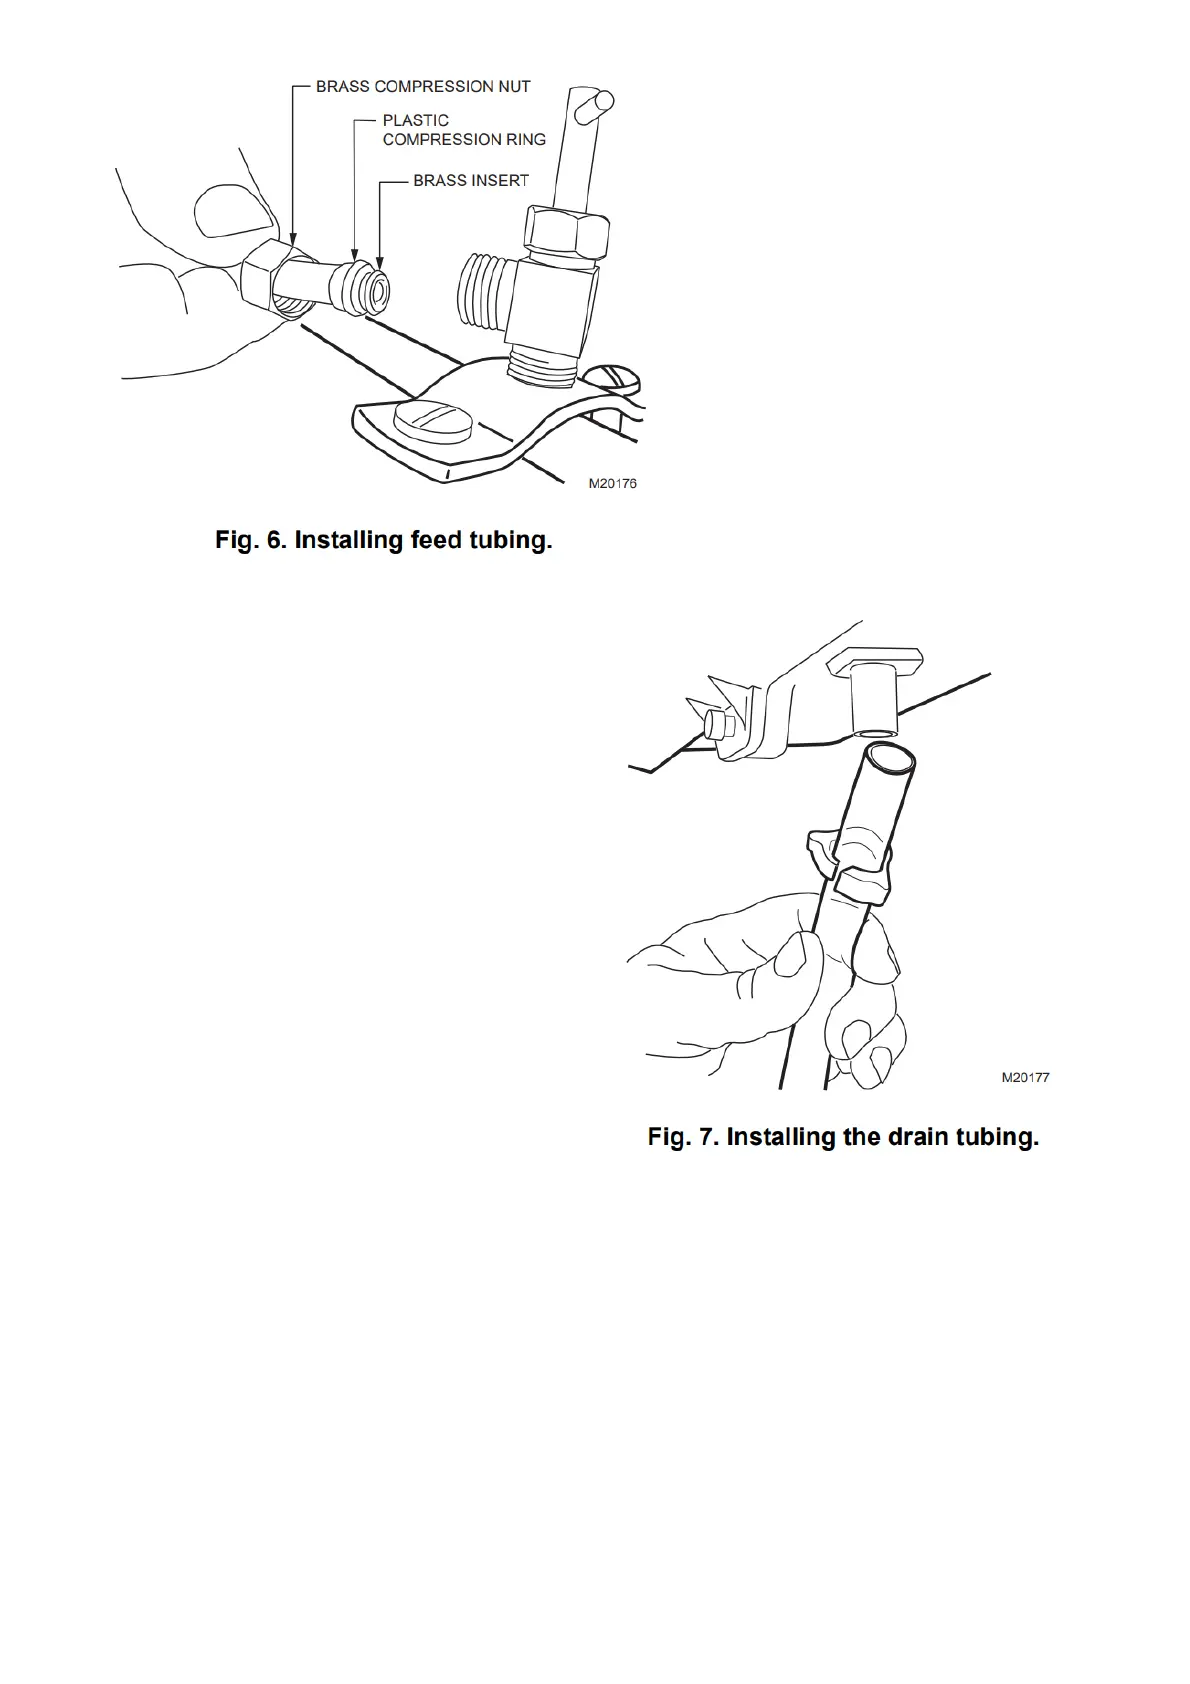
NOTE: Cut tubing to correct length so the tubing terminates at the drain.
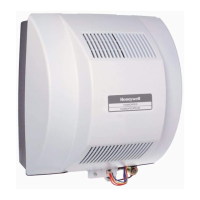
Air Pressure Switch Installation
IMPORTANT
Do not install the switch in an area where temperature exceeds the rating of -40F to 190F (-40C to 88C)
1. Disconnect power from the humidifier before installing.
2. Mount the switch vertically with pressure connectors facing down, using provided self-tapping screws to secure the switch to the duct.
IMPORTANT
Calibration accuracy requires that the switch be mounted vertically (as pictured in Fig. 8).
 Loading...