OPERATION
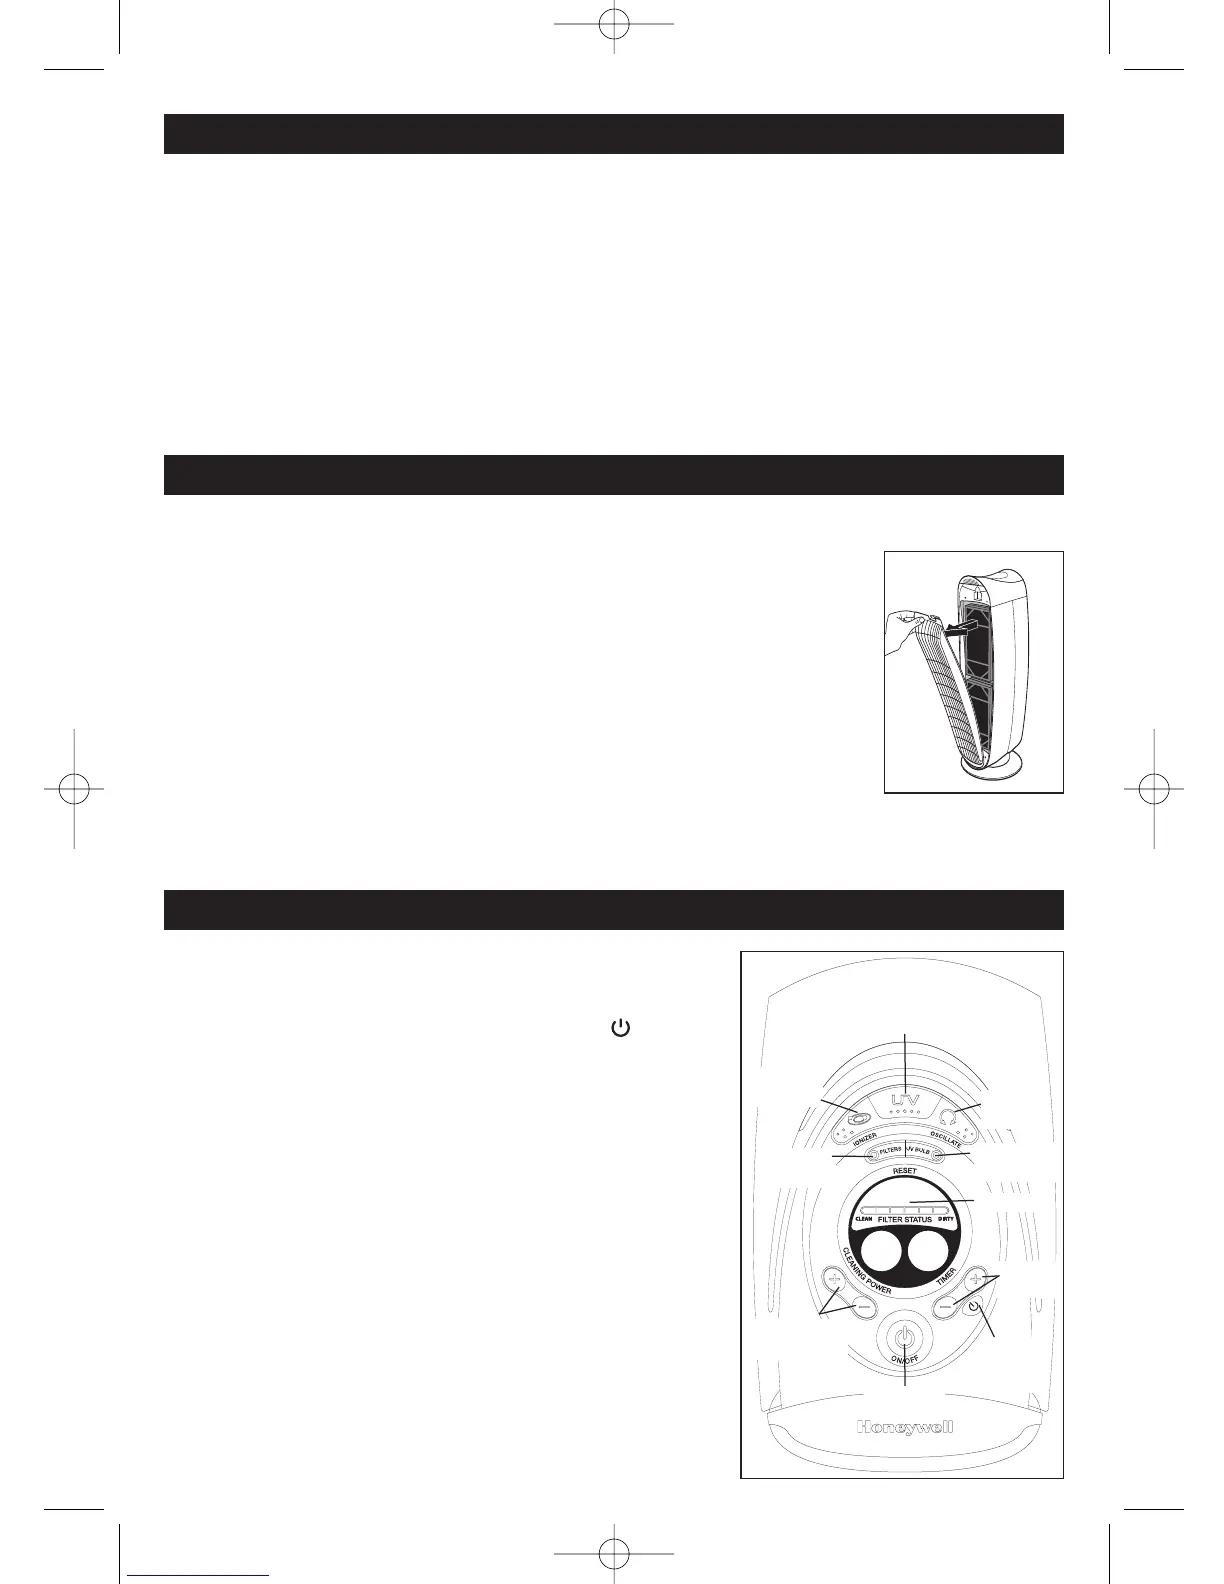
Powering Up: (Fig. 3)
• Plug the air purifier into a grounded, working outlet. Once the
unit is plugged in, the back-lit Power Button icon ( ) will blink
for 12 seconds indicating the unit is ready for operation.
• When the Power Button is pressed the following will
take place:
°
The LCD display and buttons will light up.The Oscillation,
On/off,Timer,and Timer +/– button lights will turn off after
3 seconds.The LCD light will turn off after 8 seconds if no
buttons are pressed.
°
The UV feature turns on.
°
The Ionizer feature turns on.
°
The air purifier will operate at a medium cleaning power
level for a few seconds and then automatically change
to a low level.
°
The continuous Run display turns on and rotates.
Fig. 3
INSTALL HEPA-TYPE FILTERS
The HEPA-Type Filters are supplied within the air purifier.They are wrapped to ensure purity.
•
Make sure the air purifier is turn off and unplugged.
• Remove the rear grille by pressing the notch on the top of the rear grille and
pulling the grille towards you (Fig. 2).
• Remove the filters by gently pushing along the edge of the filter frame and
pulling it forward. Repeat for the second filter.
• Remove the protective wrap from the filters.
• Place the filters back into the air purifier housing and snap the rear grille back
into place.
NOTE: The pre-filter needs to be in position along the rear grille before
snapping the grille back into place.
NO
TE: The Top filter must be securely in place in order for the unit to operate.
Fig. 2
SET-UP
• Select a firm, level and flat location. For best airflow, locate the unit at least 3 feet (1 M) from any wall
or furniture.
• When operating, large volumes of air are drawn toward the air purifier. Surrounding areas should be
cleaned and/or vacuumed frequently to prevent build-up of dust and other contaminates. If the unit is
placed on a light colored carpet, a small mat or rug should be used underneath to prevent permanent
staining.This is especially important in homes with contamination from smoking, fireplaces or where
candles are burned.
• Ensure the exit grille (front of the unit) faces away from the closest wall or furniture.
• Ensure no grilles are blocked.
Ionization
on/off button
UV on/off button
Filter reset
button
UV bulb reset
button
Power button
Cleaning power
+/- button
Oscillation
button
Timer
+/– button
Timer
on/off
button
LCD display
HHT-149-HD_OM.qxd 3/4/10 9:44 AM Page 3

 Loading...