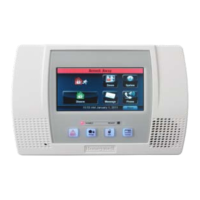
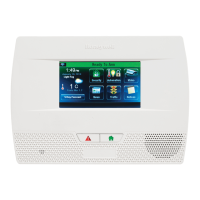
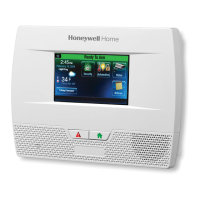
System Status
Checking Zones: Before arming your system, all protected doors, windows and other
detection zones must be closed or bypassed; otherwise the keypad displays “Disarmed Not
Ready.”
Function Press these keys… What happens
Check General
System Status
Zones
STATUS
Announces general system status.
Check Specific
System Status
STATUS (2 times)
(second depression must be
made within 10 seconds)
Displays system status and announces zone
faults.
Arming the System
Before arming, close all perimeter doors and windows and make sure the “Ready to Arm”
message is displayed. Enter the 4-digit Security Code and select the desired key. The system
will beep three times to confirm the arming and will display the armed status.
After arming, leave the premises through an entry/exit door during the exit delay period and
be sure the door is reclosed to avoid causing an alarm.
Mode Press these keys…
When to use an arming mode
and what happens
Stay
User Code + STAY
Used to arm the system when persons are staying
inside (or if you have pets that are moving
throughout the premises).
Arms perimeter zones; interior zones left
disarmed.
An alarm sounds if any protected window or non-
entry/exit door is opened.
Instant Stay
User Code + STAY +
NO DELAY
Used when staying inside and you do not expect
anyone to use an entry/exit door.
Same as Stay mode, except entry delay is Off.
An alarm sounds same as Stay mode, and sounds
upon opening entry/exit doors.
Away
User Code + AWAY
Used when premises is vacant (including pets).
Arms the entire system (interior and perimeter).
An alarm sounds if a protected window or any
door is opened, or if any movement is detected.
Quick
Arming
STAY OR AWAY
(for at least 2 seconds)
If programmed, you can press the Quick Arm
button in place of your security code when arming
the system
Disarming the System and Silencing Alarms
The OFF key is used to disarm the system, silence alarm and trouble sounds, and clear
memory of alarm displays. Enter the 4-digit Security Code and select the OFF key.
Mode Press these keys … What happens
Disarm &
Silence
Alarms
User Code + OFF
OR User Code
(If Quick Disarm is active)
System is disarmed and alarm sounding is
silenced.
To clear the memory of alarm display (if present),
enter a second Off Sequence.
Bypassing Zones
Select the BYPASS key when you want to arm your system with one or more zones
intentionally unprotected. The system must be disarmed first.
Mode Press these keys… What happens
Bypass
Individual
Zone(s)
User Code + BYPASS
+ 2-digit zone number
(s)
When finished, the keypad will provide a
confirmation beep and “Bypass” will be displayed
along with each bypassed Zone Number.
When armed, the arming message is displayed
with “Bypass.”
Bypassed zones are unprotected and will not
trigger an alarm if violated.
Fire zones cannot be bypassed.
Bypasses are automatically removed when the
system is disarmed.
Bypass all
Open Zones
User Code + BYPASS +
FUNCTION
All open (faulted) zones are bypassed (if
programmed).
Display
Bypassed
Zones
User Code + BYPASS
+ wait
“Bypass” will be displayed along with each
bypassed Zone Number
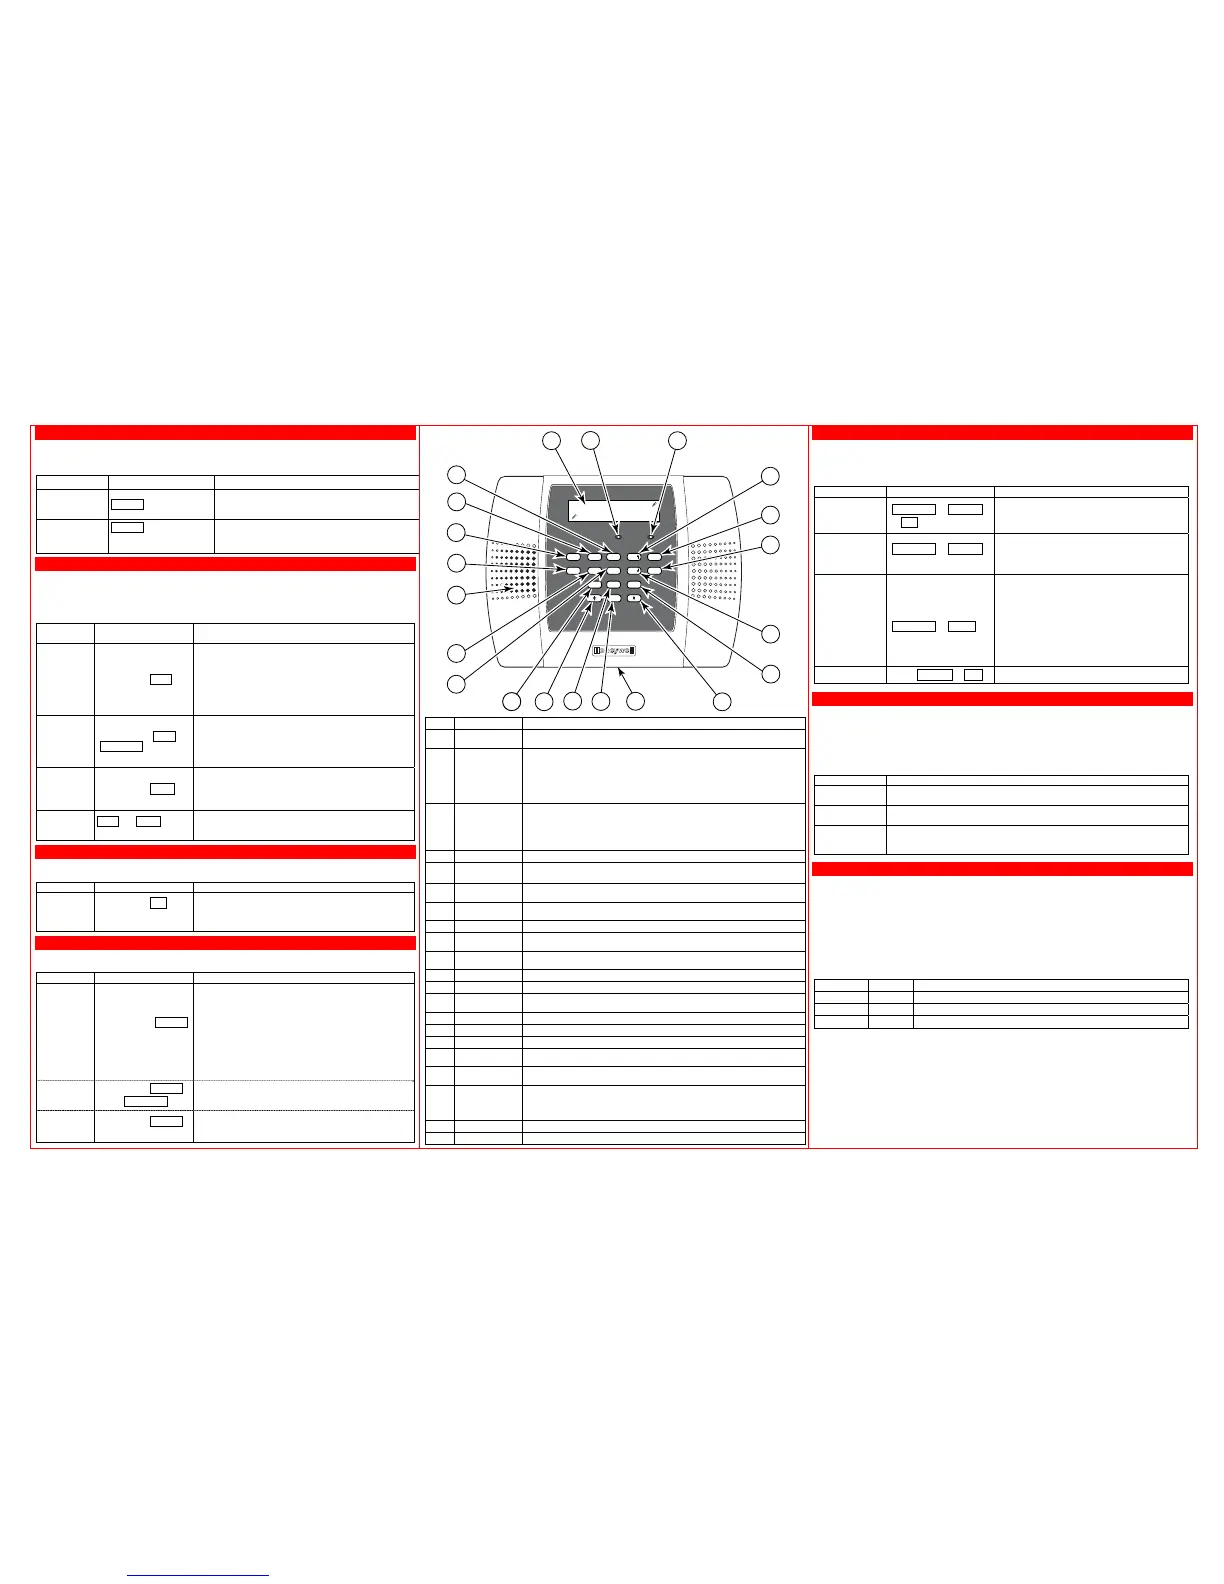
1000-300-013-V0
ARMED READY
BYPASS
NO DELAY
RECORD
TEST
FUNCTION
STATUS
VOLUME
PLAY
CODE
LIGHTS ON
LIGHTS OFF
CHIME
ESCAPE
ADD
DELETE
SELECT
1
3
2
4
5
6
9
1 2
0
OFF
AWAY
STAY
AUX
9
3
6
8
7
4 5
17
19
21
18
20
16
15
10
11
13
1414
12
7
8
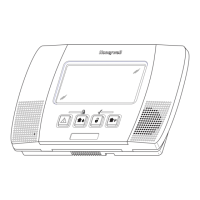
Index
Item Description
1 Display Window Liquid Crystal Display (LCD). Displays protection point identification ,
system status, messages, and user instructions.
2 ARMED (Red)
LED Indicator
ON = System is armed (Stay or Away)
OFF = System is disarmed
Blinking = System is armed, and not ready to be armed (an alarm has
occurred)
Blinking once per second = AVM (VOX or Talk) or speaker phone mode is
active
3 READY (Green)
LED Indicator
ON = system is ready to be armed
OFF = System is armed
Blinking = System is disarmed, and not ready to be armed (a fault exists)
Blinking once per second = AVM (VOX or Talk) or speaker phone mode is
active
4 PLAY key Play a recorded message or increase volume of voice messages.
5 STAY/DELETE
key
Arms the perimeter burglary protection, (but not the
or to
delete messages.
6 AUX/Select key Program/perform a predefined function or to send a preset message to a
pager or “Follow Me” system phone number.
7 BYPASS key Bypasses individual protection zones or to decrease volume of voice
messages.
8 CHIME key Turns the Chime mode On or Off.
9 FUNCTION key Allows alternate key functions or as a “repeat” key during Clock/Calendar
setting.
10 Microphone
Used to record personal messages via the Message Center, and for two-
way voice and speaker phone operation.
11 NO DELAY key Used with STAY or AWAY function to bypass the entry delay
12 CODE key Allows entry of User Codes for additional system users
13 STATUS key Use to display all open zones and announce system status when system is
disarmed
14 LIGHTS ON key Turns lights or other devices On, if programmed by the installer
15 TEST key Tests the system and alarm sounder
16 LIGHTS OFF key
Turns lights or other devices Off, if programmed by the installer
17 Speaker Source of alarms, audible internal warning and confirmation sounds, status
announcements, as well as alarms (Refer to the full User Guide for details)
18 AWAY/ADD key Completely arms perimeter and interior burglary protection or to accept
entries in specific programming modes.
19 OFF/ESCAPE key
Disarms the burglary portion of the system, silences alarms and audible
trouble indicators, and clears alarm trouble display after the problem has
been corrected. Also used to exit/abort “Follow Me” phone number and
Clock/Calendar mode.
20 RECORD key Activates the recording function to record personal messages.
21 0 -9 keys Used to enter your individual security access code(s).
System Settings
Your system settings including volume level (message playback, system announcements,
and status beeps). Additionally, you can turn On/Off the Chime, Telephone Ringer and/or
System Voice Announcements.
Note: To enable or disable the Chime mode the system must be disarmed.
Mode Press these Keys…
What happens
Mute System
Announcements
FUNCTION + VOLUME
+ OFF
Disables the Voice announcement of
system status.
Restore System
Announcements
OR
Adjust Volume
FUNCTION + VOLUME
+ 3 OR 6
Enables the Voice announcement of system
status.
Adjusts the volume of the Voice
announcements.
Chime
Mode
FUNCTION + CHIME
Alerts you to the opening of a perimeter
door or window while the system is
disarmed.
Open (faulted) zone information is
displayed.
Three tones sound at the keypad whenever
a perimeter door or window is opened
(faulted interior zones do not produce a
tone).
Ringer Mode # + VOLUME + AUX
Enables or disables the Telephone Ringer.
Security Codes
Your installer assigned a master code that is used to perform all system functions.
In addition, security codes can be assigned for up to 6 users. Only the Master User can
assign security codes to users. Note that User No. 07 is assigned to the Babysitter Code and
User No. 08 is the Duress Code.
To Add/Edit/Delete User Codes:
Follow the steps below:
Function Perform the following…
Add User Code
Enter Master User Code + CODE + User Number (03-08) + User Code
(Keypad beeps once confirming User Code addition)
Delete User
Code
Enter Master User Code + CODE + User Number (03-08)
(Keypad beeps once confirming User Code deletion)
Change Master
User Code
Enter Master User Code + CODE + Master User Number (02) + New
User Code (2 times)
(Keypad beeps 3 times confirming Master User Code change)
Panic Keys
Your system may have been programmed to use special keys to manually activate
emergency (panic) functions.
To activate a Panic Function:
Press and hold down the both keys of the Panic key pair for at least 2 seconds.
* All panic functions send signals to the Central Monitoring Station, if connected.
The functions that might be programmed are listed below. See your installer for the
function(s) that may have been programmed for your system.
Your Installer should note the
functions that are active in your system.
Keys Zone Sends this Signal*
1 and 95
3 and # 96
and # 99
 Loading...