164007-0001 Rev C 1/13 © 2011-2013 Honeywell International Inc. All Rights Reserved. Page 3
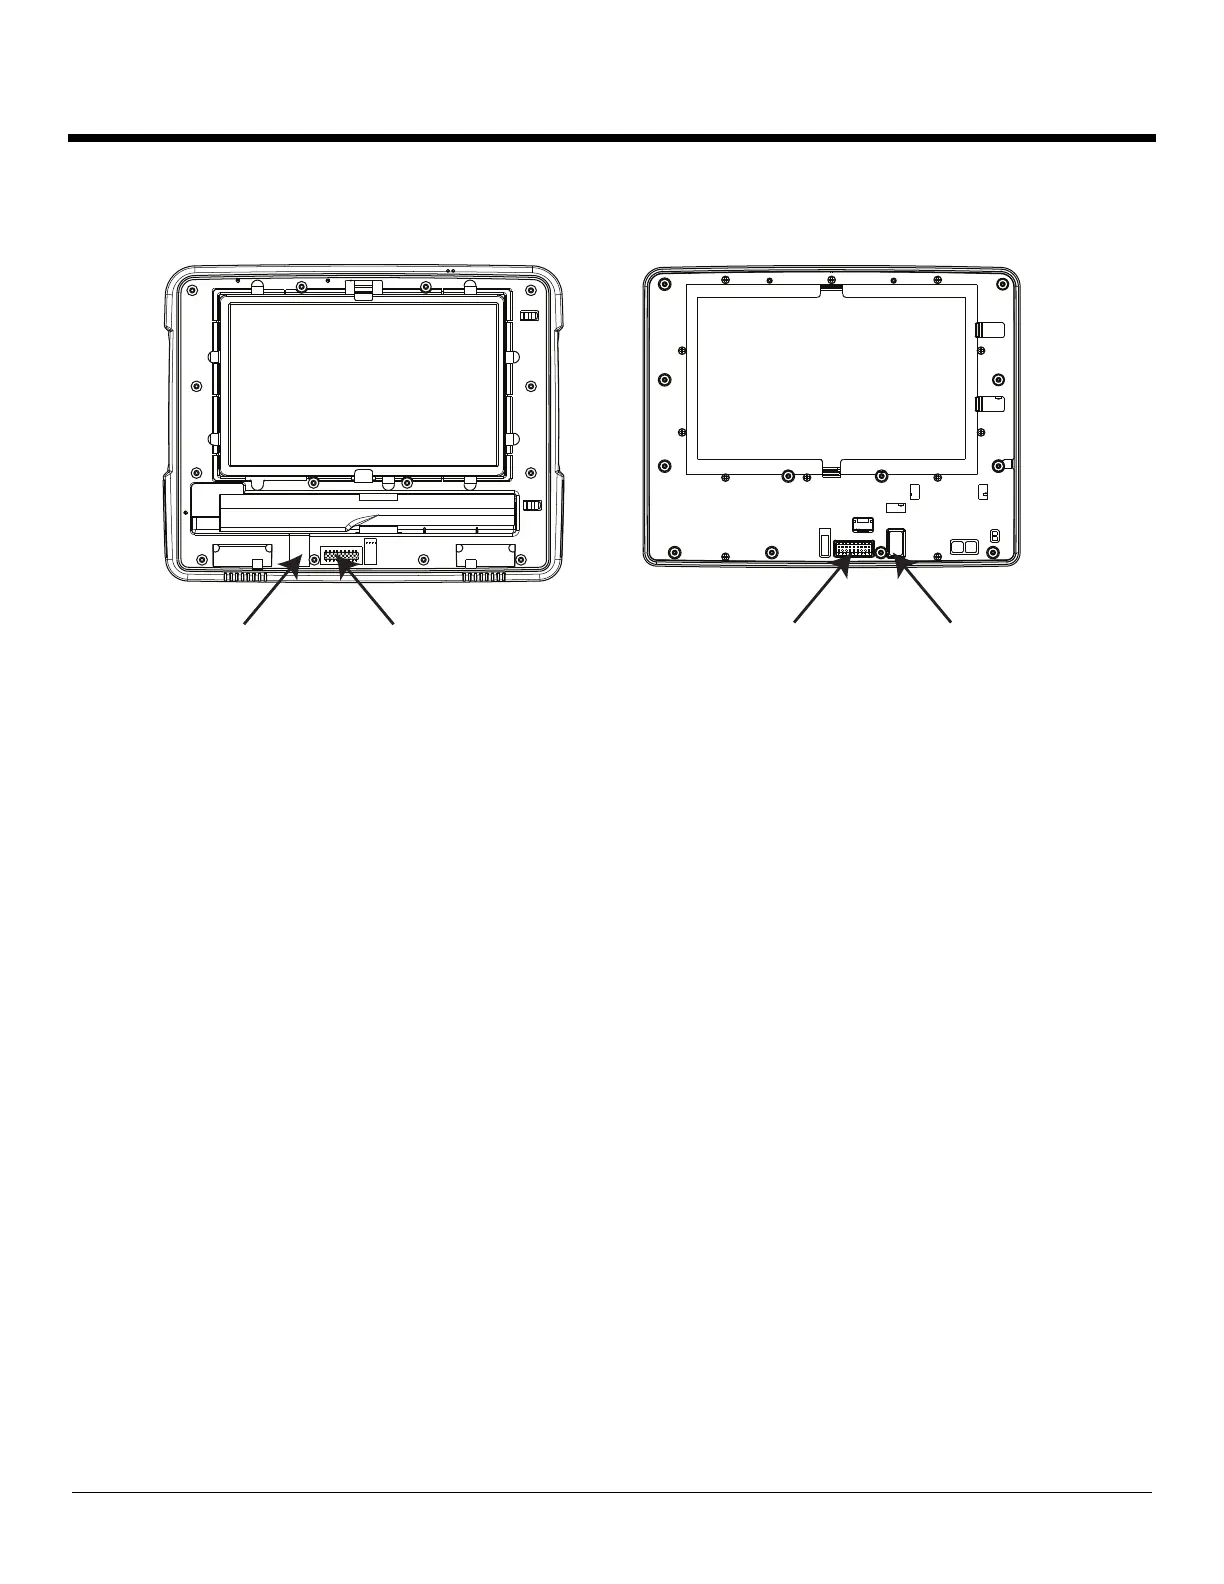
10. Position the replacement front panel so the tab on the back of the front panel lines up with the slot on the Thor VM1. Be sure the two
wiring connectors are also aligned.
11. Gently press the front panel into place.
12. Tighten the fourteen (14) captive M3 screws in the order shown in the figure for step 8 above. Use a #2 Phillips bit and torque the
screws to 6-7 inch pounds.
13. Reinstall the Thor VM1 in the dock. When the Thor VM1 is placed in the powered dock, the UPS battery automatically reconnects.
14. Press the Power button on the front of the Thor VM1.
15. The Thor VM1 automatically recognizes any change in keyboard configuration.
16. If the Thor VM1 has a Windows CE operating system and the defroster configuration has changed, use the Test button on the
Peripherals control panel to update the Thor VM1's configuration. Select Start > Settings > Control Panel > Peripherals and tap
the Test button.
17. The Thor VM1 is ready for use.
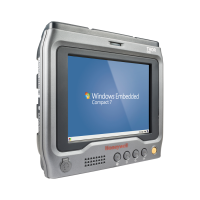
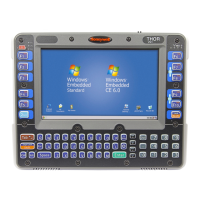
Thor VM1 with Front Panel Removed Back of Thor VM1 Front Panel
 Loading...