– 3 –
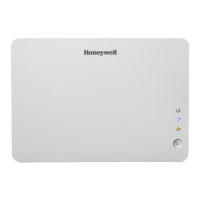
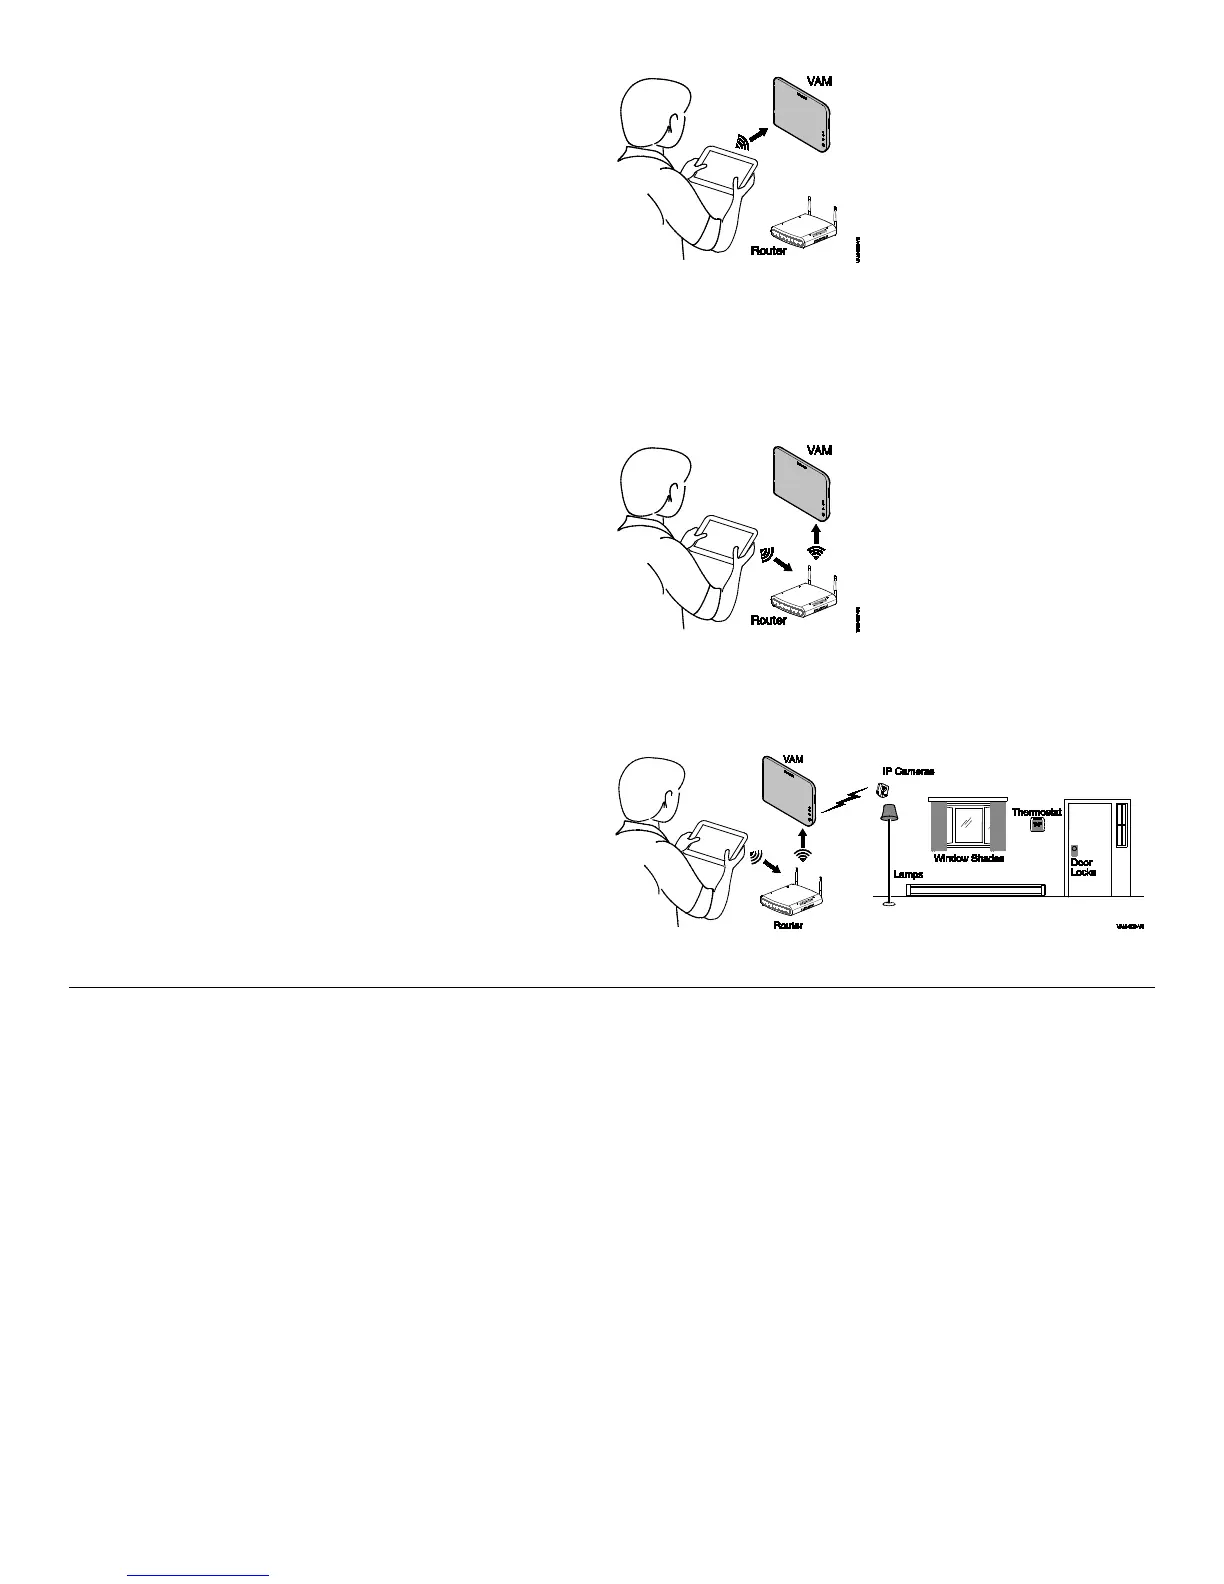
4. Retrieve and save VAM’s network IP address.
a. Leave the browser page open.
b. Reconnect the smart device to VAM using the device’s
Wi-Fi settings menu.
c. When connected to the VAM, return to the open browser
page and click the Show IP Info link.
d. The home router’s SSID and VAM’s new IP address is
shown.
e. Select the Fixed IP option and replace the displayed IP
address with the recommended address shown. Note this
IP address for future reference. Click the Save and
Bookmark This Device button.
f. At the “Device will reboot, do you want to continue?”
prompt, click the checkmark (yes).
VAM reboots, then automatically connects to the assigned
router.
5. Check that the smart device is connected to the
proper router.
a. Notification window displays, “Keep screen open. Go to
Wi-Fi setup and select the xxxx access point and return to
this page,” along with a countdown timer. The countdown
timer simply indicates the time remaining for the VAM to
reboot. Note that the VAM’s LEDs blink in various patterns
indicating that reboot is in progress.
b. Use the device’s Wi-Fi setup menu and make sure it is
connected to the router displayed (xxxx) in the notification.
c. Reboot is complete when the blue and green LEDs light
steady.
6. Complete the setup and bookmark VAM’s URL.
a. VAM should now be connected to the home network router
and the smart device should show the main menu.
If the main menu is not displayed, check that the smart
device is connected to the correct router.
b. Bookmark the URL displayed in the browser’s address bar
for easy access to VAM later.
c. To access VAM’s main menu at a later session, simply go
to the bookmarked address, or go to:
http://vam.mylanconnect.com
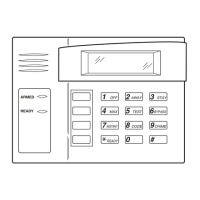
Program the Control Panel for use with VAM
At the control, assign an appropriate touchscreen (AUI) type device address (ECP address) for VAM, and set a partition (if
applicable).
Refer to the control panel’s programming instructions for detailed procedures.
NOTE: Do not use VAM’s Console Mode to program the control.
After enabling the VAM device address in the control panel, set the VAM to the selected address. See section below.
On VISTA
®
Plus series or equivalent
Use data field *189 to enable an unused device address 1, 2, 5 or 6 for VAM. Addresses 1 and 2 are enabled by default.
On VISTA
®
Turbo and Commercial VISTA Series
(VISTA-128BP, VISTA-128FBP, etc.)
Use #93 Menu mode to enable an unused device address.
• For older controls under Rev. 10, addresses 1-2, and 3-30 may be used.
• For VISTA Turbo series controls Rev. 10 and higher, addresses 1-30 may be used. These addresses are normally not
defaulted for AUI type devices.
If using Remote Services
Enable an appropriate RIS address in the control panel and enable the remote service (RIS) option if applicable.
using Wi-Fi Settings Menu.
Return to browser page and
click Show IP Info.
home router using device
Wi-Fi Settings menu.
Use device to control Z-
Wave devices.
 Loading...