55
12
4
9
1818
19
10
1
15
12
11
13
14
16
17
19
3
5
23
24
25
26
27
28
33
34
32
31
29
30
16
19
20
21
22
17
6
7
8
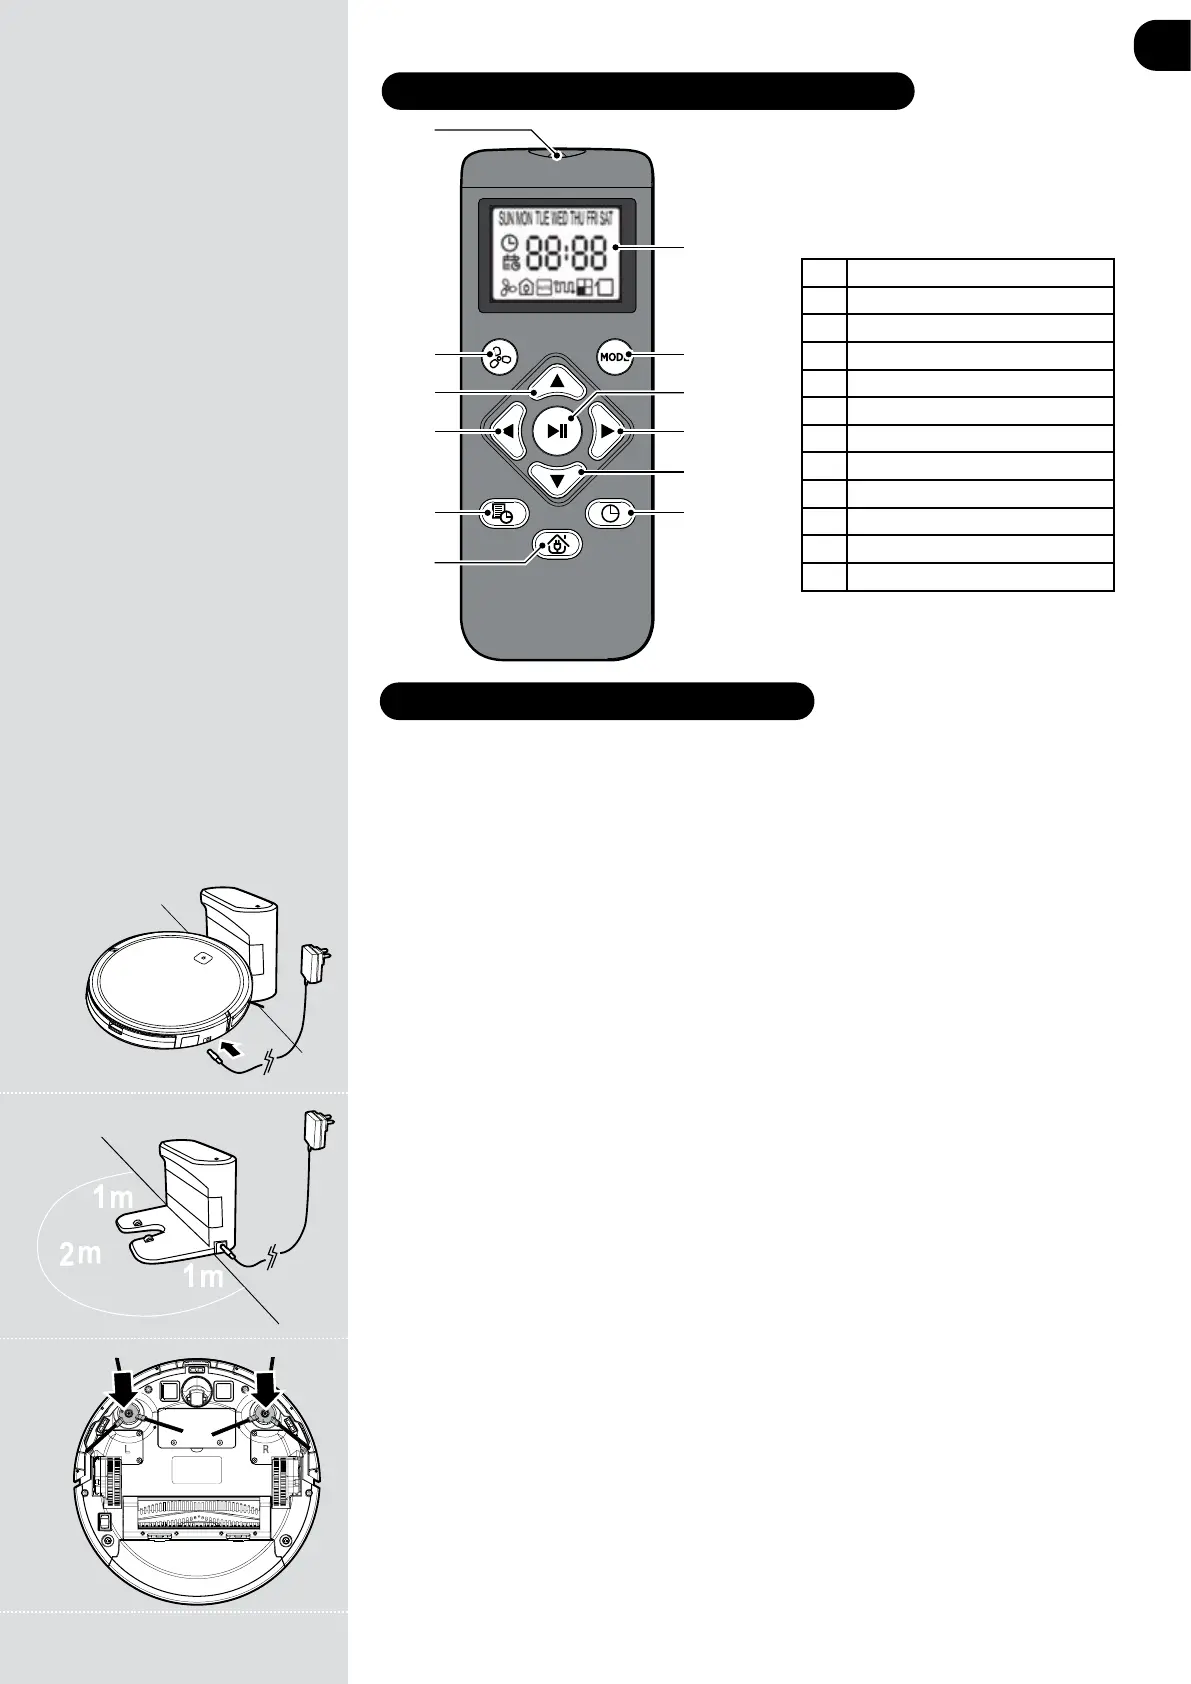
23 Trasmitter Diode
24 Suction Power
25 Button Forward
26 Button Left
27 Scheduling Button
28 Charging Station Button
29 Timing Setting Button
30 Button Backward
31 Button Right
32 Start/Pause Button
33 Mode Button
34 Display
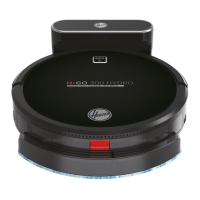
GETTING TO KNOW YOUR ROBOT CLEANER
PREPARE YOUR ROBOT CLEANER
PACKAGING
Do not dispose of your Robot packaging. It may be required the validity of your guarantee in the future.
When unpacking your Robot and its accessories, take care to keep plastic bags away from babies,
young children and animals to avoid the risk of suffocation.
Before rst use, charge your appliance for 8 hours. [Fig. 1]
From the second charge, it will take 4-5 hours to be fully recharged.
Do not expose the Robot’s mains power adaptor to temperatures below 0°C or above 30°C as this
may damage the battery.
The mains power adaptor must only be connected to a standard mains power outlet.
BATTERY
For optimum battery performance it is recommended that you keep your robot batteries fully charged.
When the robot is not in use it should be left connected to the mains power adaptor. The robot has an
intelligent charging system. This prevents the batteries from becoming overcharged.
To avoid accidents, make sure that every person in the room is aware of the presence of the robot.
Charging Station Setup
Before use, remove obstacles that may get in the path of the Robot. Pay attention to:
• Objects that can be easily knocked over.
• Edges of carpets or rugs that it may get caught on.
• Floor length curtains and tablecloths.
• Heat sources or ammable items.
• Power cords and cables.
• Fragile objects.
Plug in the mains power adaptor and connect to the charging station. [Fig. 2]
1. Make sure the power cord is not caught underneath the charging station.
2. Place the charging station on a non-reective level oor, preferably against a wall. If the oor
surface is too reective, it will interfere with the Robot navigation system and it may have difculty
locating the charging station.
3. There should not be any objects in the area around the charging station for 2 meters in front and 1
meter to each side. [Fig. 2]
4. Make sure the power cord is not tangled or stretched. If there is an excess, use the power cord tie
to store it neatly.
5. Check that the dust container is inside on Robot.
6. Press the two rotary brushes labelled L and R onto the brackets until they click into place. Pay
attention to the designation L and R on the device as well as the brushes. [Fig. 3]
7. Guide your Robot into the charging station to begin. During normal use, it will take approximately
4/5 hours to complete a full recharge.
NOTE: Before rst time use the batteries must be charged for at least 8 hours.
Fig. 3
Fig. 2
Fig. 1
* Certain Models Only ** May vary according to model
GB
 Loading...