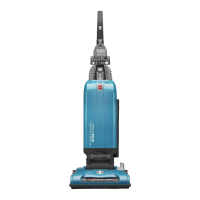
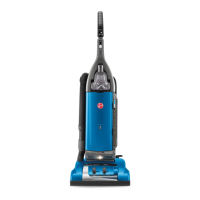
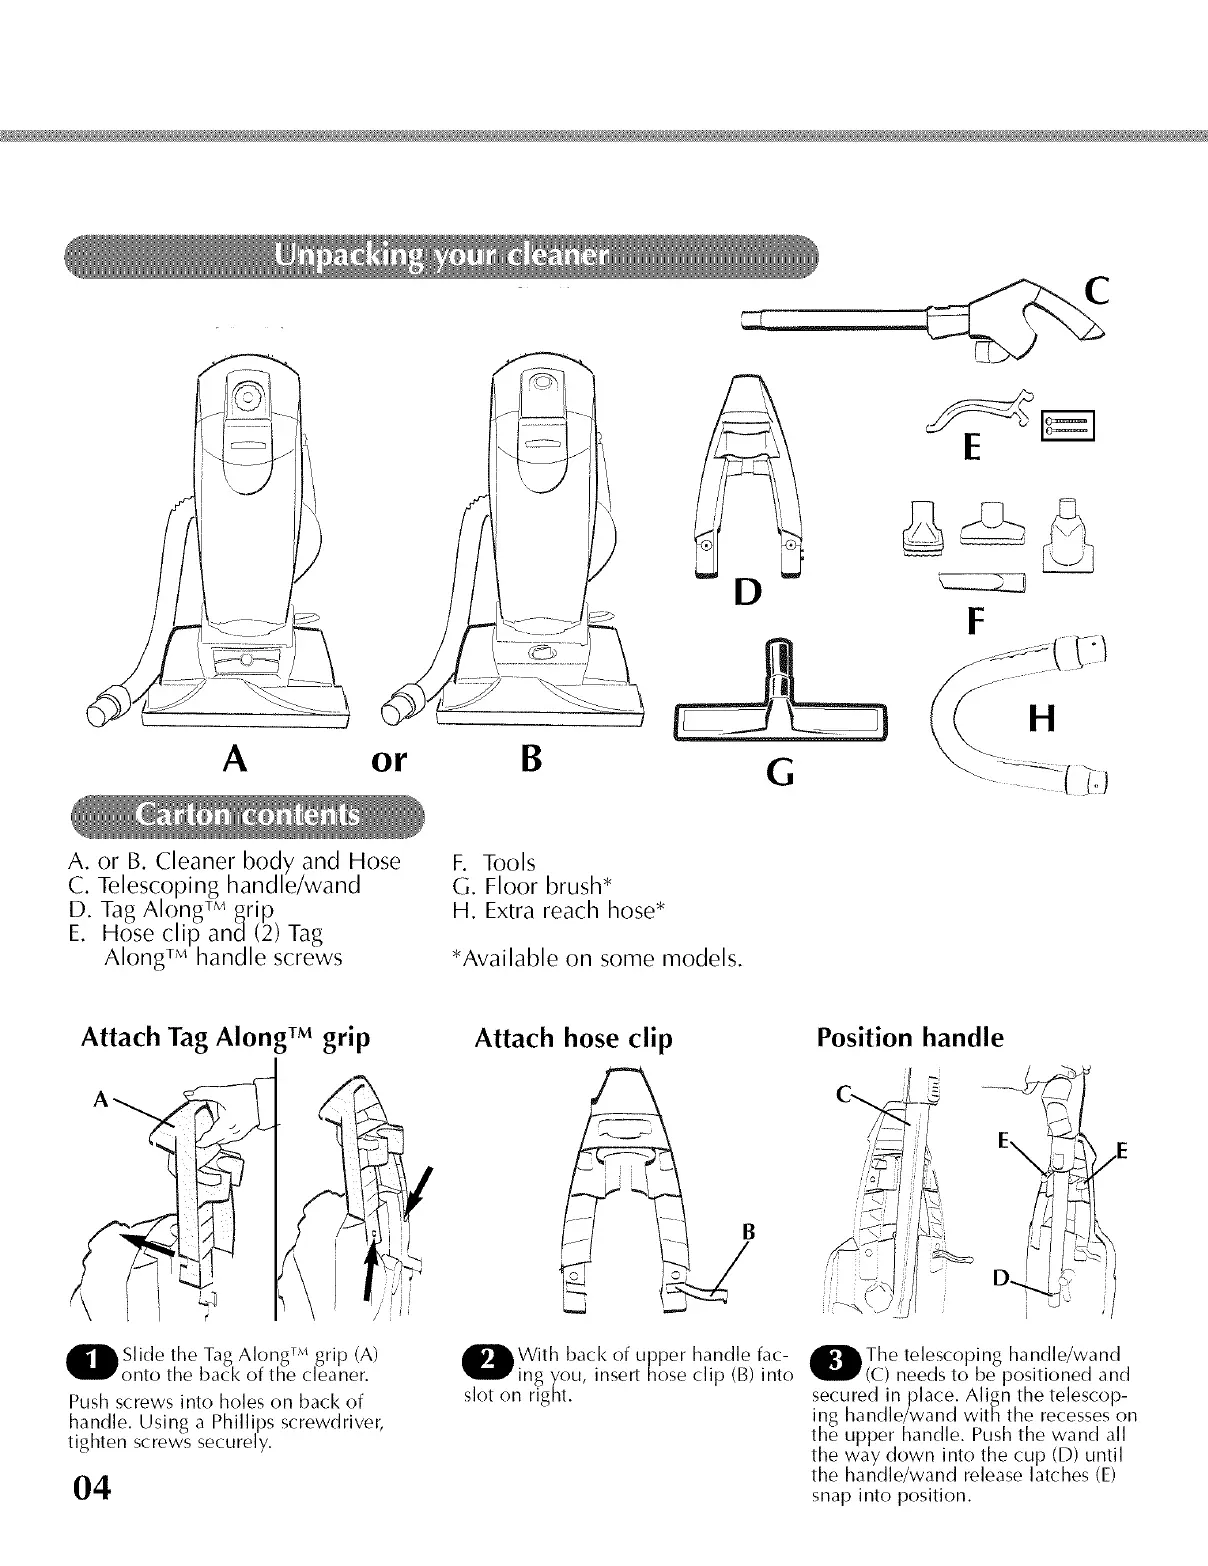
E
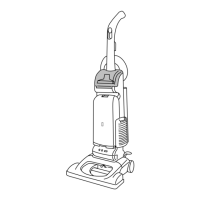
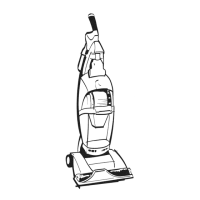
A or B
D
G
A. or B. Cleaner body and Hose
C. Telescoping handle/wand
D. Tag Along TMgrip
E. Hose clip and (2) Tag
Along TMhandle screws
F. Tools
G. Floor brush*
H. Extra reach hose*
*Available on some models.
Attach Tag Along TMgrip
Q TM
Slide the Tag Along ' grip (A)
onto the back of the cleaner.
Push screws into holes on back of
handle. Using a Phillips screwdriver,
tighten screws securely.
04
Attach hose clip
With back of upper handle fac-
ing you, insert hose clip (B) into
slot on right,
Position handle
_,i :i ! '_' J
---x ,_'j
O he telescoping handle/wand
(C) needs to be positioned and
secured inplace. Alisn the telescop-
ing handle/wand with the recesseson
the upper handle. Push the wand all
the way down into the cup (D) until
the handle/wand release latches (E)
snap into position.