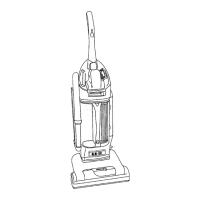
Do you have a question about the Hoover WindTunnel U5465-900 and is the answer not in the manual?
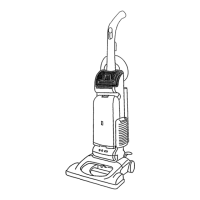
Procedure for removing and servicing the bottom plate, agitator, and belt.
Instructions for removing the duct cover from the main body of the vacuum.
Steps to remove and reassemble the front wheels and their support.
Procedure for removing the vacuum cleaner's hood.
Guidance on releasing and separating the height adjustment cam and lever.
Steps to remove the main body, including trunnion screws and hose clamp.
Instructions for removing the handle release lever from the main body.
Procedure for removing the rear wheels by sliding out the shaft.
Details on how to remove the hose assembly from the vacuum cleaner.
Instructions for removing the nozzle hose extension if applicable.
Procedure for removing the angled hose connection assembly.
Steps to remove the upper handle assembly from the bag housing.
Instructions for removing the filter holder for Deluxe, Plus, and Supreme models.
Procedure for removing the wand/hose holder, especially for models with front tool storage.
Steps to remove the switch once the upper handle and holder are detached.
Instructions for removing the headlight lens by unscrewing it.
Procedure for removing and replacing the EDF printed circuit board assembly.
Information on the wire opening plug in the EDF cavity and its importance.
Steps to remove the motor cover by unscrewing it.
Procedure for replacing the power cord, including strain relief and lead disconnection.
Detailed steps for removing and replacing the motor assembly.
Instructions for replacing the motor brushes, including the brush holder.
Diagnosing and resolving issues where the motor does not operate.
Troubleshooting causes for lack of suction at the vacuum nozzle.
Diagnosing and resolving issues with suction when using vacuum tools.
Troubleshooting the Embedded Dirt Finder (EDF) system's green light status.
Diagnosing why the EDF light does not change from green to red during operation.
Troubleshooting when the EDF system's red light remains constantly on.
Identifying causes for the thermal protector repeatedly tripping.
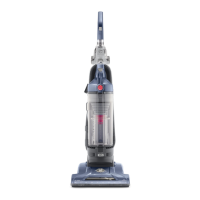
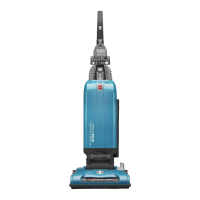
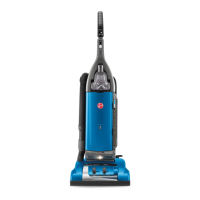
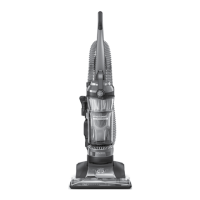
| Model | U5465-900 |
|---|---|
| Category | Vacuum Cleaner |
| Type | Upright |
| Bagged or Bagless | Bagless |
| Color | Blue |
| Power Source | Electric |
| Voltage | 120V |
| Amps | 12 Amps |
| Height Adjustment | Yes |
| Filtration | HEPA |
| Dust Capacity | 1.5 L |
| Hose Length | 8 ft |
| Included Tools | Crevice Tool |
| Warranty | 1-year limited warranty |