Do you have a question about the Hotpoint Ariston FZ 61.1/HA and is the answer not in the manual?
Use the appropriate cabinet to ensure that the appliance functions properly.
To ensure good ventilation, the back panel of the cabinet must be removed.
Position the 4 tabs on the side of the oven according to the 4 holes of the outer frame.
Open the terminal board by inserting a screwdriver into the side tabs of the cover.
Install a standardised plug corresponding to the load indicated on the data plate.
Diagram showing the oven's exterior components like grill and dripping pan.
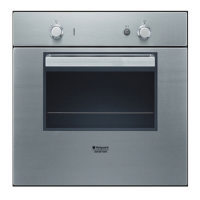
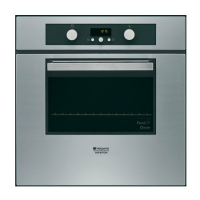
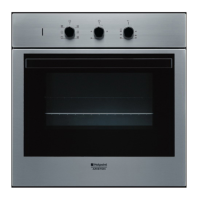
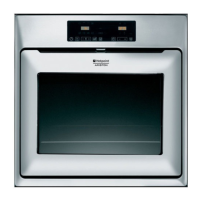
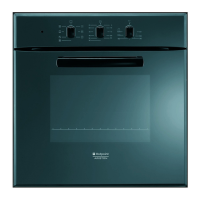
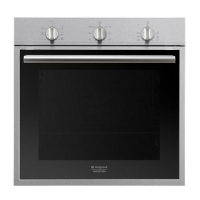
Diagrams and labels for the oven's selector, timer, and thermostat knobs.
Steps to select cooking mode, temperature, and stop cooking.
Details on the cooling fan that operates after cooking to cool the oven.
Explanation of when the oven light turns on based on selector knob position.
Instructions for setting the minute timer with a buzzer notification.
Instructions for setting a cooking timer that stops the oven and sounds a buzzer.
Instructions for setting the correct time on the analogue clock.
Steps to set the programmer for immediate oven operation.
Instructions for programming instant or delayed cooking times.
Details on various cooking modes like Grill, Traditional, Multi-cooking, Barbecue, Gratin, Pizza, Baking.
Tips on rack placement and using accessories for specific cooking modes.
Important safety guidelines for using the appliance domestically and avoiding hazards.
Guidelines for environmentally friendly disposal of packaging and old appliances.
Tips on energy saving and maintaining oven seals for efficiency.
Information required for contacting customer support or service centres.
Instructions to disconnect the appliance from the electricity supply before maintenance.
Methods for cleaning the oven's interior and exterior, including accessories.
Procedure for safely cleaning the oven door glass, including removal.
Procedure for safely replacing the oven's internal light bulb.
Instructions for assembling and fitting the sliding rack kit.
Guidance on checking oven door seals and contacting service if damaged.
| Brand | Hotpoint Ariston |
|---|---|
| Model | FZ 61.1/HA |
| Category | Oven |
| Language | English |