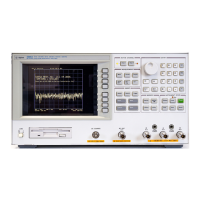
INSPECT THE POWER ON SEQUENCE
Check the Fan
Turn the analyzer power on. Inspect the fan on the rear panel.
The fan should be rotating and audible.
If case of unexpected results, check AC line power to the analyzer. Check the fuse (rating listed
on the rear panel). Check the line voltage setting. For setting the line voltage, see the
Power
Requirements
in Appendix C.
If the problem persists, continue with the
Power Supply Troubleshooting
chapter.
Check the Front Panel LEDs and Displays
Turn on the analyzer and watch for the following events in this order:
1. Beep is sounding.
2. The
4
Ch 1
5
LED turns on and the analyzer displays Internal Test In Progress for several
seconds.
3. The analyzer displays the graticule.
If case of unexpected results, continue with
Digital Control Troubleshooting
chapter.
Check Error Message
Turn the analyzer power on. Inspect the LCD. No error message should be displayed.
If the following status annotation appears on the LCD
, the A1 CPU is suspected. Continue with
the
Digital Control Troubleshooting
chapter.
Svc
(Status annotation)
If the following error message appears on the LCD
, continue with the
INTERNAL TESTS
FAILURE TROUBLESHOOTING
in this chapter.
POWER ON TEST FAILED
These error messages indicate that one of power-on self tests fails. If an other error message
appears, refer to the
Error Messages
in Messages.
If the response of front panel, HP-IB commands, or built-in FDD is unexpected, continue with
the
Digital Control Troubleshooting
chapter.
6-4 Troubleshooting