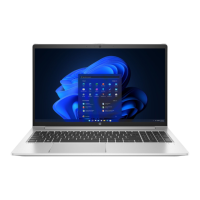
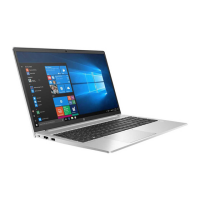
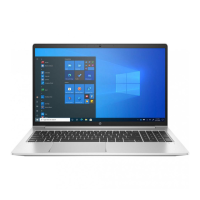
Remove the optical drive:
1. Position the computer with the right side toward you.
2. Remove the Phillips PM2.5×7.0 screw (1) that secures the optical drive to the computer.
NOTE: On 15-in models the screw is located in a hole in the top cover. See the first image below.
NOTE: On 14-in models the screw is located directly below the keyboard ZIF connector. See the
second image below.
3. Insert a flat-bladed screwdriver or similar tool into the optical drive tab access (2) and press the
tab to the right to release the optical drive from the computer.
70 Chapter 4 Removal and replacement procedures

 Loading...


