1. Align the printhead. See Align the printhead on page 177.
2. Reseat the printhead by removing and then reinserting it. See
Remove the printhead on page 129 and
Insert the printhead on page 131.
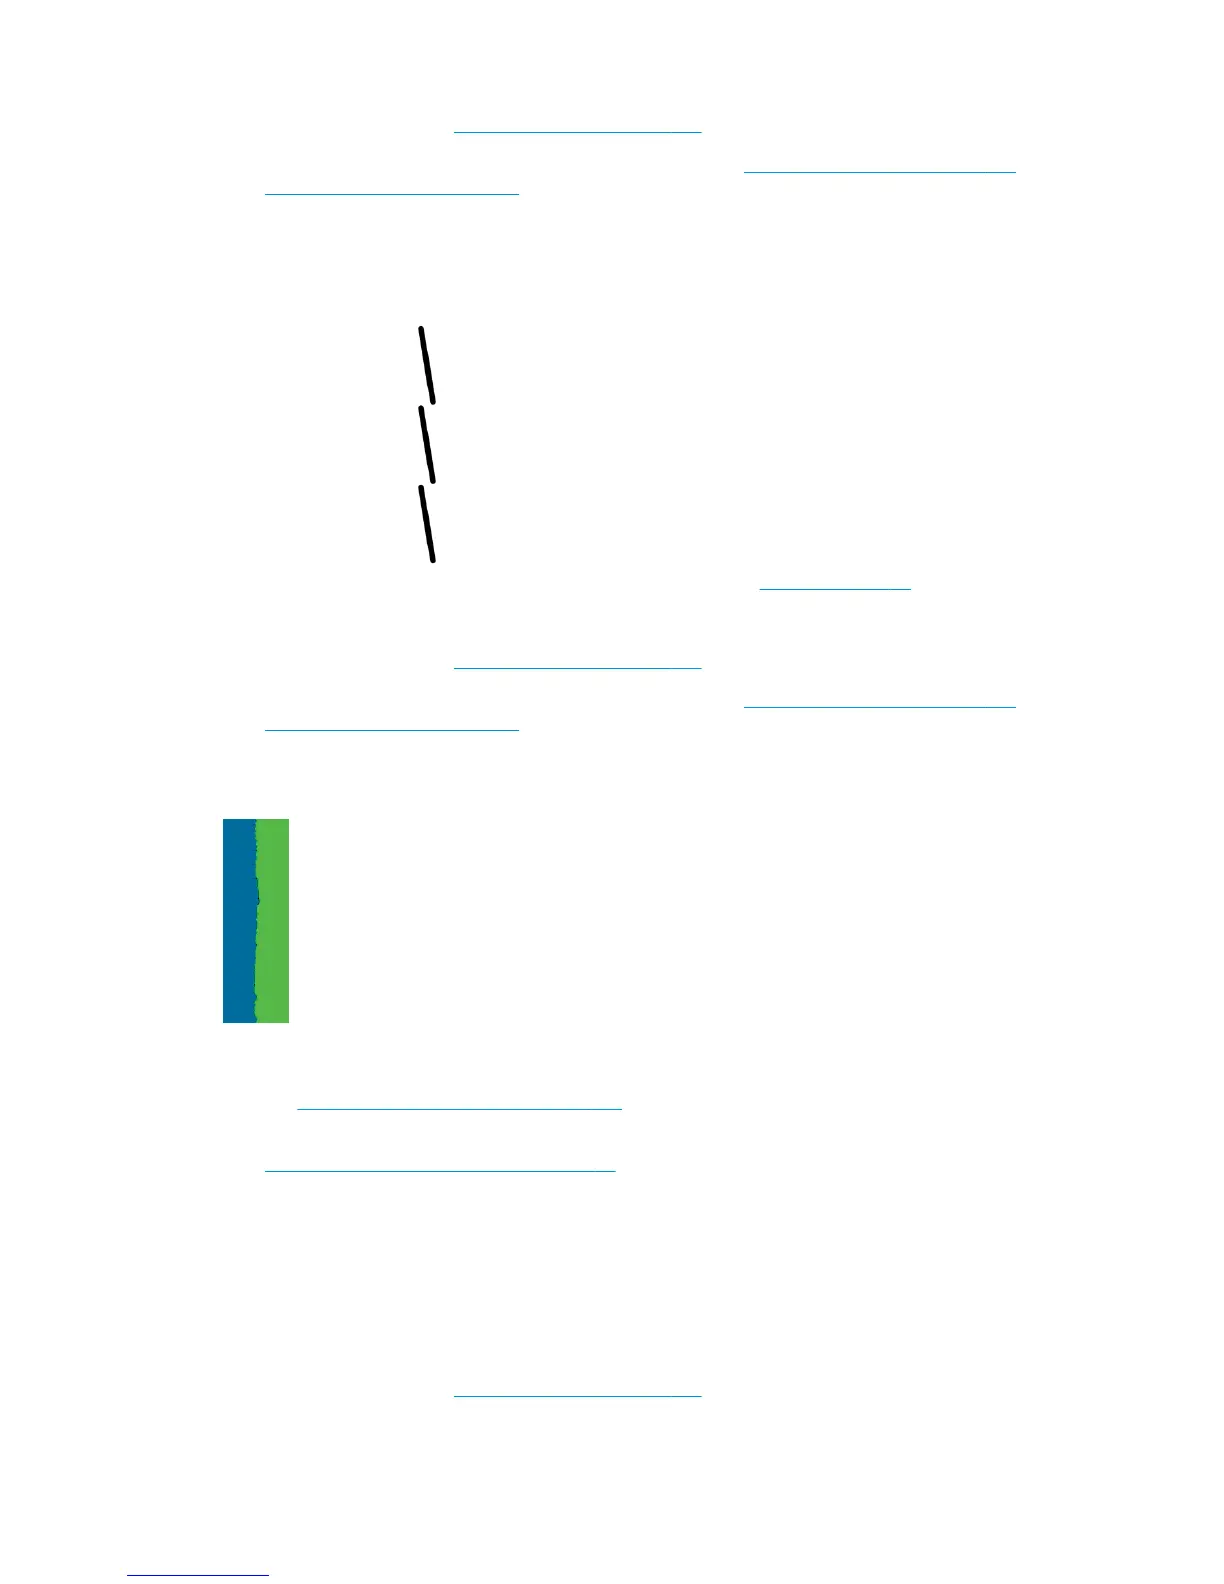
Lines are discontinuous
If your lines are broken in the following way:
1. Check that you are using appropriate print-quality settings. See Printing on page 62.
2. When printing on uncoated paper in Fast mode, try loading the paper as Bright Bond.
3. Align the printhead. See
Align the printhead on page 177.
4. Reseat the printhead by removing and then reinserting it. See
Remove the printhead on page 129 and
Insert the printhead on page 131.
Lines are blurred
Humidity can cause ink to soak into the paper, making the lines blurred and fuzzy. Try the following:
1. Check that your environmental conditions (temperature, humidity) are suitable for high-quality printing.
See
Environmental specifications on page 195.
2. Check that the paper type selected in the front panel is the same as the paper type you are using. See
View information about the paper on page 56.
3. Try changing to a heavier paper type, such as HP Heavyweight Coated Paper or HP Super Heavyweight
Plus Matte Paper.
4. Select a paper type that is slightly thinner than the paper you have loaded; this will persuade the printer
to use less ink. Here are some example paper types in ascending order of thickness: Plain Paper, Coated
Paper, Heavyweight Coated Paper, Super Heavyweight Plus Matte Paper.
5. If you are using photo paper, try changing to a different type of photo paper.
6. Align the printhead. See
Align the printhead on page 177.
164 Chapter 18 Troubleshooting print-quality issues ENWW
 Loading...