50
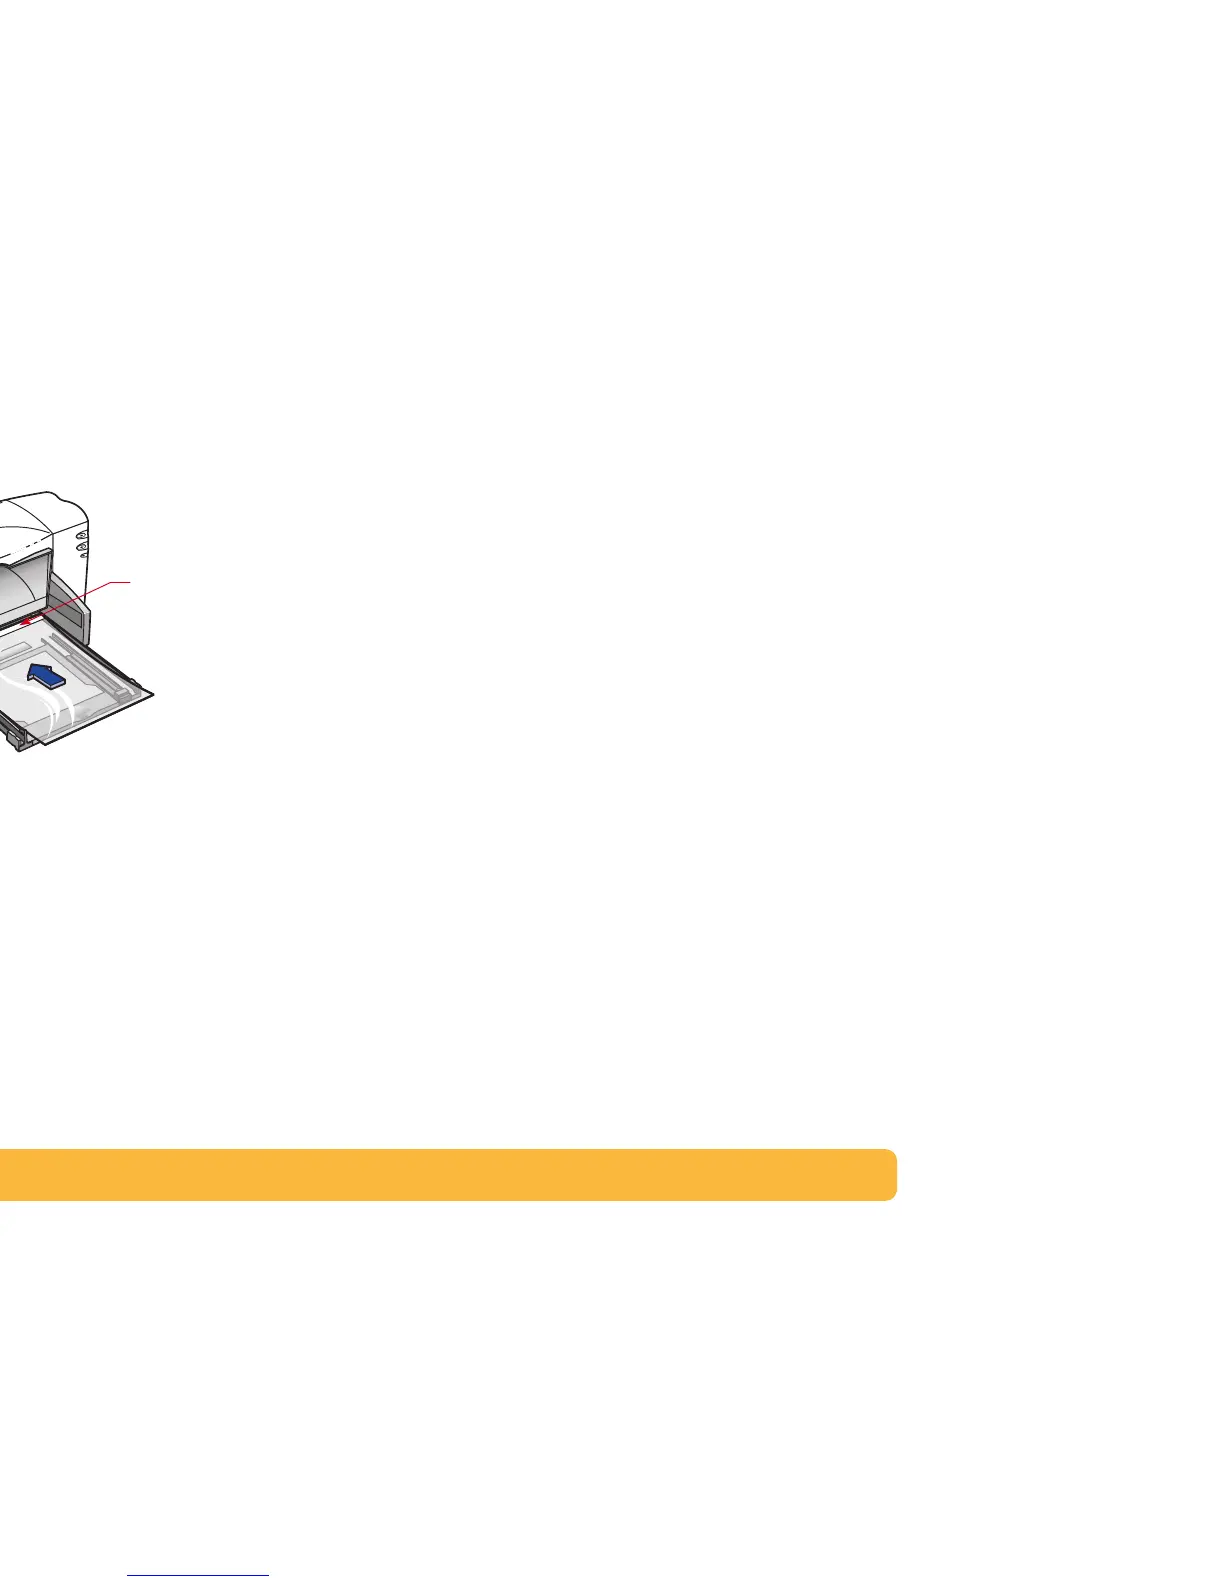
5 Put the transparencies in your printer with the rough side
down and the adhesive strip forward. (You can peel off the
adhesive strip after printing.)
6 Slide in the paper adjusters, just as you would for plain
paper. Push the IN tray back in and flip the OUT tray down.
7 Print the transparency.
8 Be patient.
Because the printer uses more ink, lays the colors down
more slowly, and allows for a longer drying time between
sheets, transparencies take awhile to print.
The printer dries them automatically before it releases them.
Press the Resume button to continue printing.
After printing, remember to:
• Change the Paper Type in the HP print settings box to match
whatever you’ll be printing on next.
• Change the Print Quality to match whatever is appropriate
for what you’ll be printing next.
• In the Features tab, click Mirror Image to clear it.
• Remove any remaining transparencies from the IN tray and
replace them with whatever paper you’ll be printing on next.
Adhesive strip
forward; tape side up
 Loading...