12
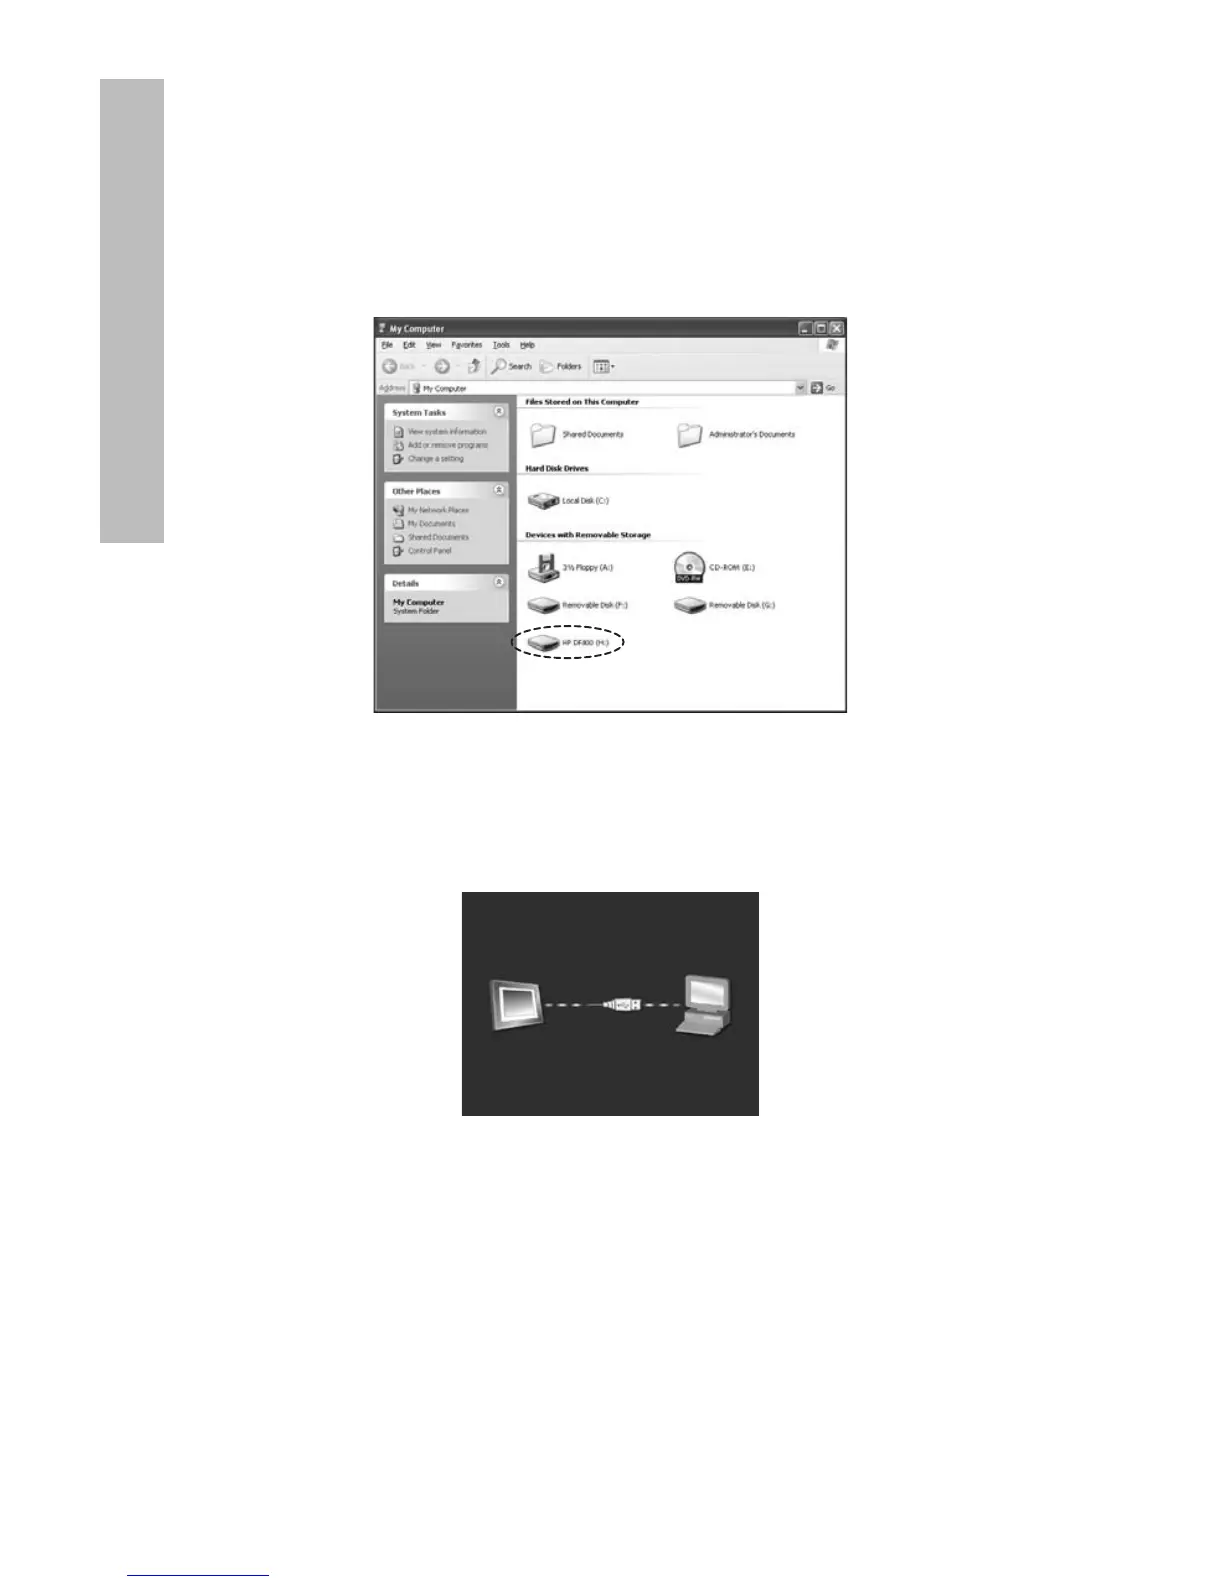
From a PC/notebook: For the first connection, it is
recommended to remove all external memory sources. Power
on the HP Digital Picture Frame and connect the HP Digital
Picture Frame to your Windows™ 2000 (with service pack 4
or greater), Windows™ XP (with Service Pack 2 or greater), or
Windows™ Vista PC/notebook by using the USB cable provide
with product (see illustration below):
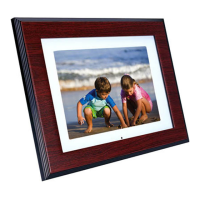
3 new drive letters will appear in Windows Explorer. These
new drive letters represent the Digital Picture Frame’s internal
memory, Memory card slot 1 and Memory card slot 2. The
digital picture frame will display the graphic below:
1 of the 3 new drive letters is the HP Digital Picture Frame’s
internal memory and will be labeled HP df800. Drive
letter assignment MAY vary from PC to PC. Use standard
Windows™ copy and paste procedures to move content onto
the frame’s internal memory. To check the picture frame's
available memory, right click on the internal memory drive
letter and select Properties. A properties menu will appear
displaying the available/Free space (in Mega Bytes[MB]).
Disconnect the PC/notebook when desired content has been
copied successfully.
ENGLISH
 Loading...