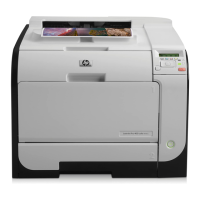
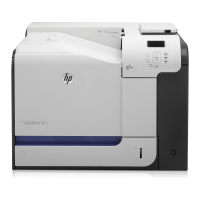
Covers, scanner assembly, and control panel
Left cover
NOTE: No tools are necessary to remove this cover. However, a small flat-blade screwdriver might
be helpful in releasing some of the tabs that hold the cover to the product chassis.
1. Remove the Tray 2 cassette.
2. Open the toner cartridge door and the rear jam access door.
3. Grasp the front edge of the cover, and then pull the cover toward the front to release four of the
seven tabs (callout 1), and then release the two tabs at the top of the cover.
Figure 1-16 Remove the left cover
1
4. With the top and front edges loose, tip the top of the cover away from the product and then
carefully slide the cover toward the back of the product to remove it.
Scanner assembly
1. Remove the following components:
●
Tray 2 cassette
●
Left cover. See
Left cover on page 13.
2. Open the toner cartridge door and the rear jam access door.
ENWW
Removal and replacement procedures
13

 Loading...


