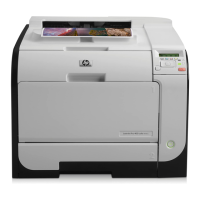
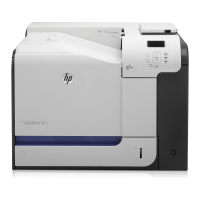
Main assemblies
Print-cartridge drawer
1. Open the front door.
2. Partially pull out the print-cartridge drawer, and then use a small flat blade screwdriver to release
one tab (callout 1) on the left side of the product.
Figure 1-16 Remove the print-cartridge drawer (1 of 3)
1
3. Carefully rotate the print-cartridge drawer toward the right side of the product to release it.
Figure 1-17 Remove the print-cartridge drawer (2 of 3)
20 Chapter 1 Removal and replacement ENWW

 Loading...


