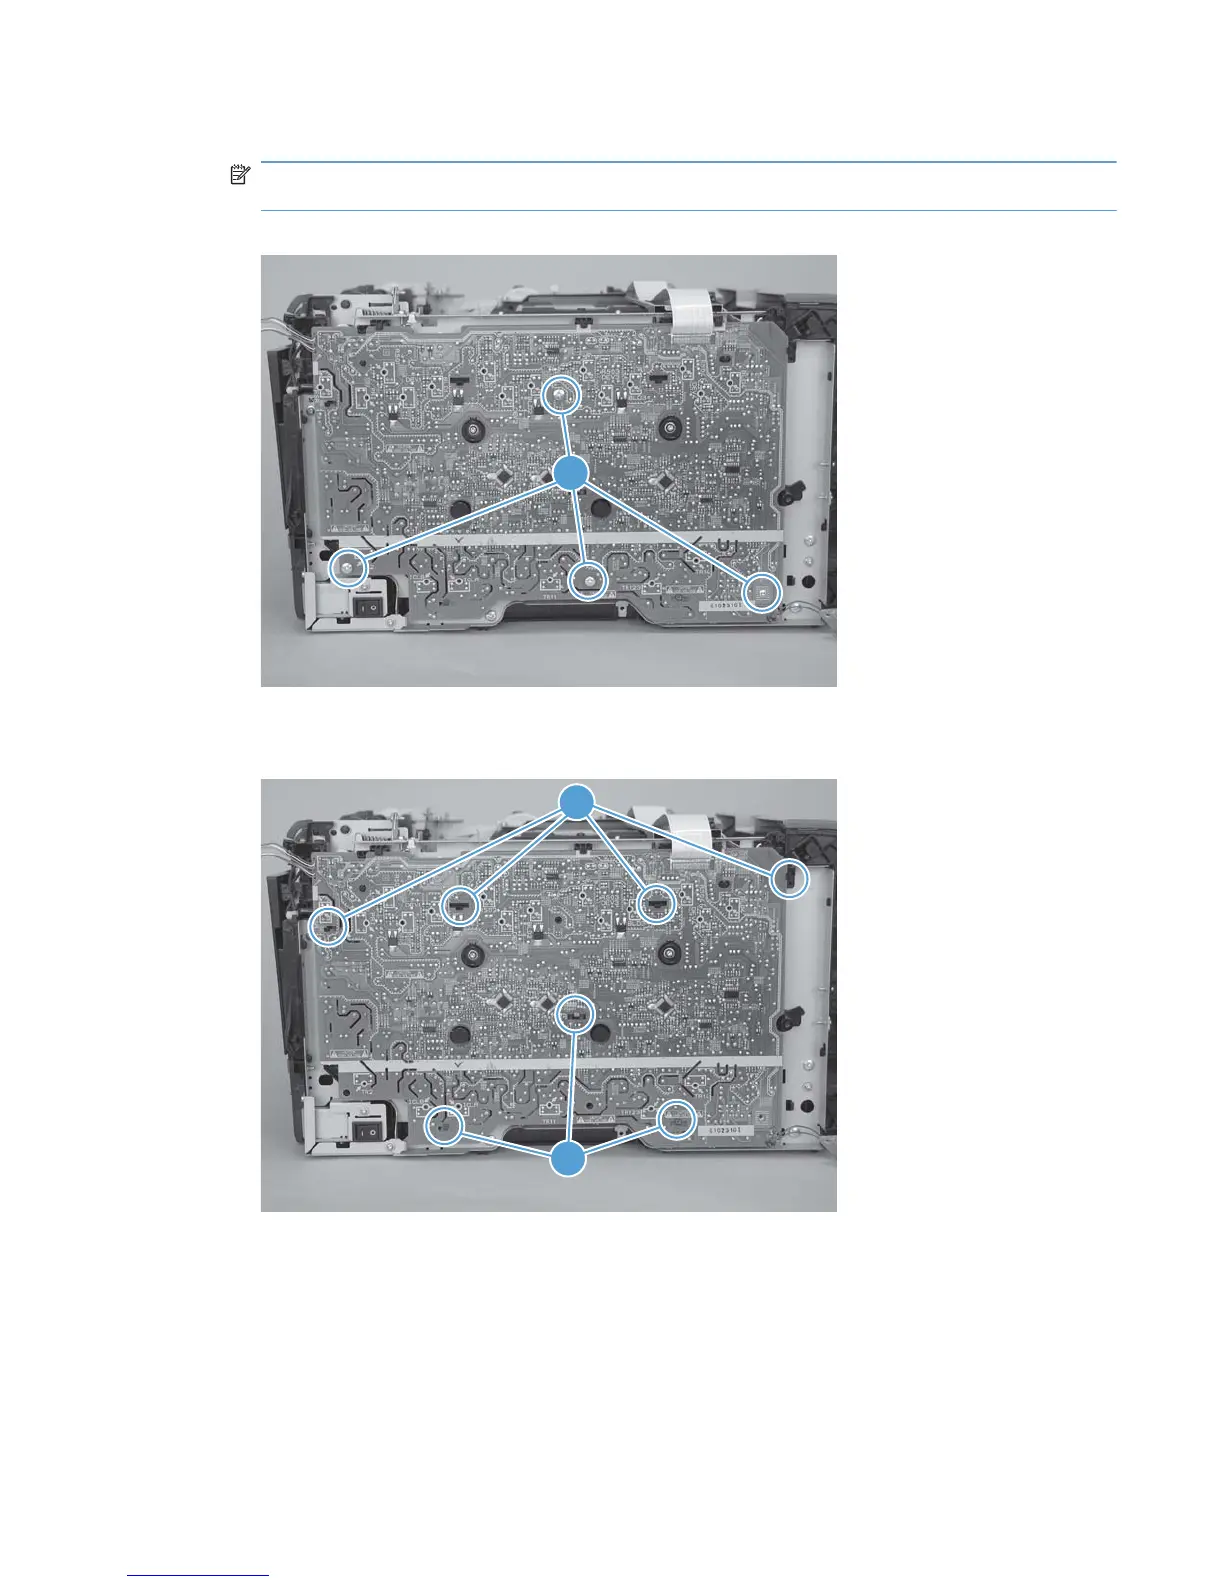
5. Remove four screws (callout 6).
NOTE: The screw at the lower back of the power supply is a ground screw. Make sure that this
screw is placed in the correct position when the power supply is reinstalled.
Figure 1-66 Remove the power supply (high-voltage; 4 of 6)
6
6. Release seven tabs (callout 7).
Figure 1-67 Remove the power supply (high-voltage; 5 of 6)
7
7
ENWW Removal and replacement procedures 45
 Loading...