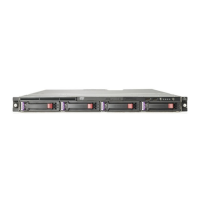
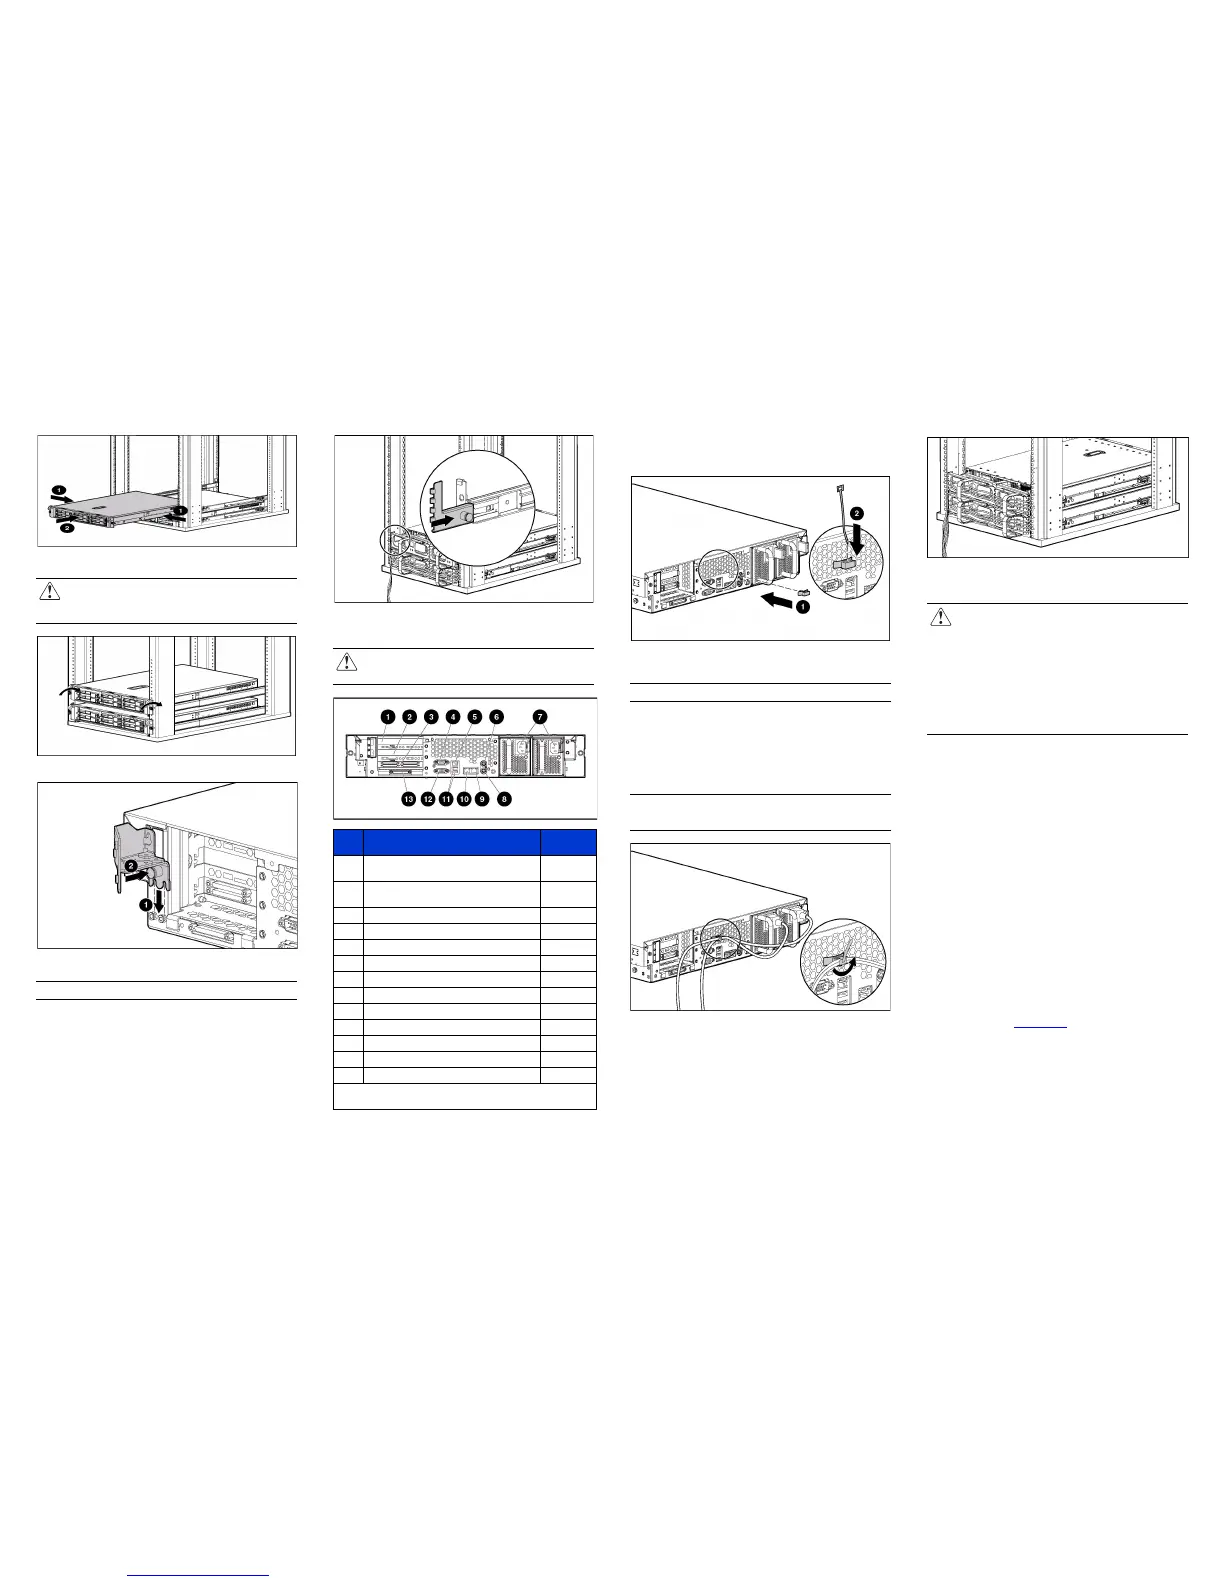
5. Press the rail-release latches and slide the server into the rack.
WARNING: To reduce the risk of personal injury, be
careful when pressing the server rail-release latches and
sliding the server into the rack. The sliding rails could pinch
your fingers.
6. Secure the server to the rack.
7. Secure the cable management arm bracket to the server.
Note: Cable management arm is removed for clarity.
8. Secure the cable management bracket to the rail.
9. Connect peripheral devices to the server.
WARNING: To reduce the risk of electric shock, fire, or
damage to the equipment, do not plug telephone or
telecommunications connectors into RJ-45 connectors.
10. Connect the power cord to the back of the server.
11. If you chose not to install the cable management arm, install
the power cord anchor.
a. Secure the power cord anchor to the server, and then insert
the tie wrap into the groove on the power cord anchor.
Note: Peripheral device cables are removed for clarity.
b. Place the power cord across the tie wrap at the following
locations:
— 21.59 cm (8.5 inches) from the end of the redundant
power supply cord
— 27.94 cm (11 inches) from the end of the primary
power supply cord
Note: If using the power cord anchor, be sure to leave enough slack
in the power cord so that the redundant power supply can be removed
without disconnecting the power cord from the primary power supply.
c. Secure the tie wrap around the power cord to prevent
accidental disengagement.
12. Secure cables to the cable management arm.
13. Connect the power cord to the AC power source.
WARNING: To reduce the risk of electric shock or damage
to the equipment:
■ Do not disable the power cord grounding plug. The
grounding plug is an important safety feature.
■ Plug the power cord into a grounded (earthed) electric
outlet that is easily accessible at all times
■ Unplug the power cord from the power supply to
disconnect power to the equipment
■ Do not route the power cord where it can be walked on or
pinched by items placed against it. Pay particular
attention to the plug, electric outlet, and the point where
the cord extends from the server.
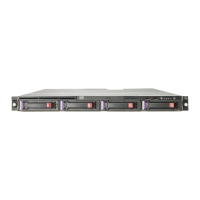
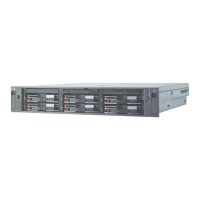
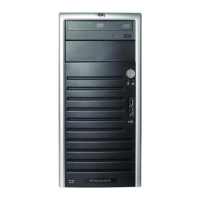
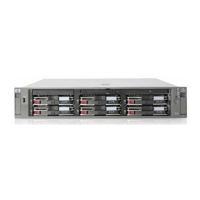
Optional External Storage Enclosure
The NAS 2000s external SCSI model ships with an HP
StorageWorks 4414 Storage Enclosure that must also be installed
in the rack. Please refer to the rack install poster included with
the enclosure.
Powering Up and Configuring the Server
The NAS 2000s is preloaded with the NAS OS. Prior to power
up, deployment instructions found in the Installation Guide
should be followed to enable the successful configuration of the
NAS device in addition to the guidelines found below.
To begin the first-time startup procedure:
1. Be sure that the server is safely installed in an adequate
environment.
2. Be sure that the power cables and peripheral devices are
plugged in and that adequate AC power is supplied to the
server and storage.
3. Refer to the Installation Guide prior to powering up the
device.
Registering the Server
Register the server at
www.hp.com.
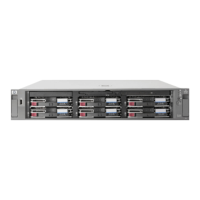
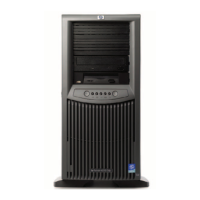
Item Description
Connector
color
1 Hot-plug PCI-X expansion slot 3
(bus 6) 64 bit/100MHz 3.3V
N/A
2 Hot-plug PCI-X expansion slot 2
(bus 6) 64 bit/100MHz 3.3V
N/A
3 Smart Array 6404
1
N/A
4 Serial connector Teal
5 iLO connector N/A
6 Mouse connector Green
7 Redundant power supplies N/A
8 Keyboard connector Purple
9 NIC 1 connector N/A
- NIC 2 connector N/A
q USB connectors N/A
w Video connector Blue
= VHDCI SCSI connector (port 1) N/A
1
The 6404 is only supported on the NAS 2000s and is only
included with the NAS 2000s external SCSI model.