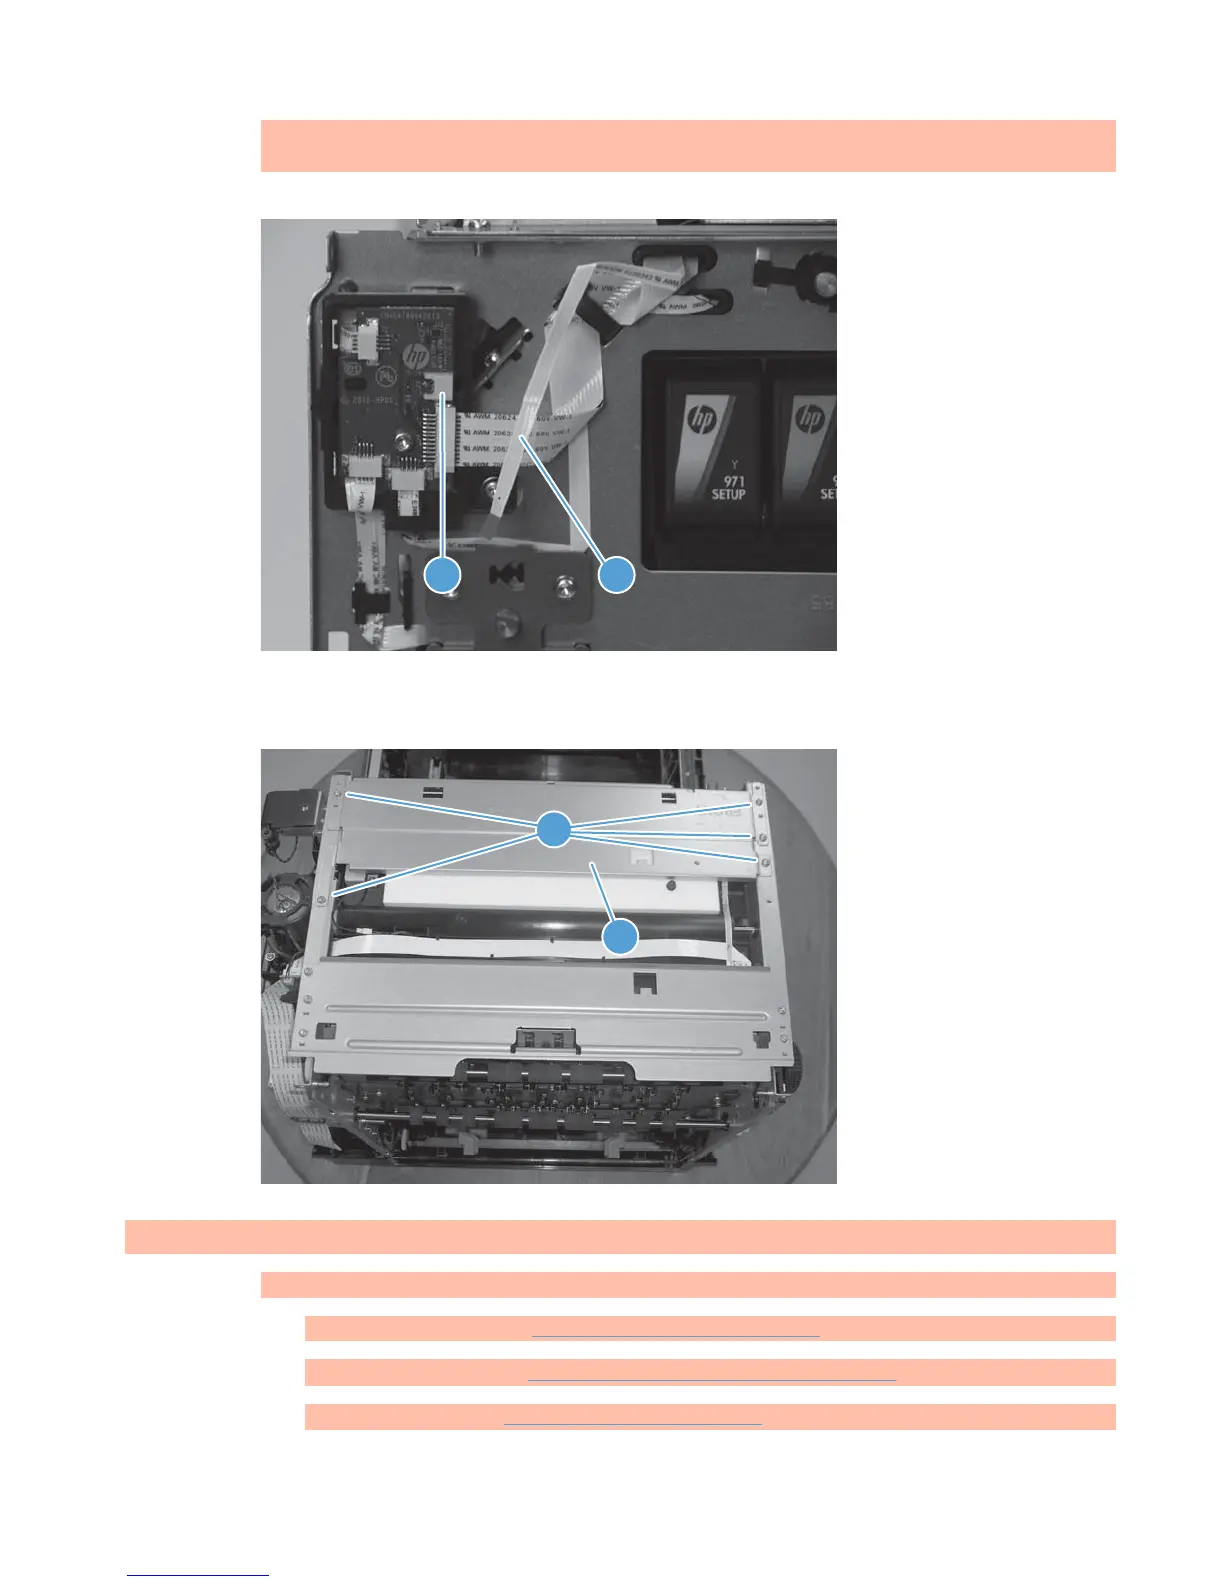
2. Disconnect the output door sensor flex cable connection (callout 1), and then unthread the cable
(callout 2) from the product frame.
Figure 1-75 Remove the plate console right (1 of 2)
1
2
3. Remove five screws (callout 1), and then remove the brace (callout 2).
Figure 1-76 Remove the plate console right (2 of 2)
1
2
Printbar
1. Remove the following components:
●
Web wipe cartridge.
●
Web wipe advance.
●
Right cross brace.
 Loading...